New BMX Bits into One.... RNDM-BMX Style!
Placing all the New BMX Bits onto the New BMX Frame.

In some previous Blogs there was a Write up about the New Project BMX, the Bits that were ordered for it and some other little bits and pieces.
But in this Blog, there will be made specific mention of putting everything together and maybe even a costing of all the bits.
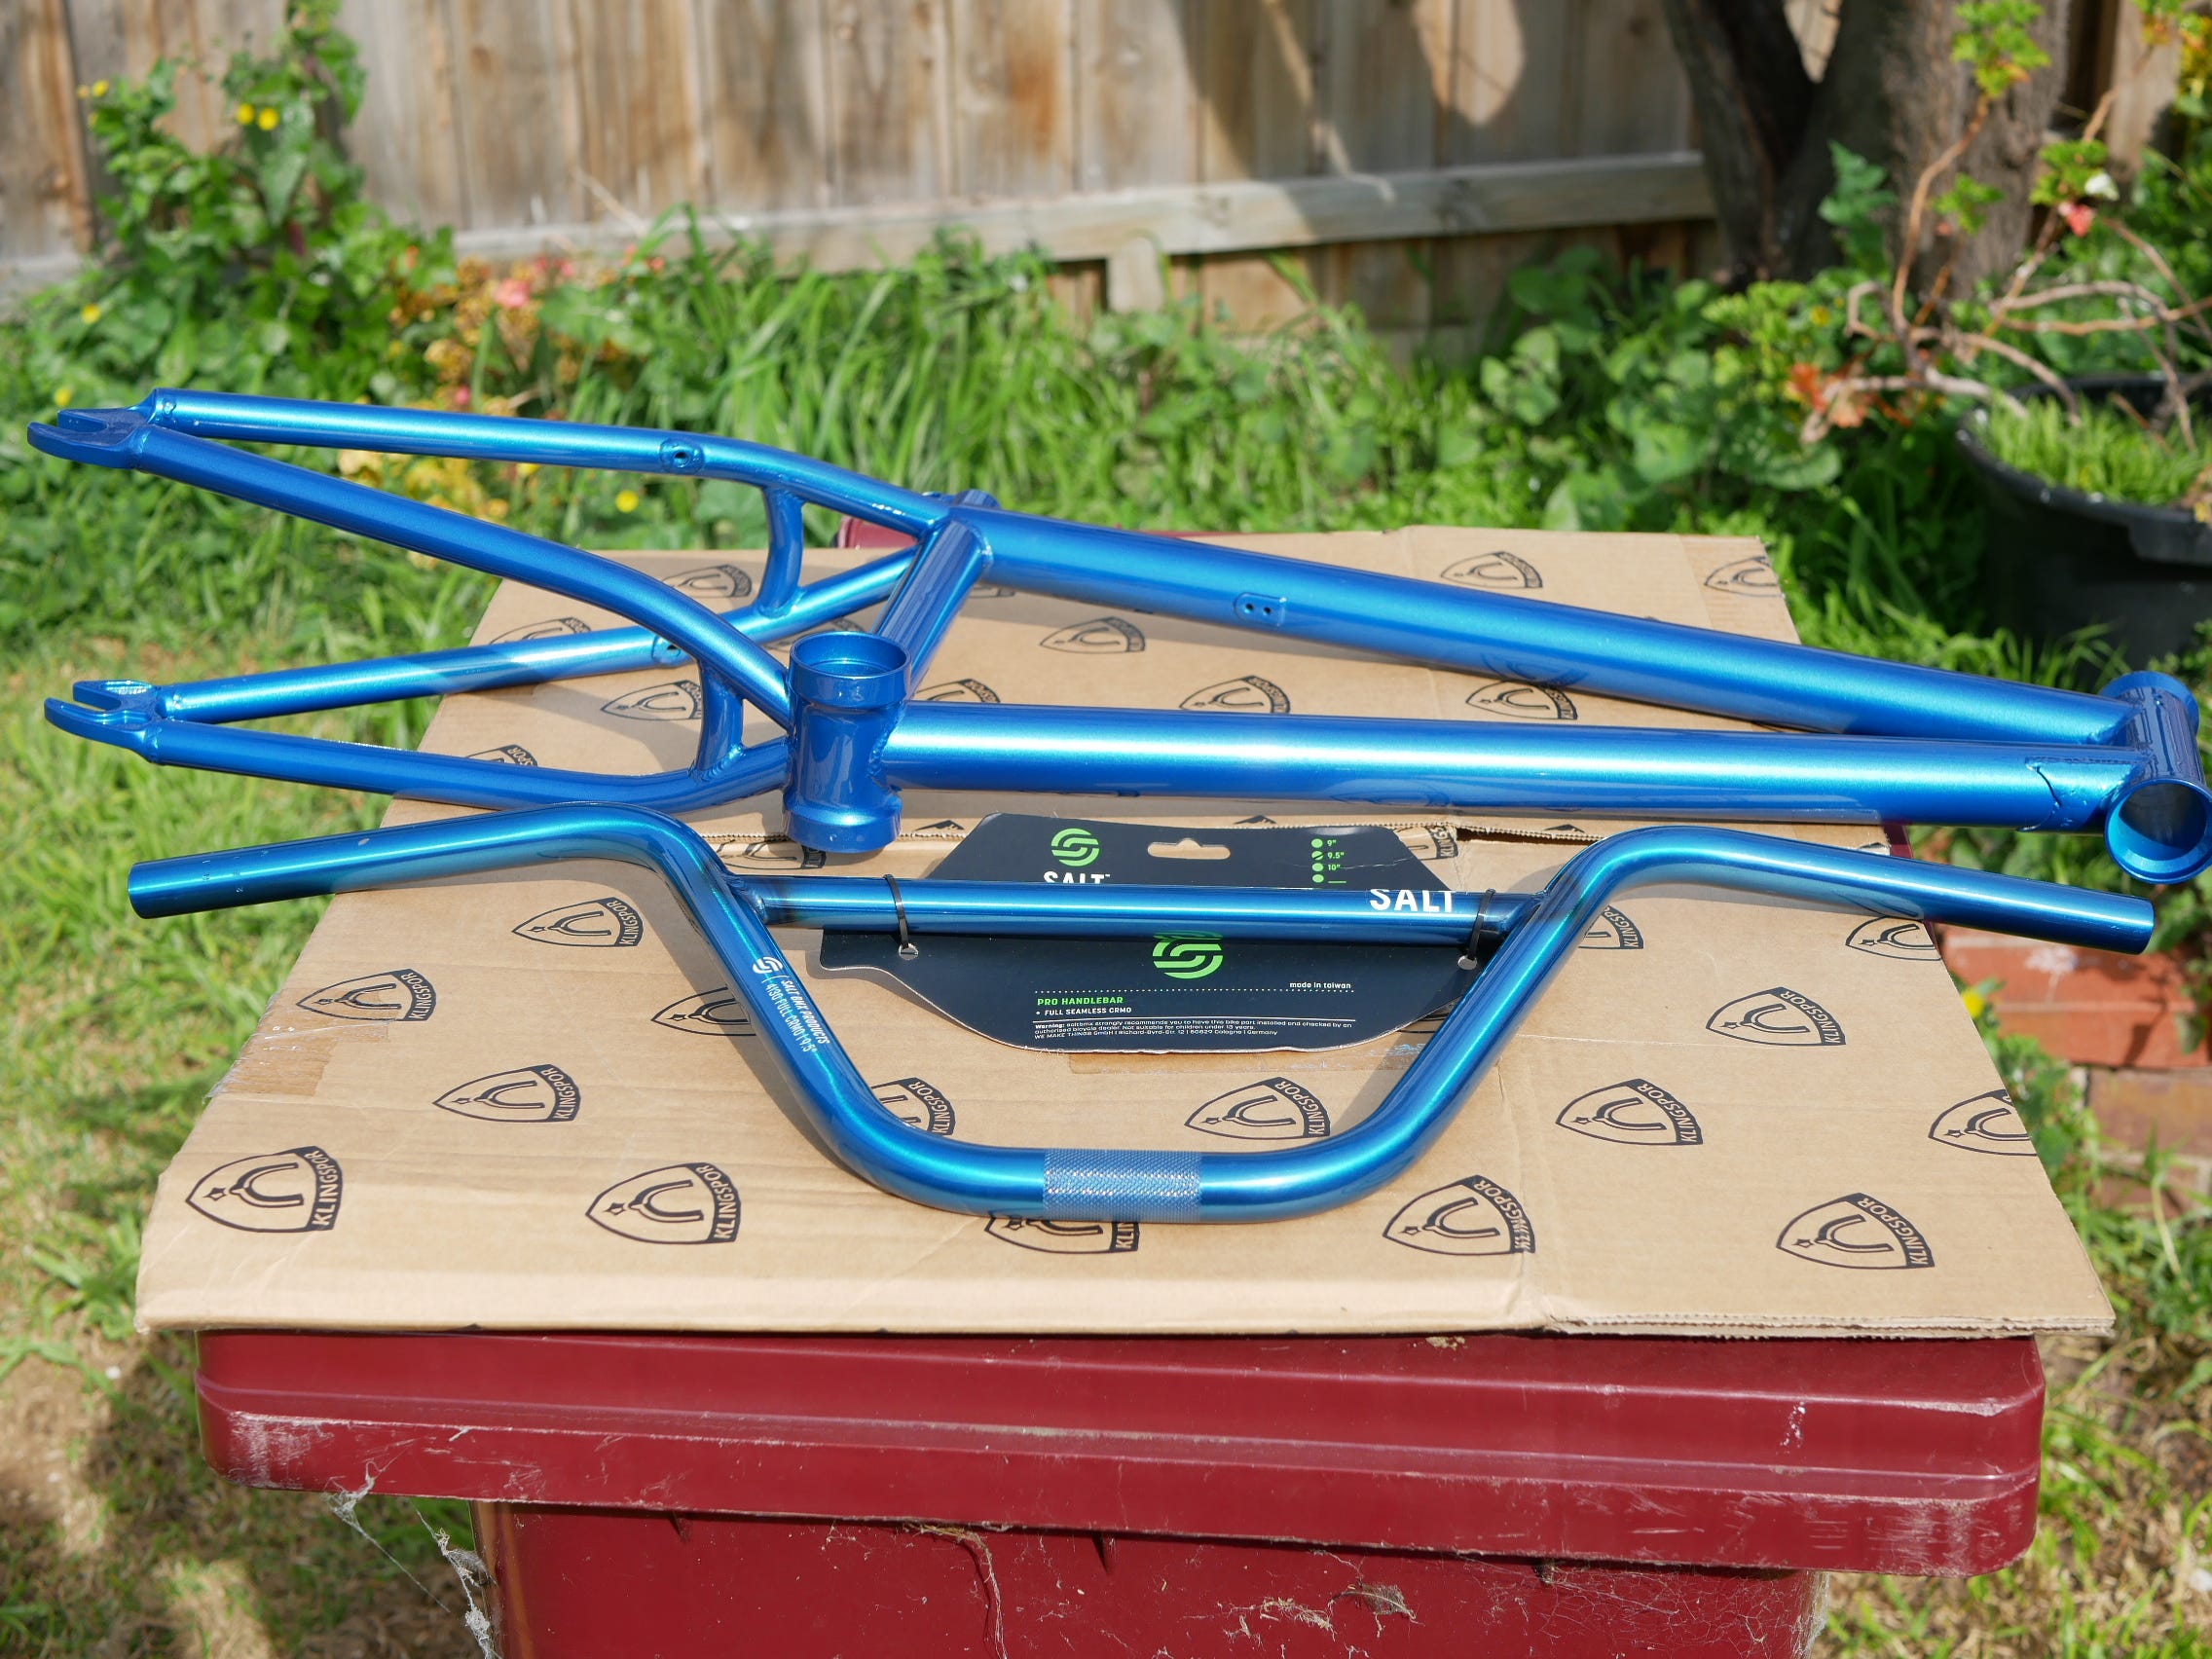
Beginning with the Freshly Painted BMX Frame….

Followed by the Frame and Fork. Notice they are both the exact same colors.
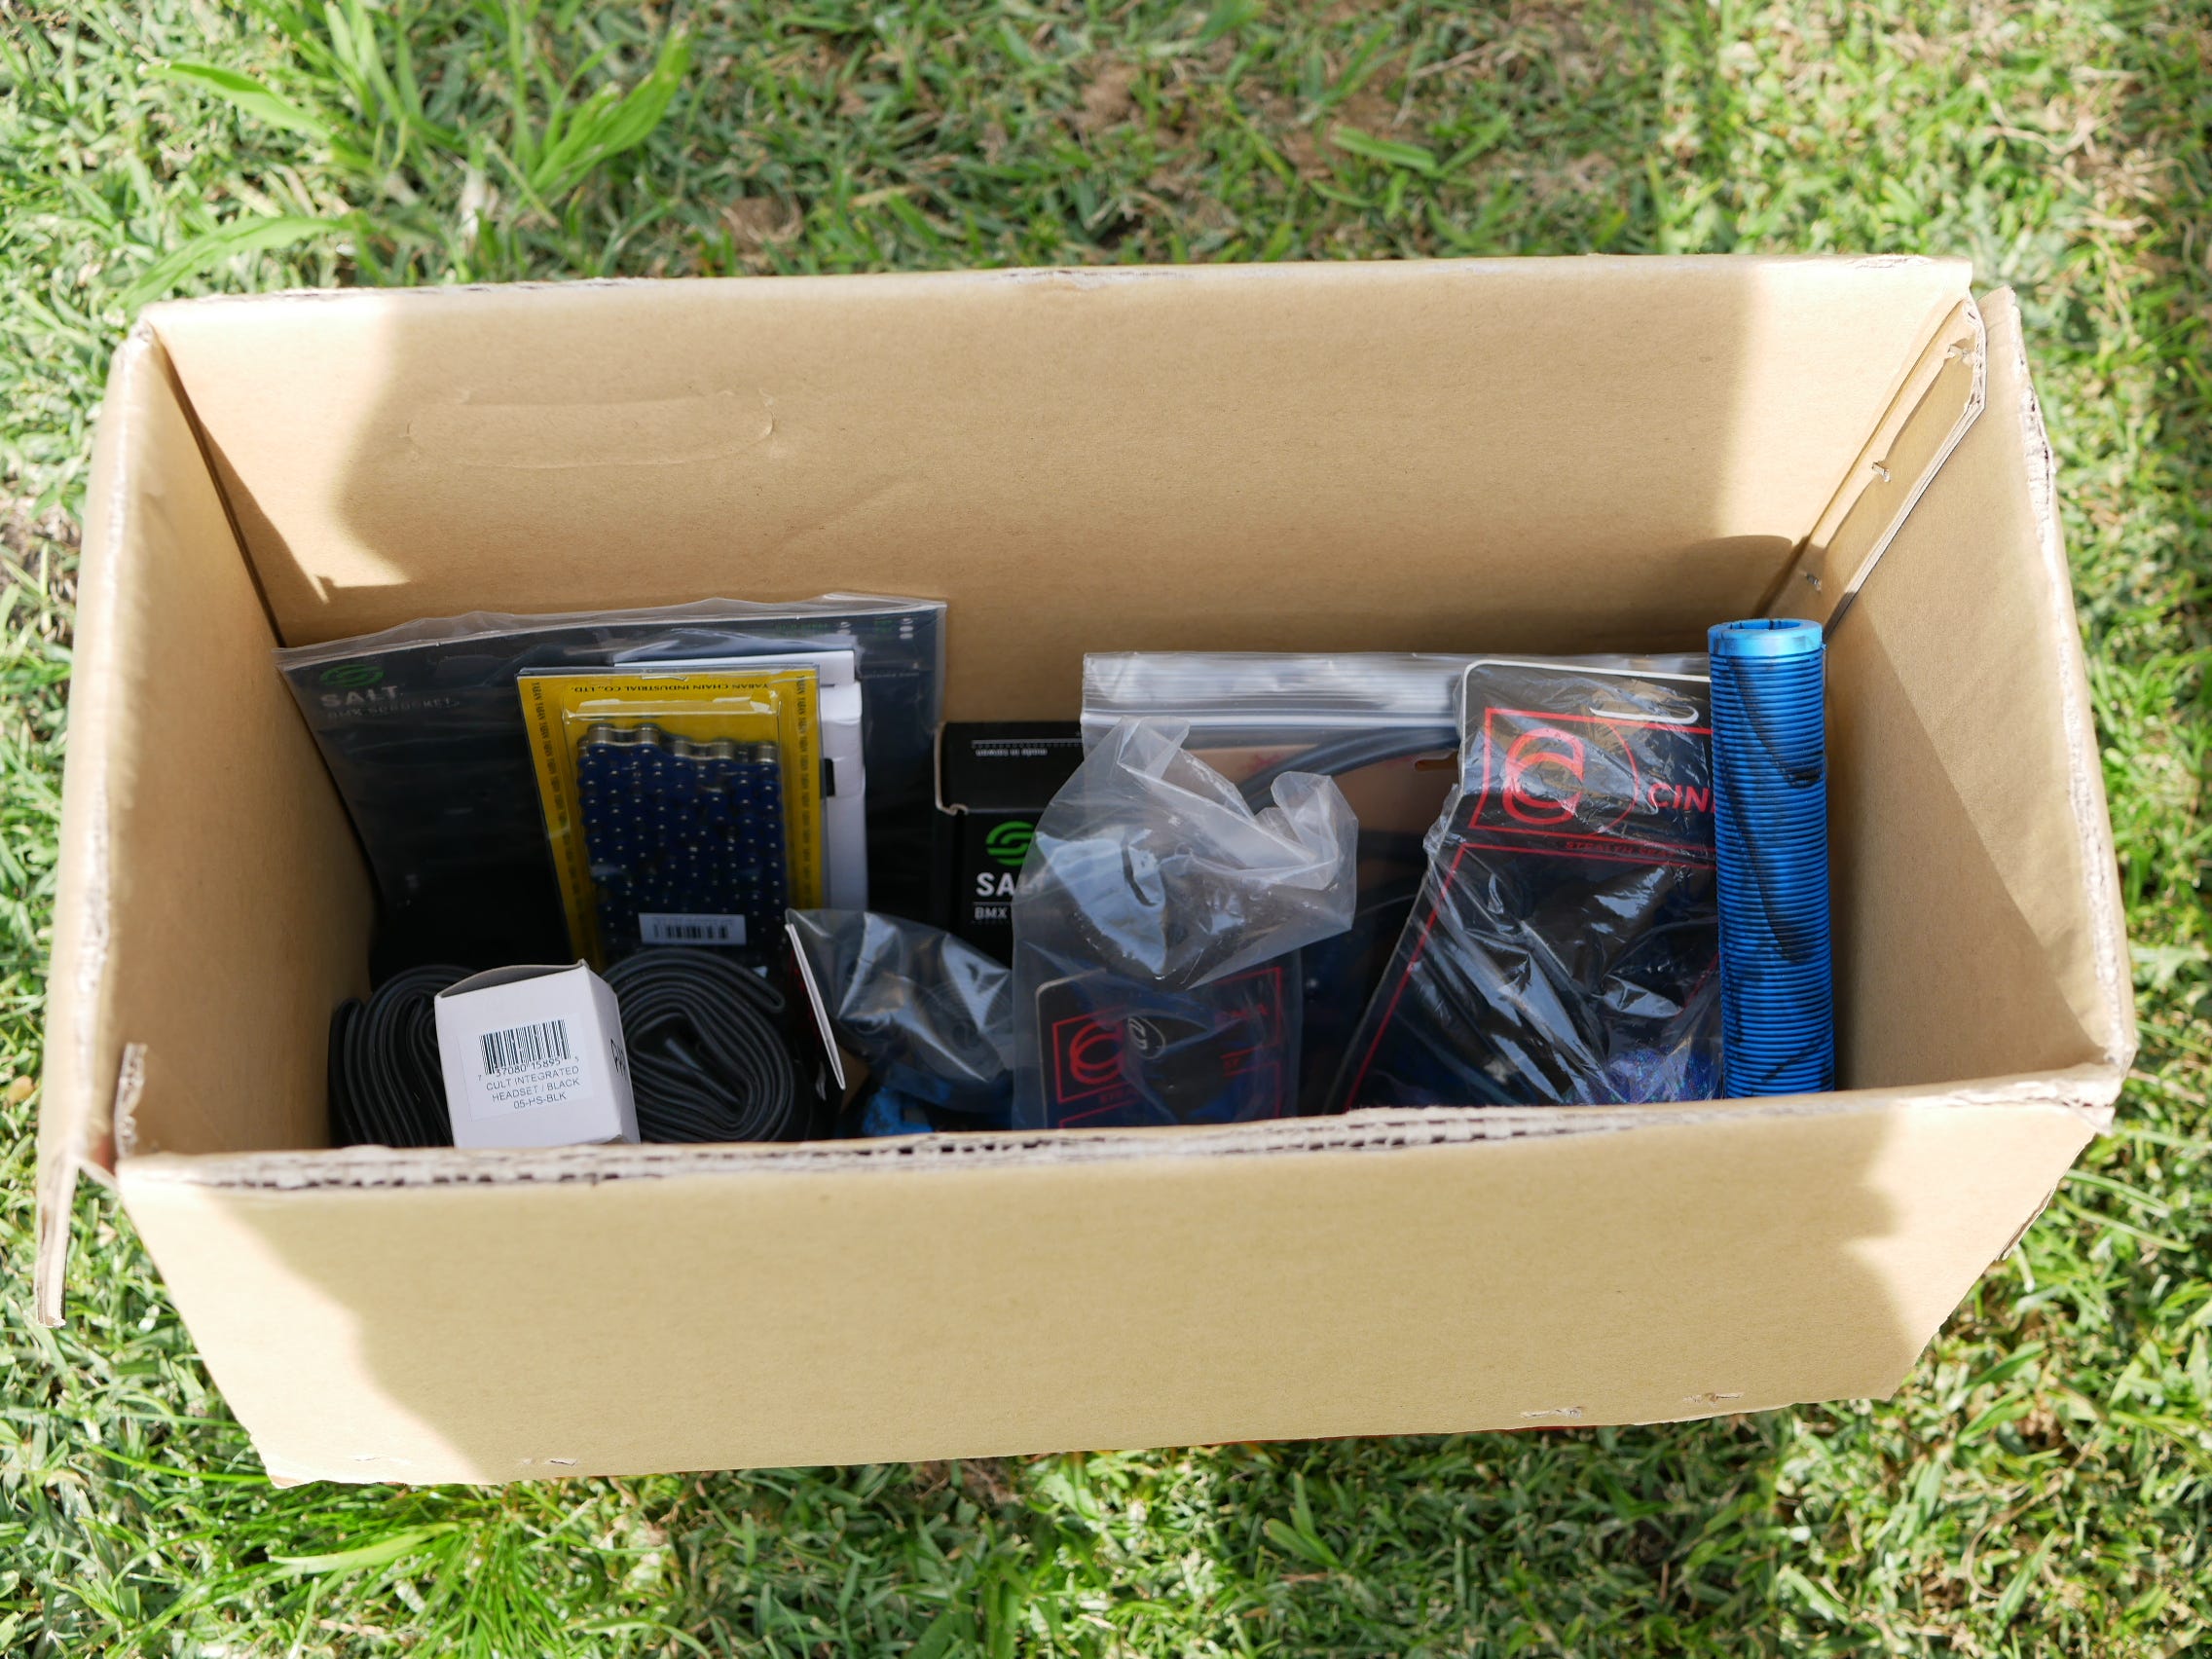
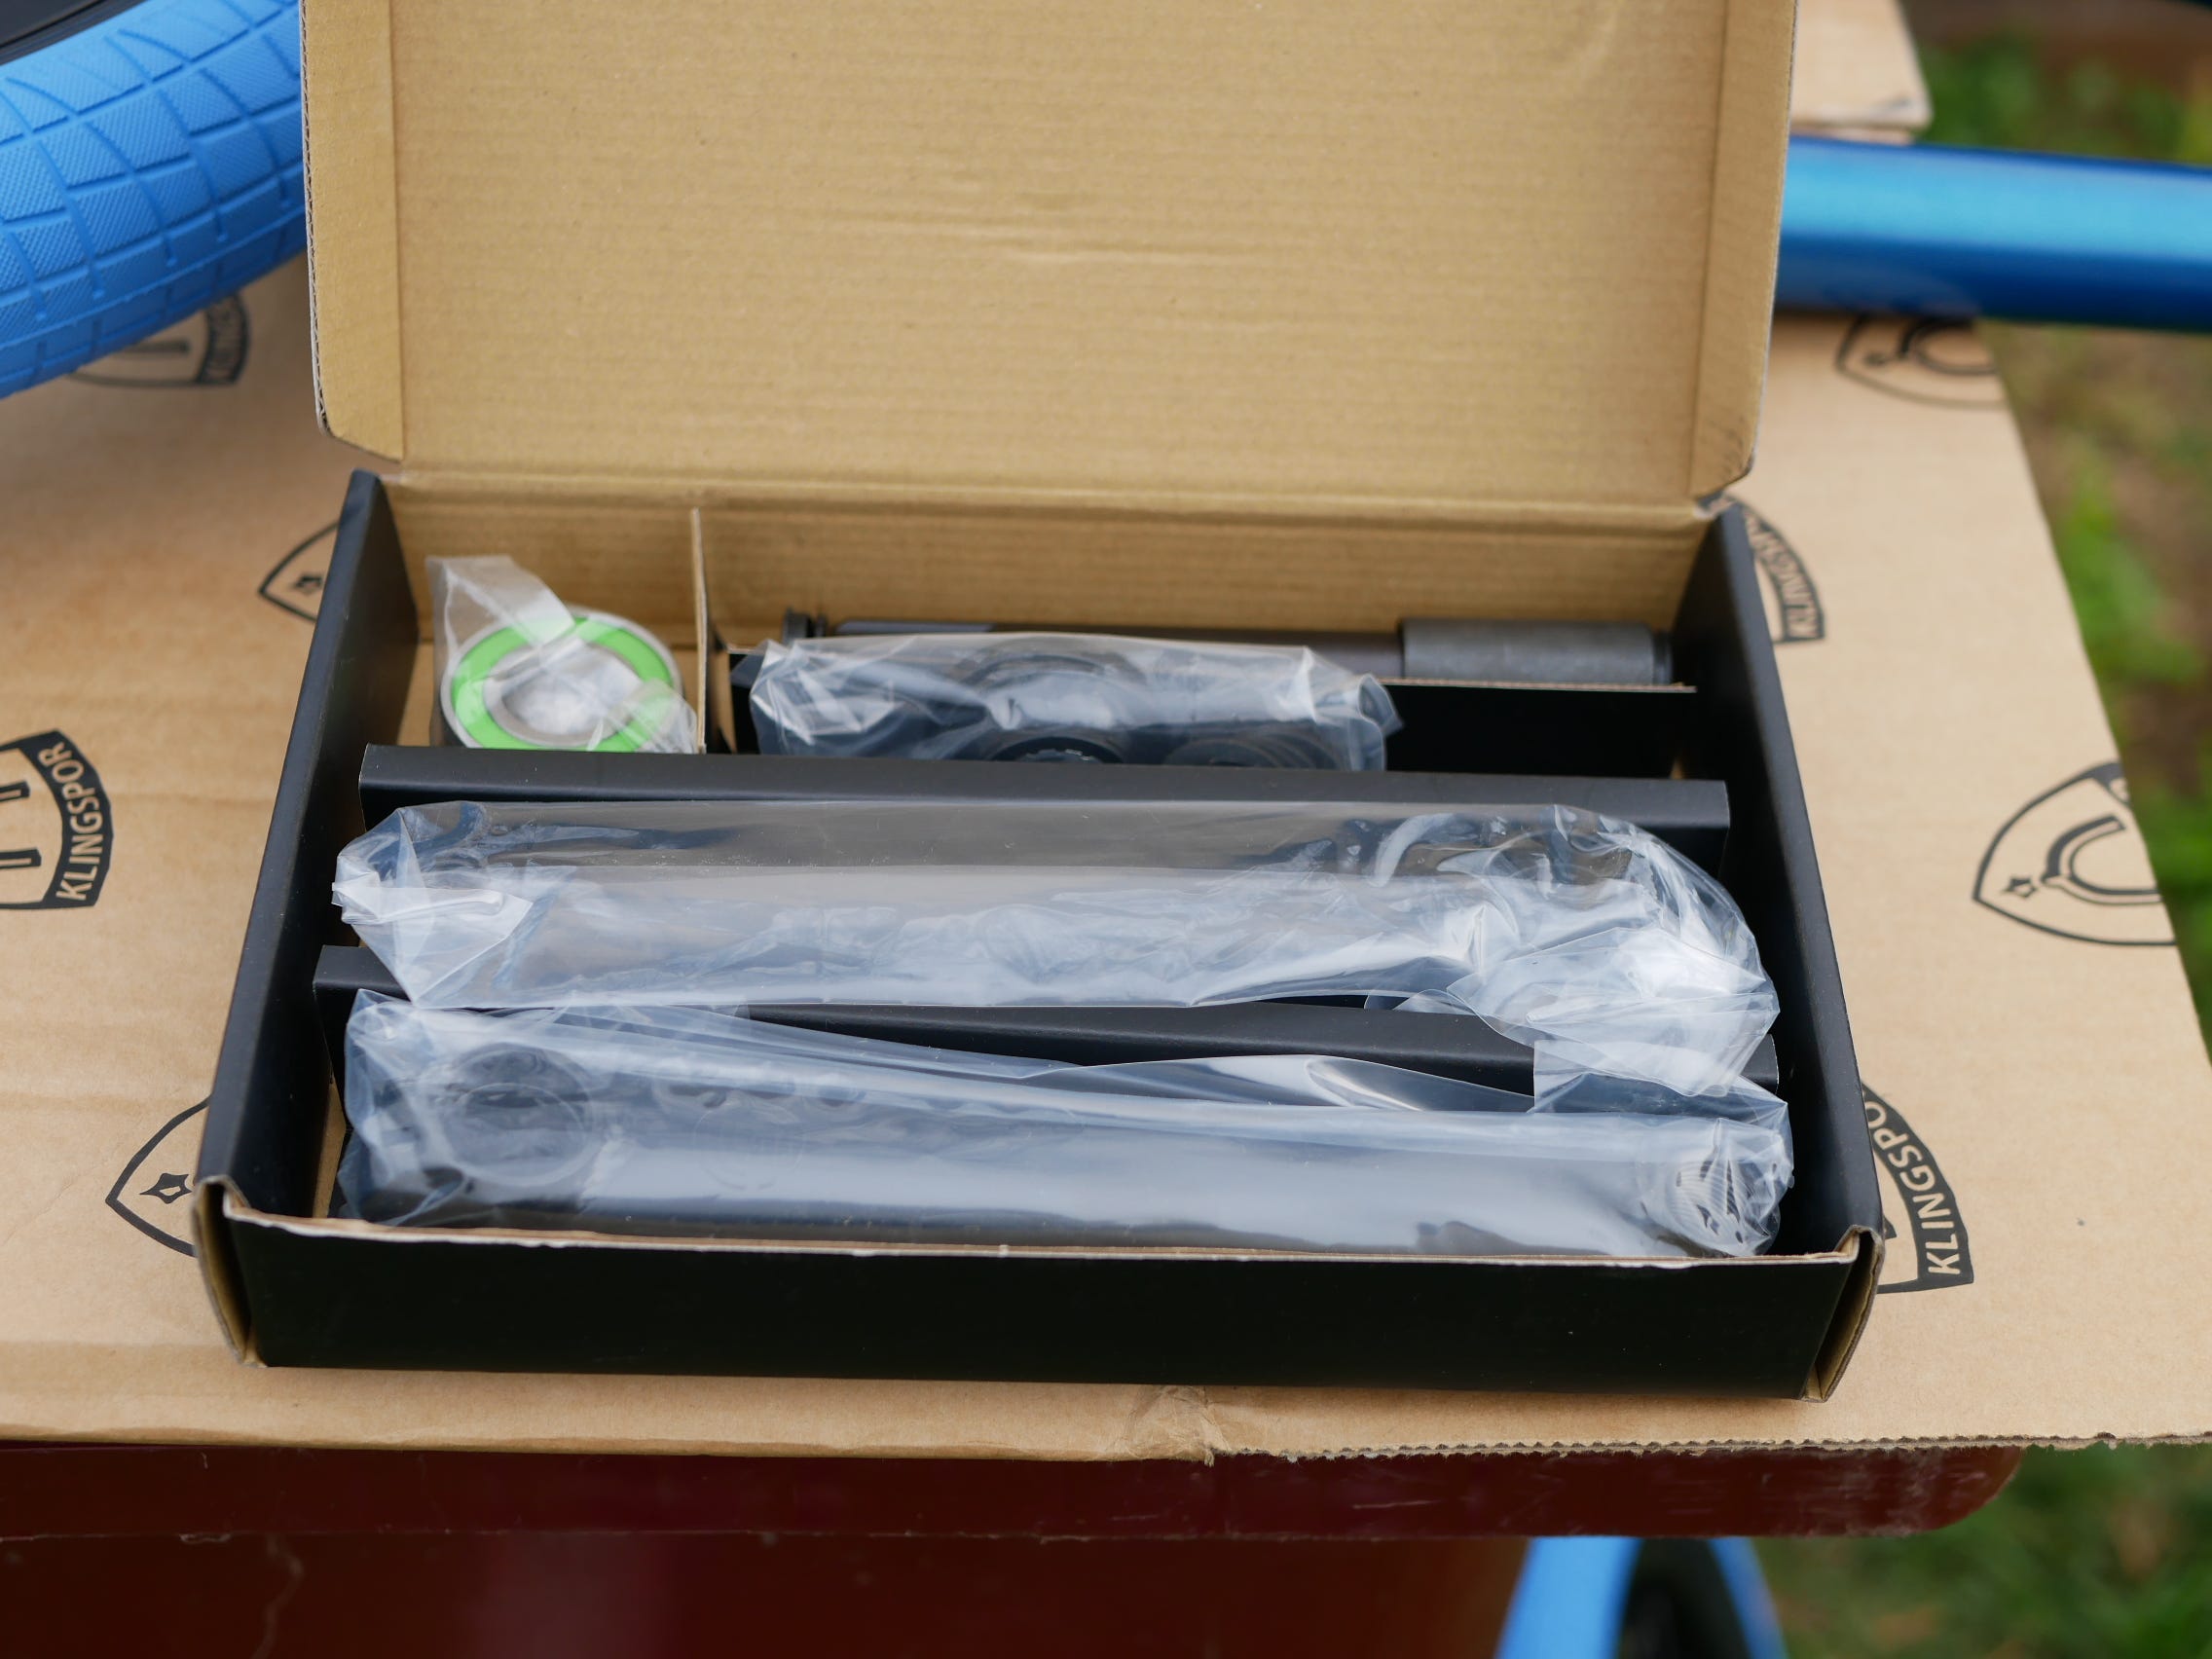
And a Box of some BMX Goodies.
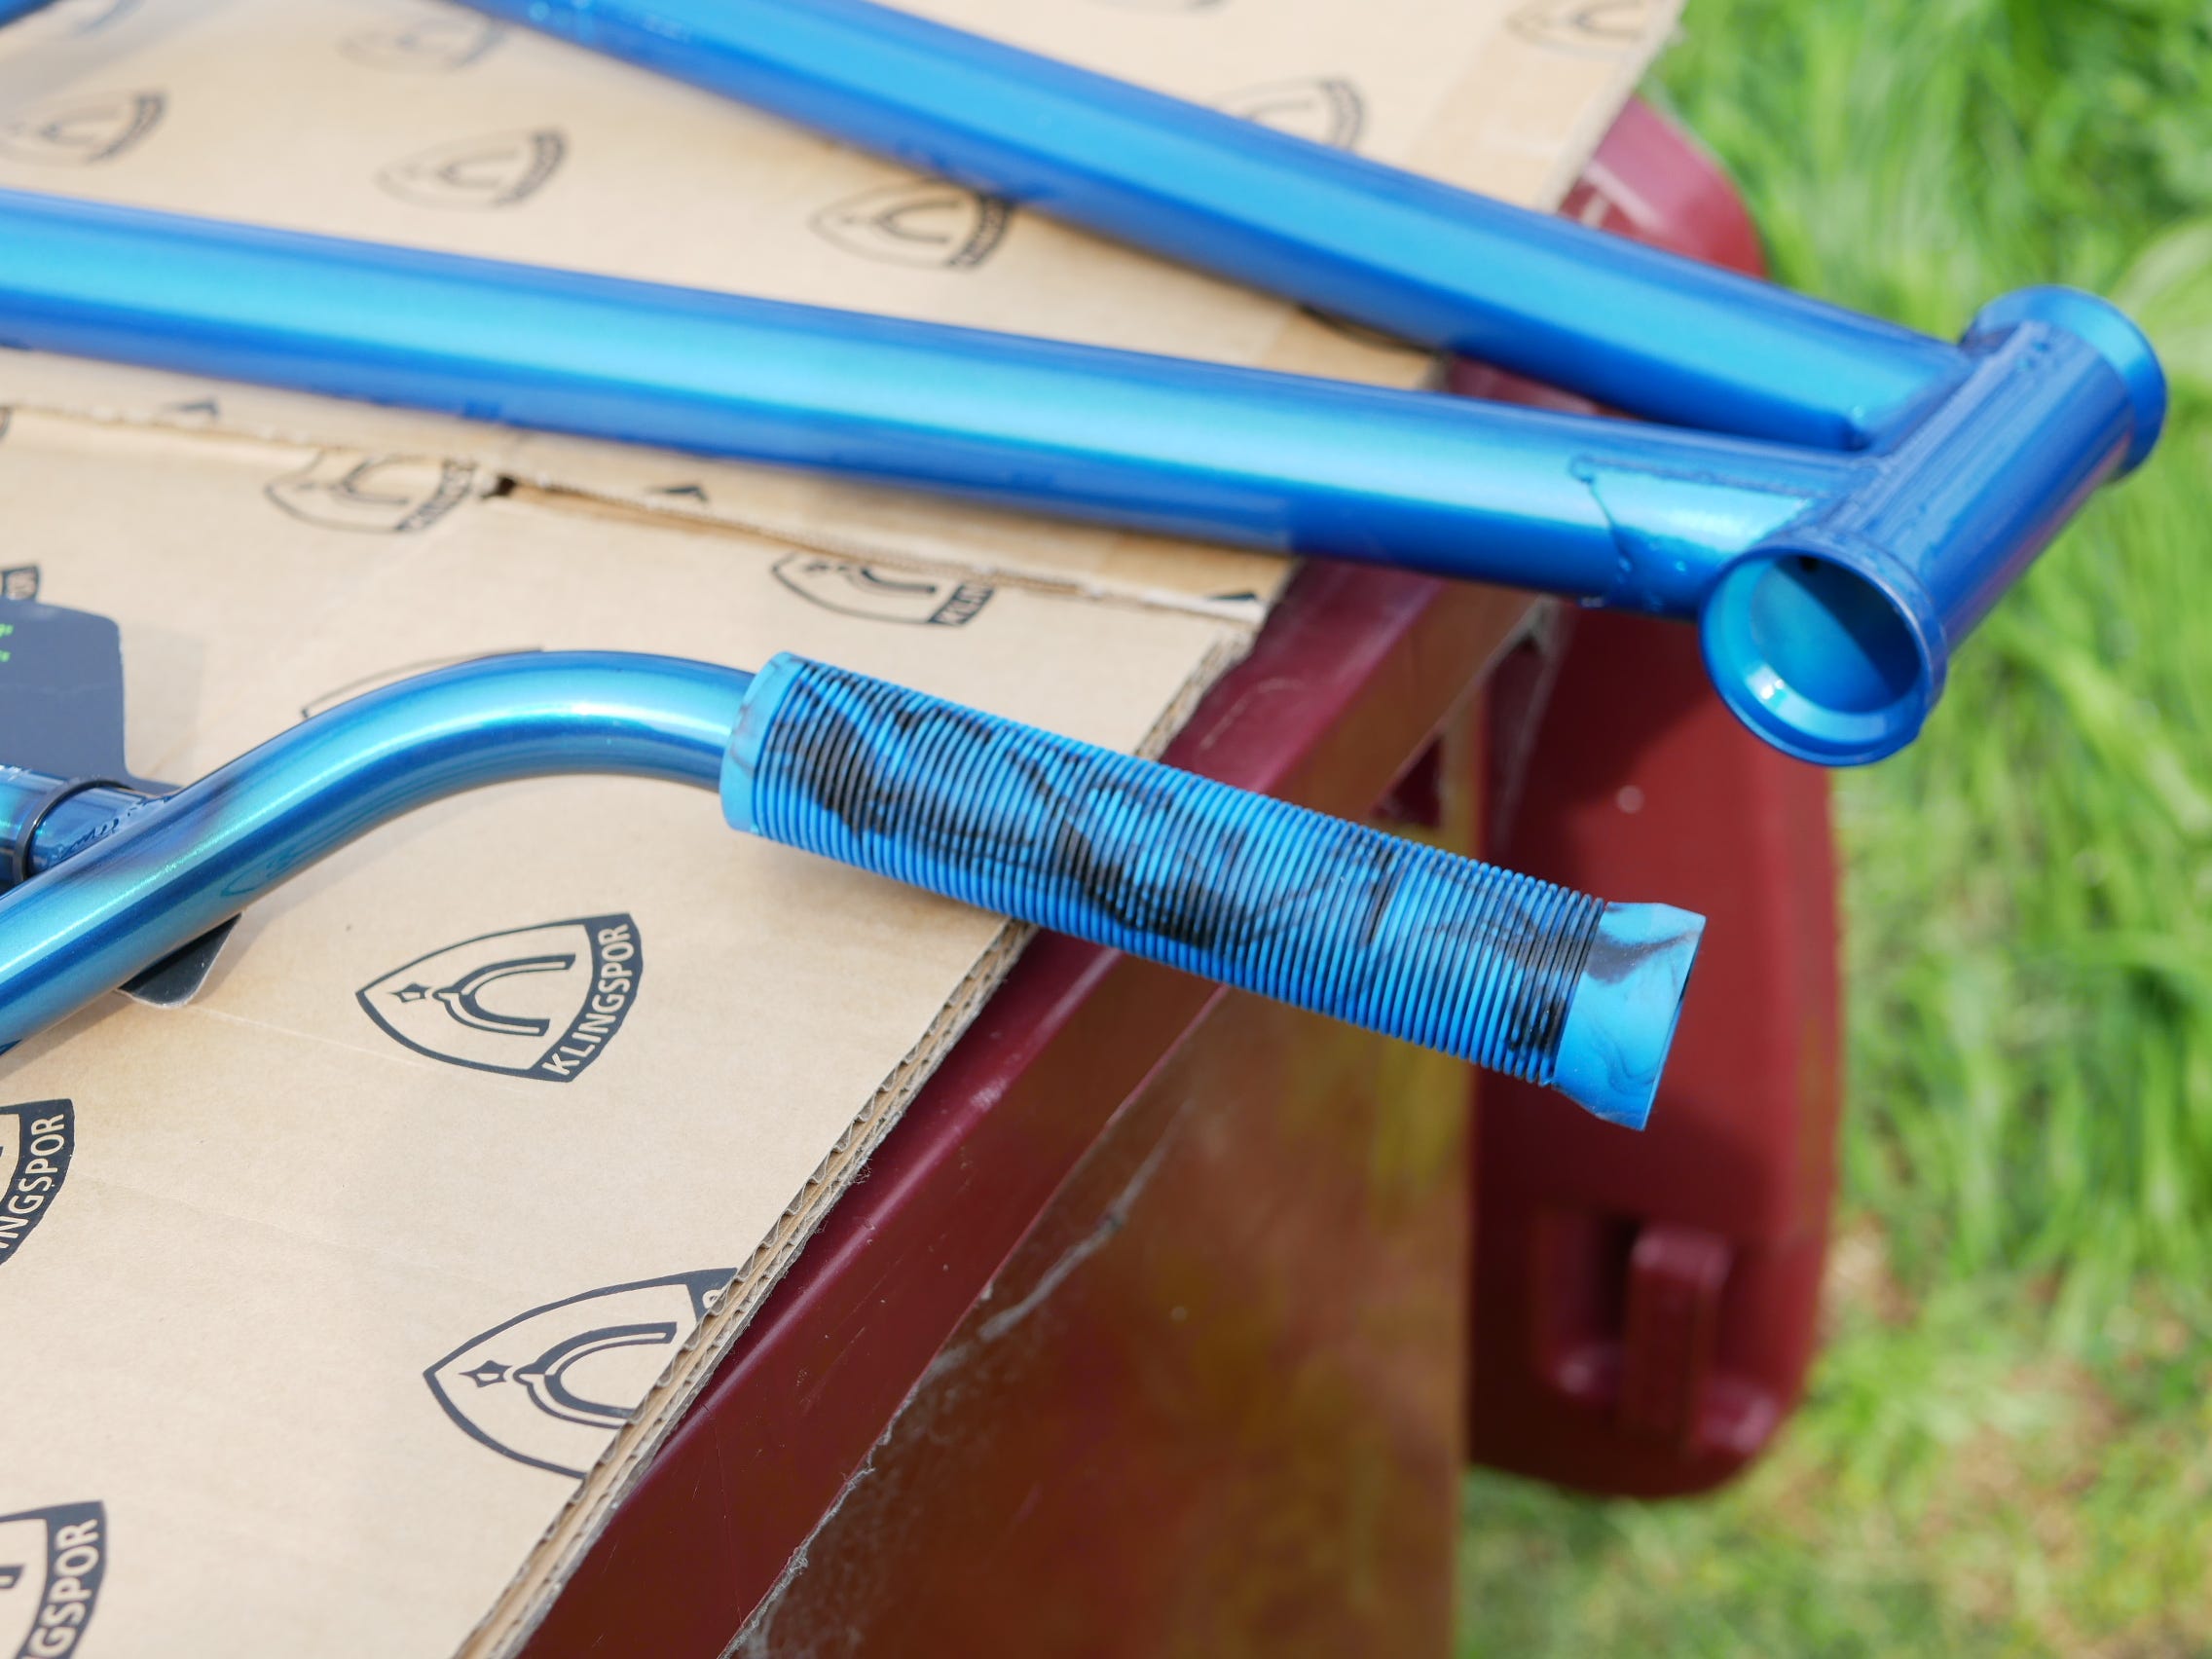
Followed by sharing the bits that were purchased, such as the Bars and Grips.
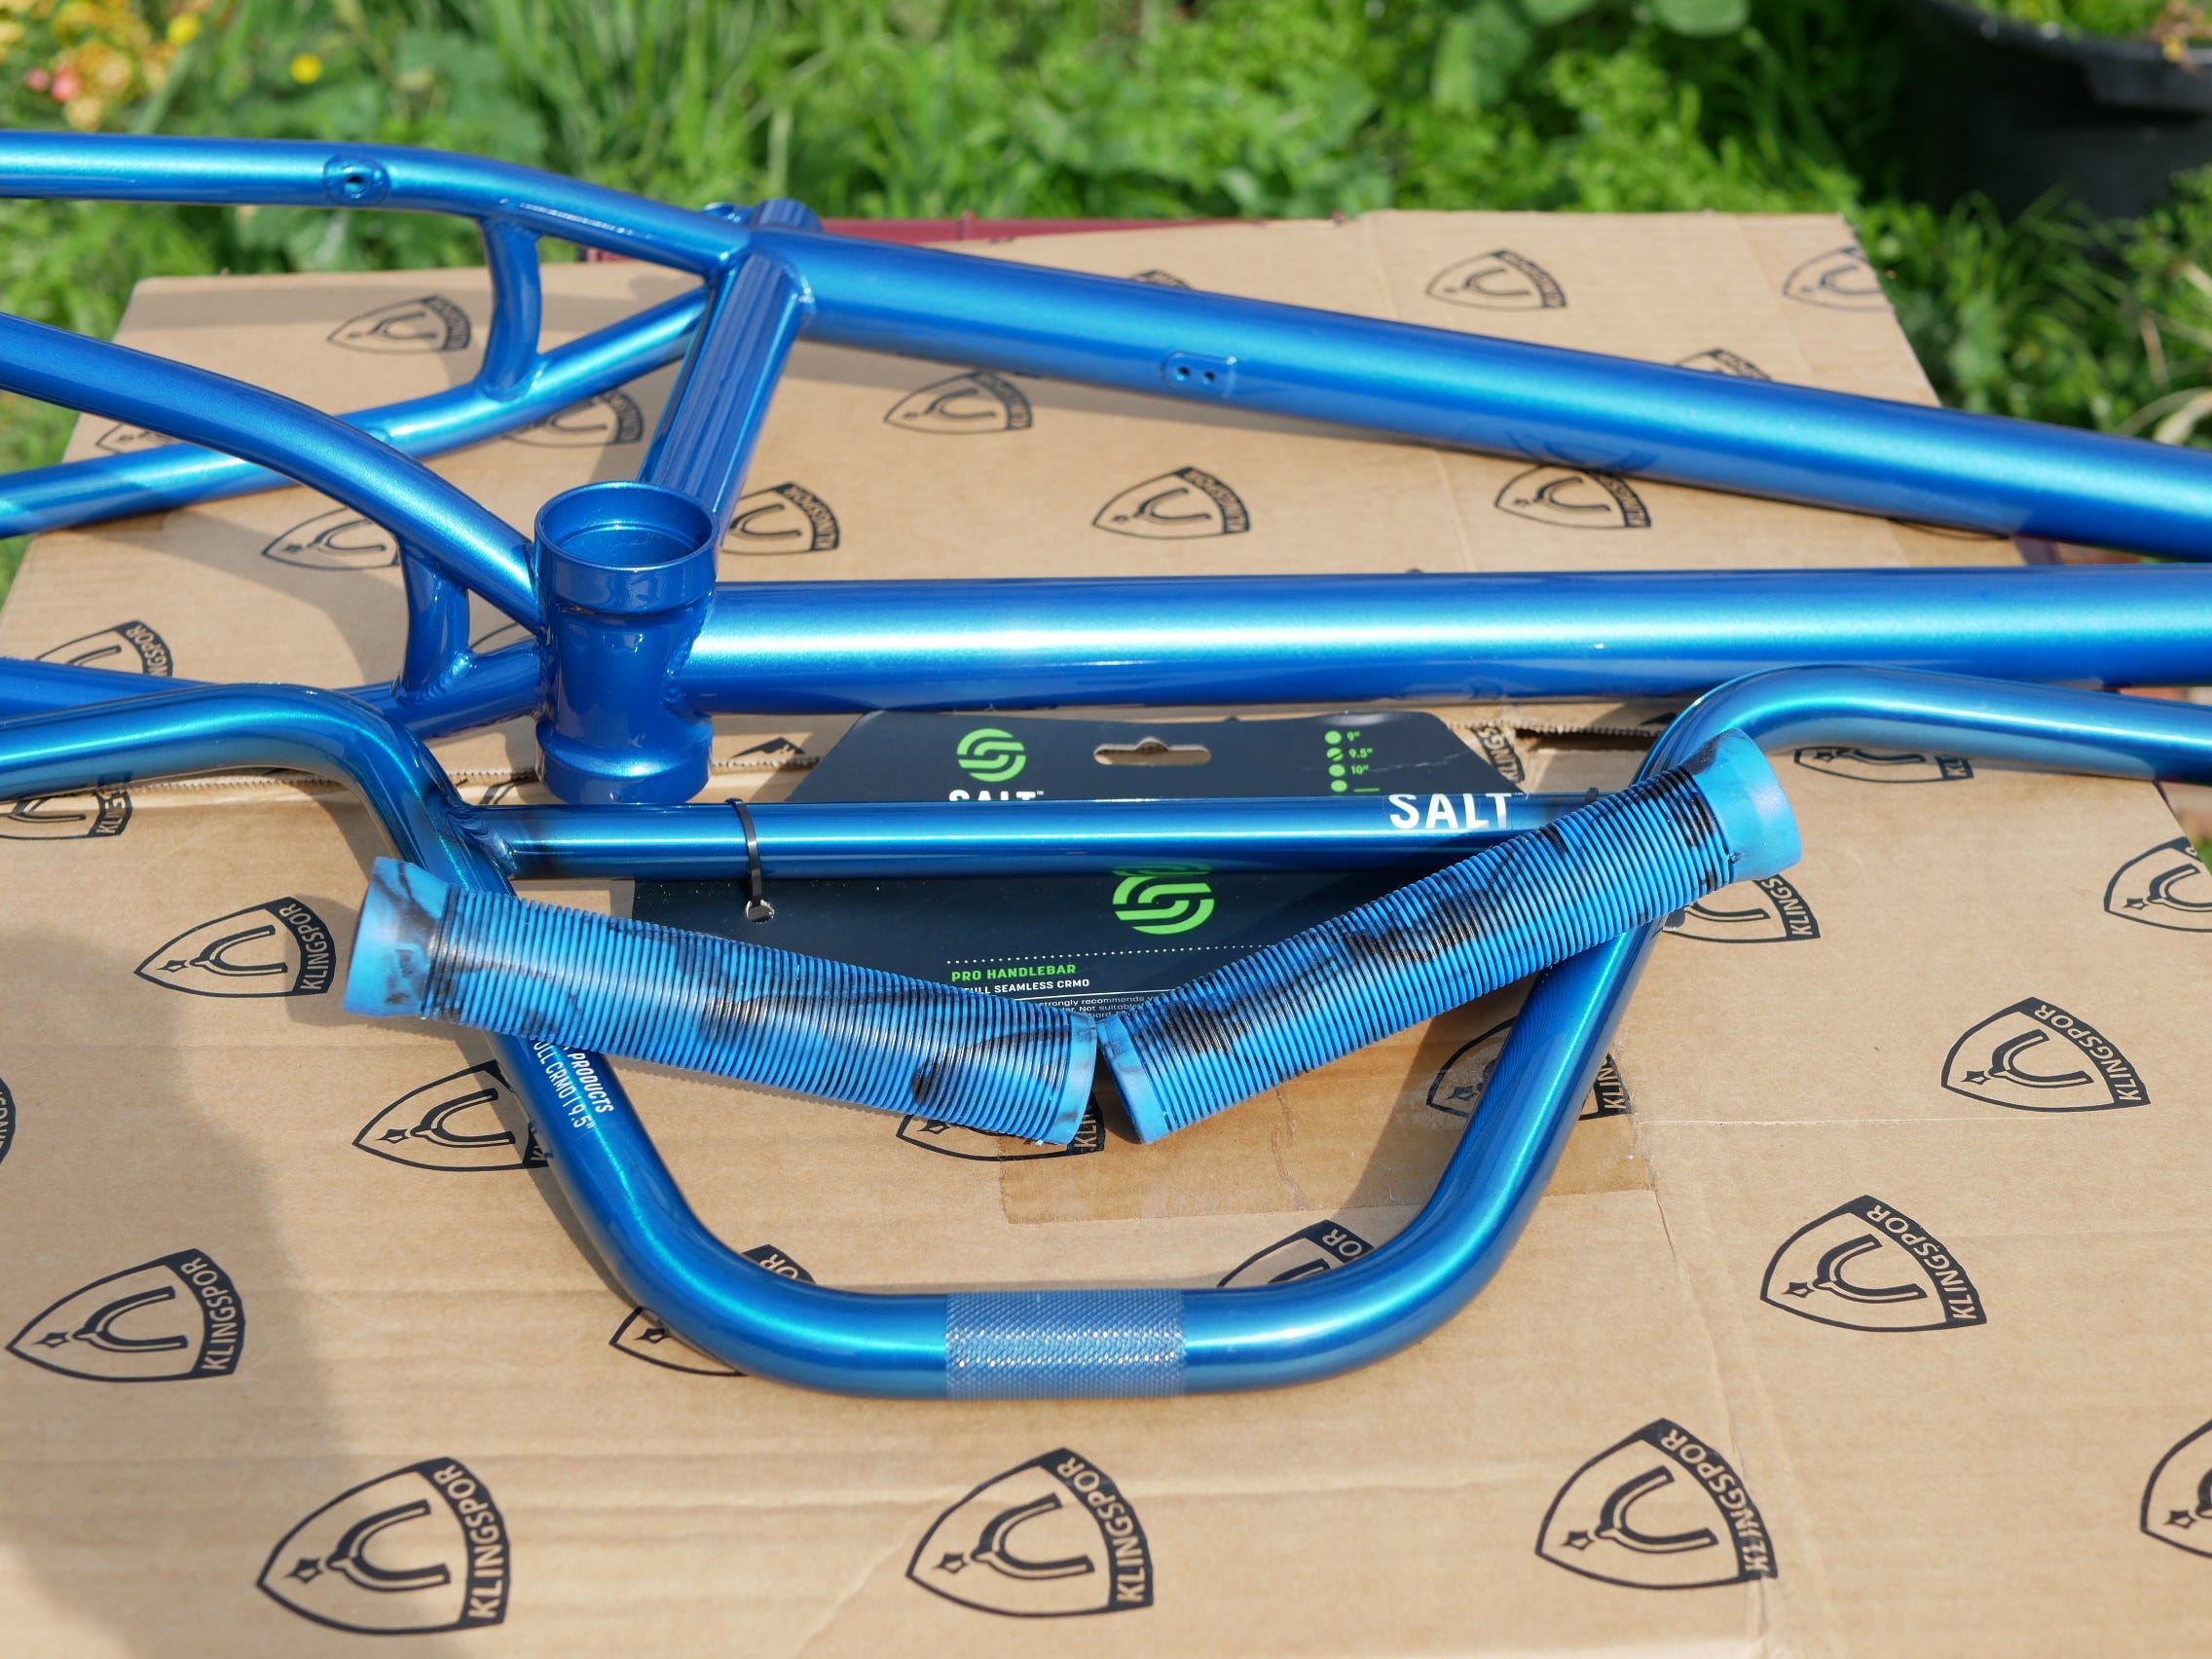
But let us now begin with all the Bits in order starting with mounting the Grips.
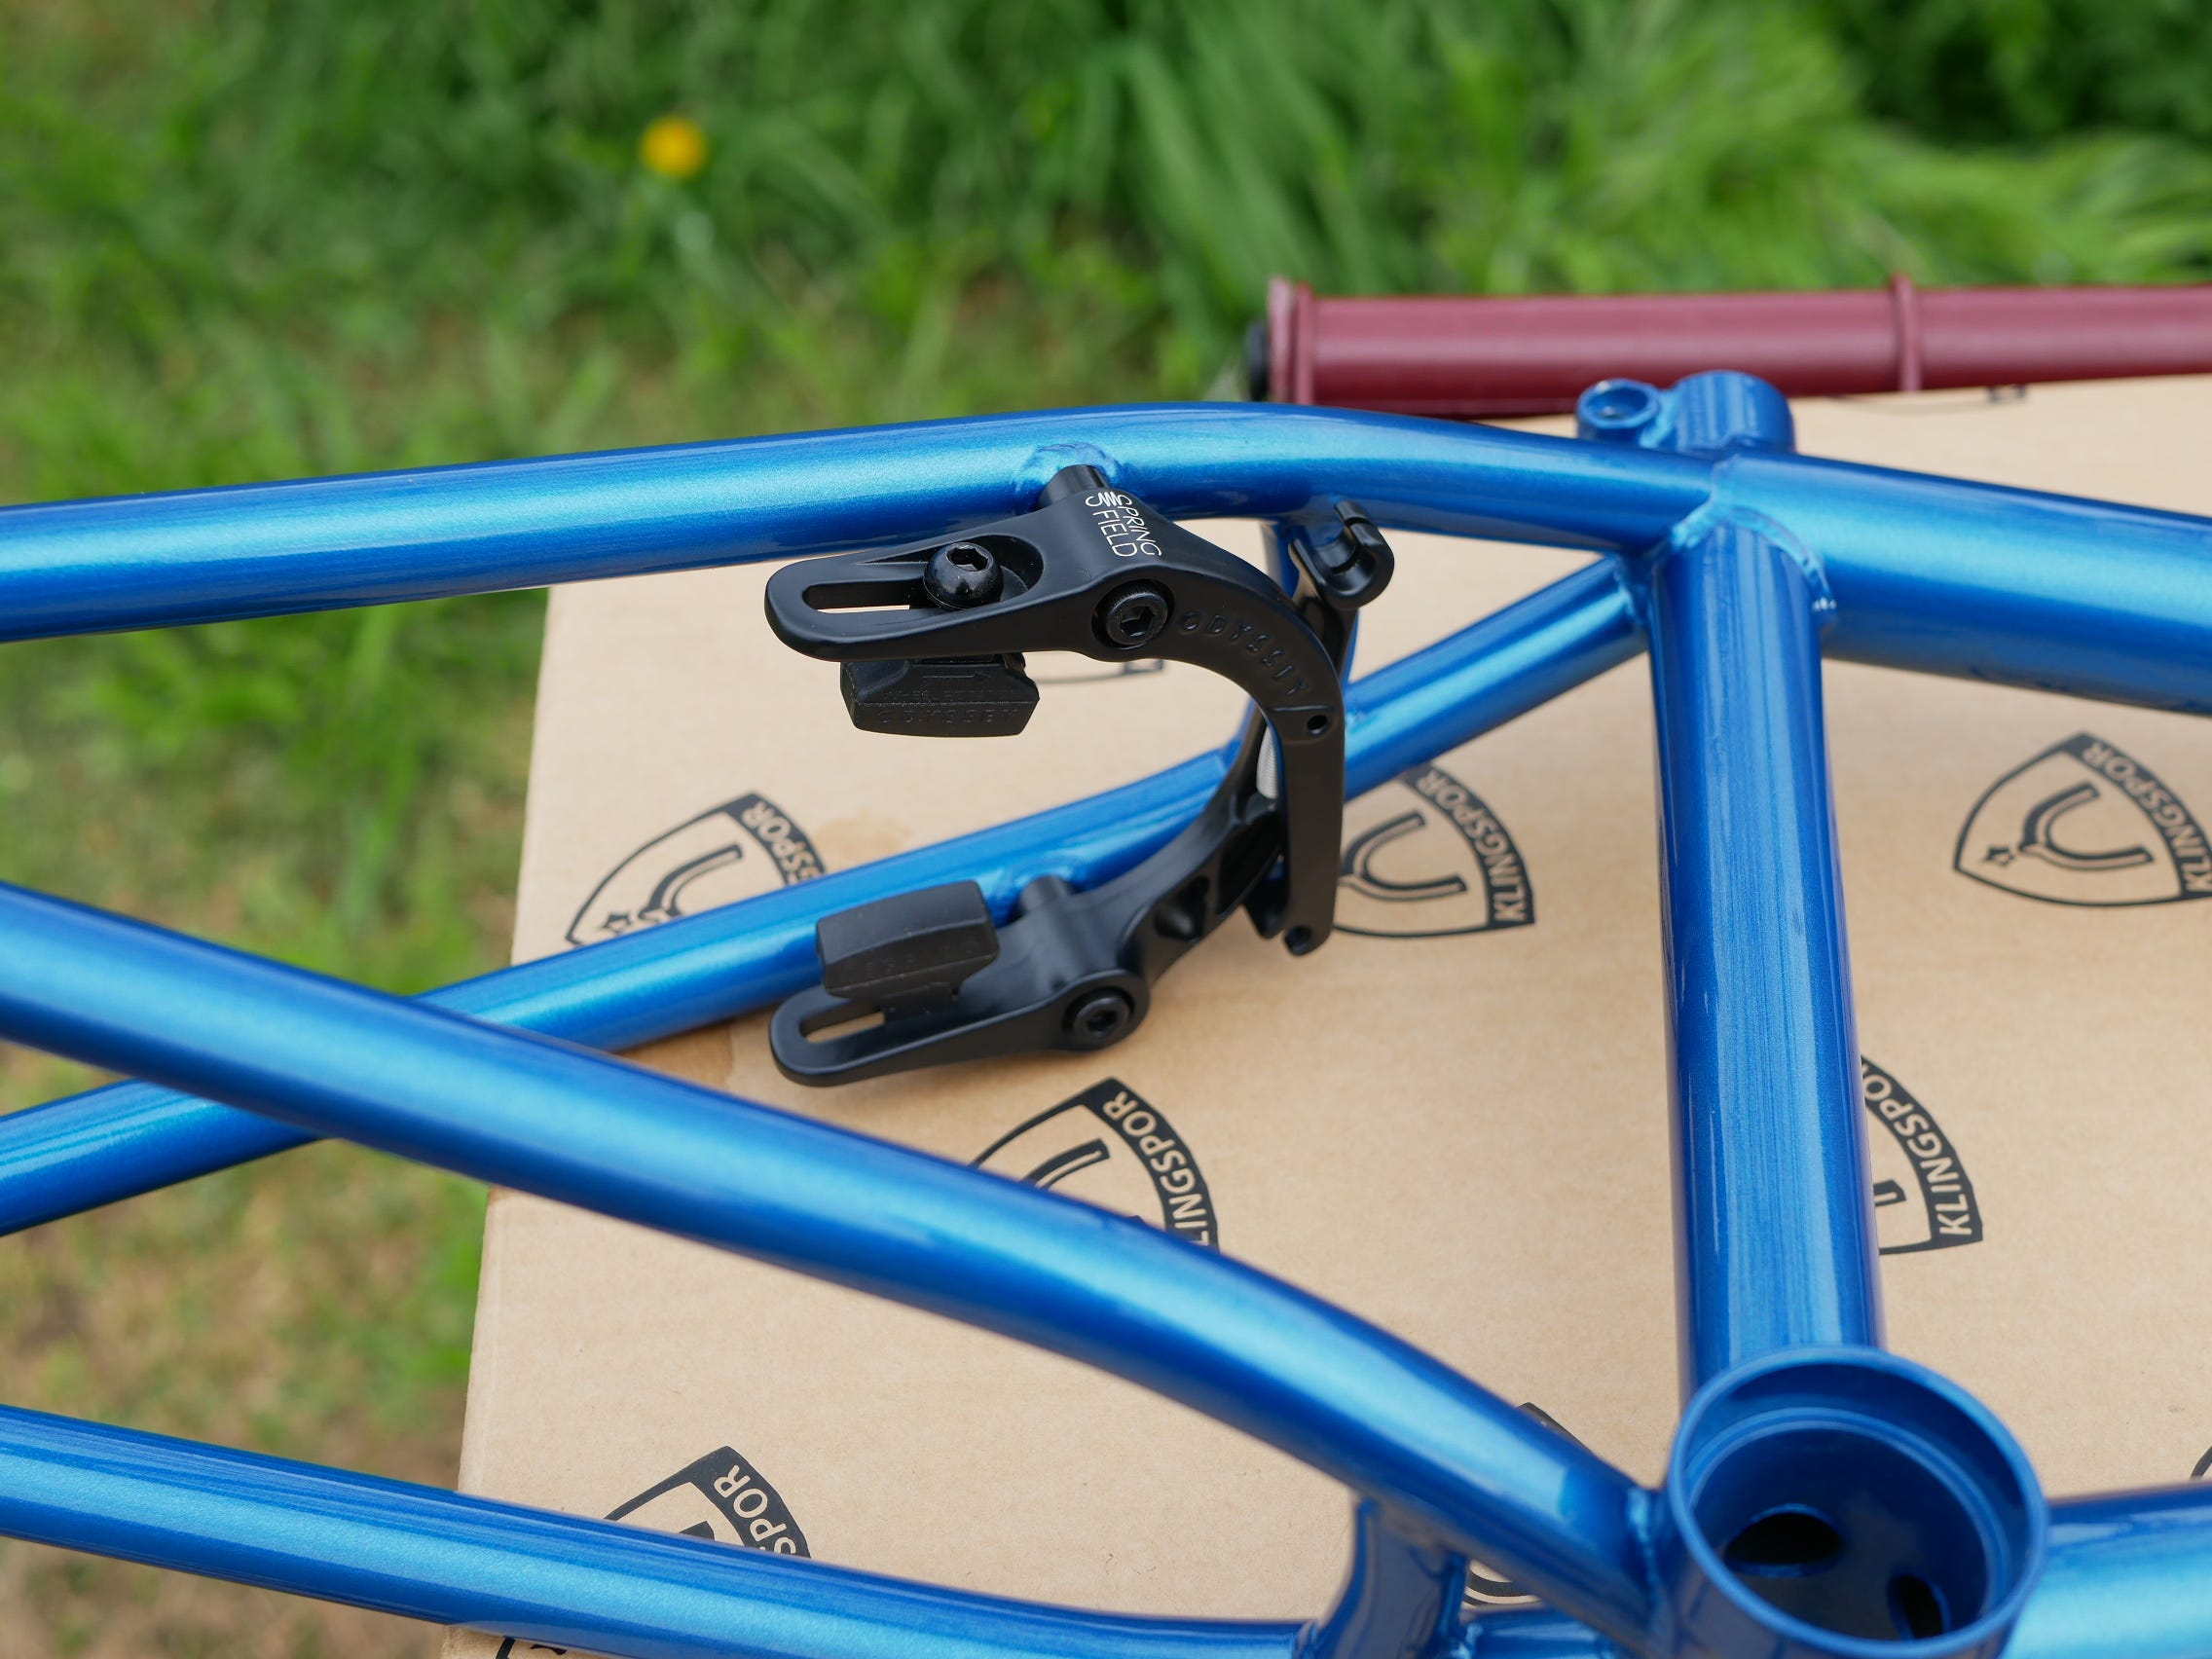
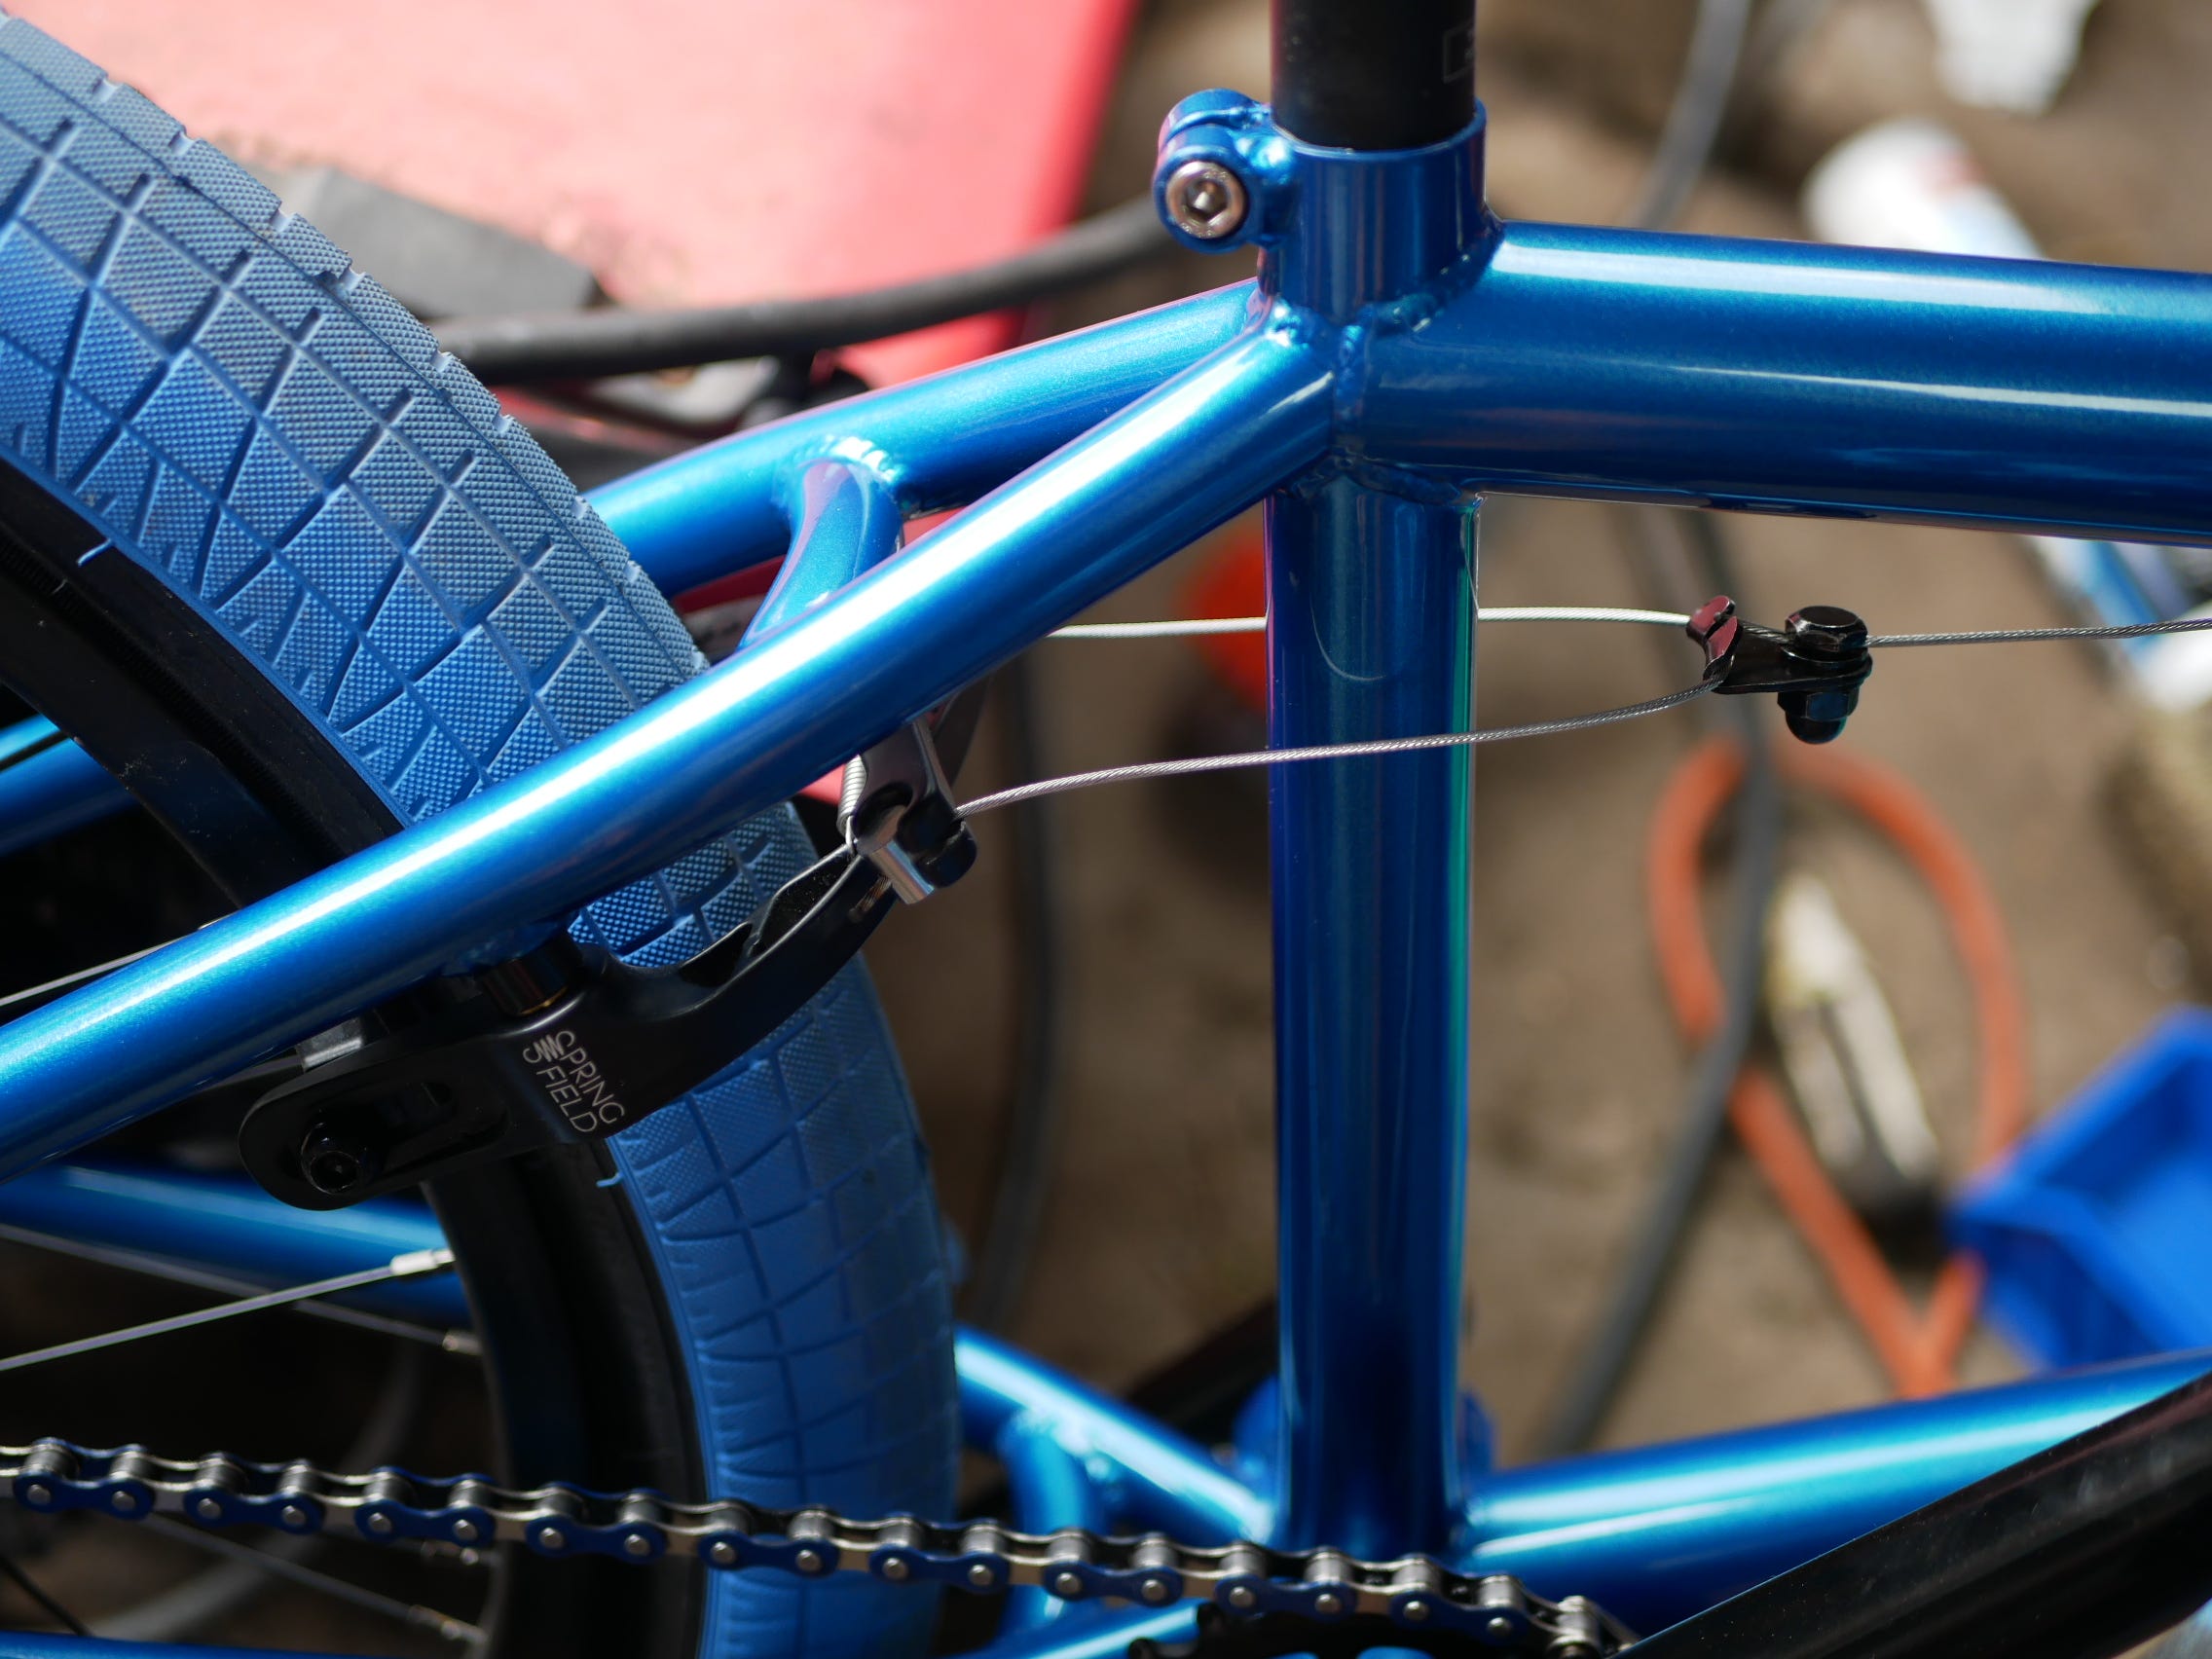
Next came the Rear Brake Kit.
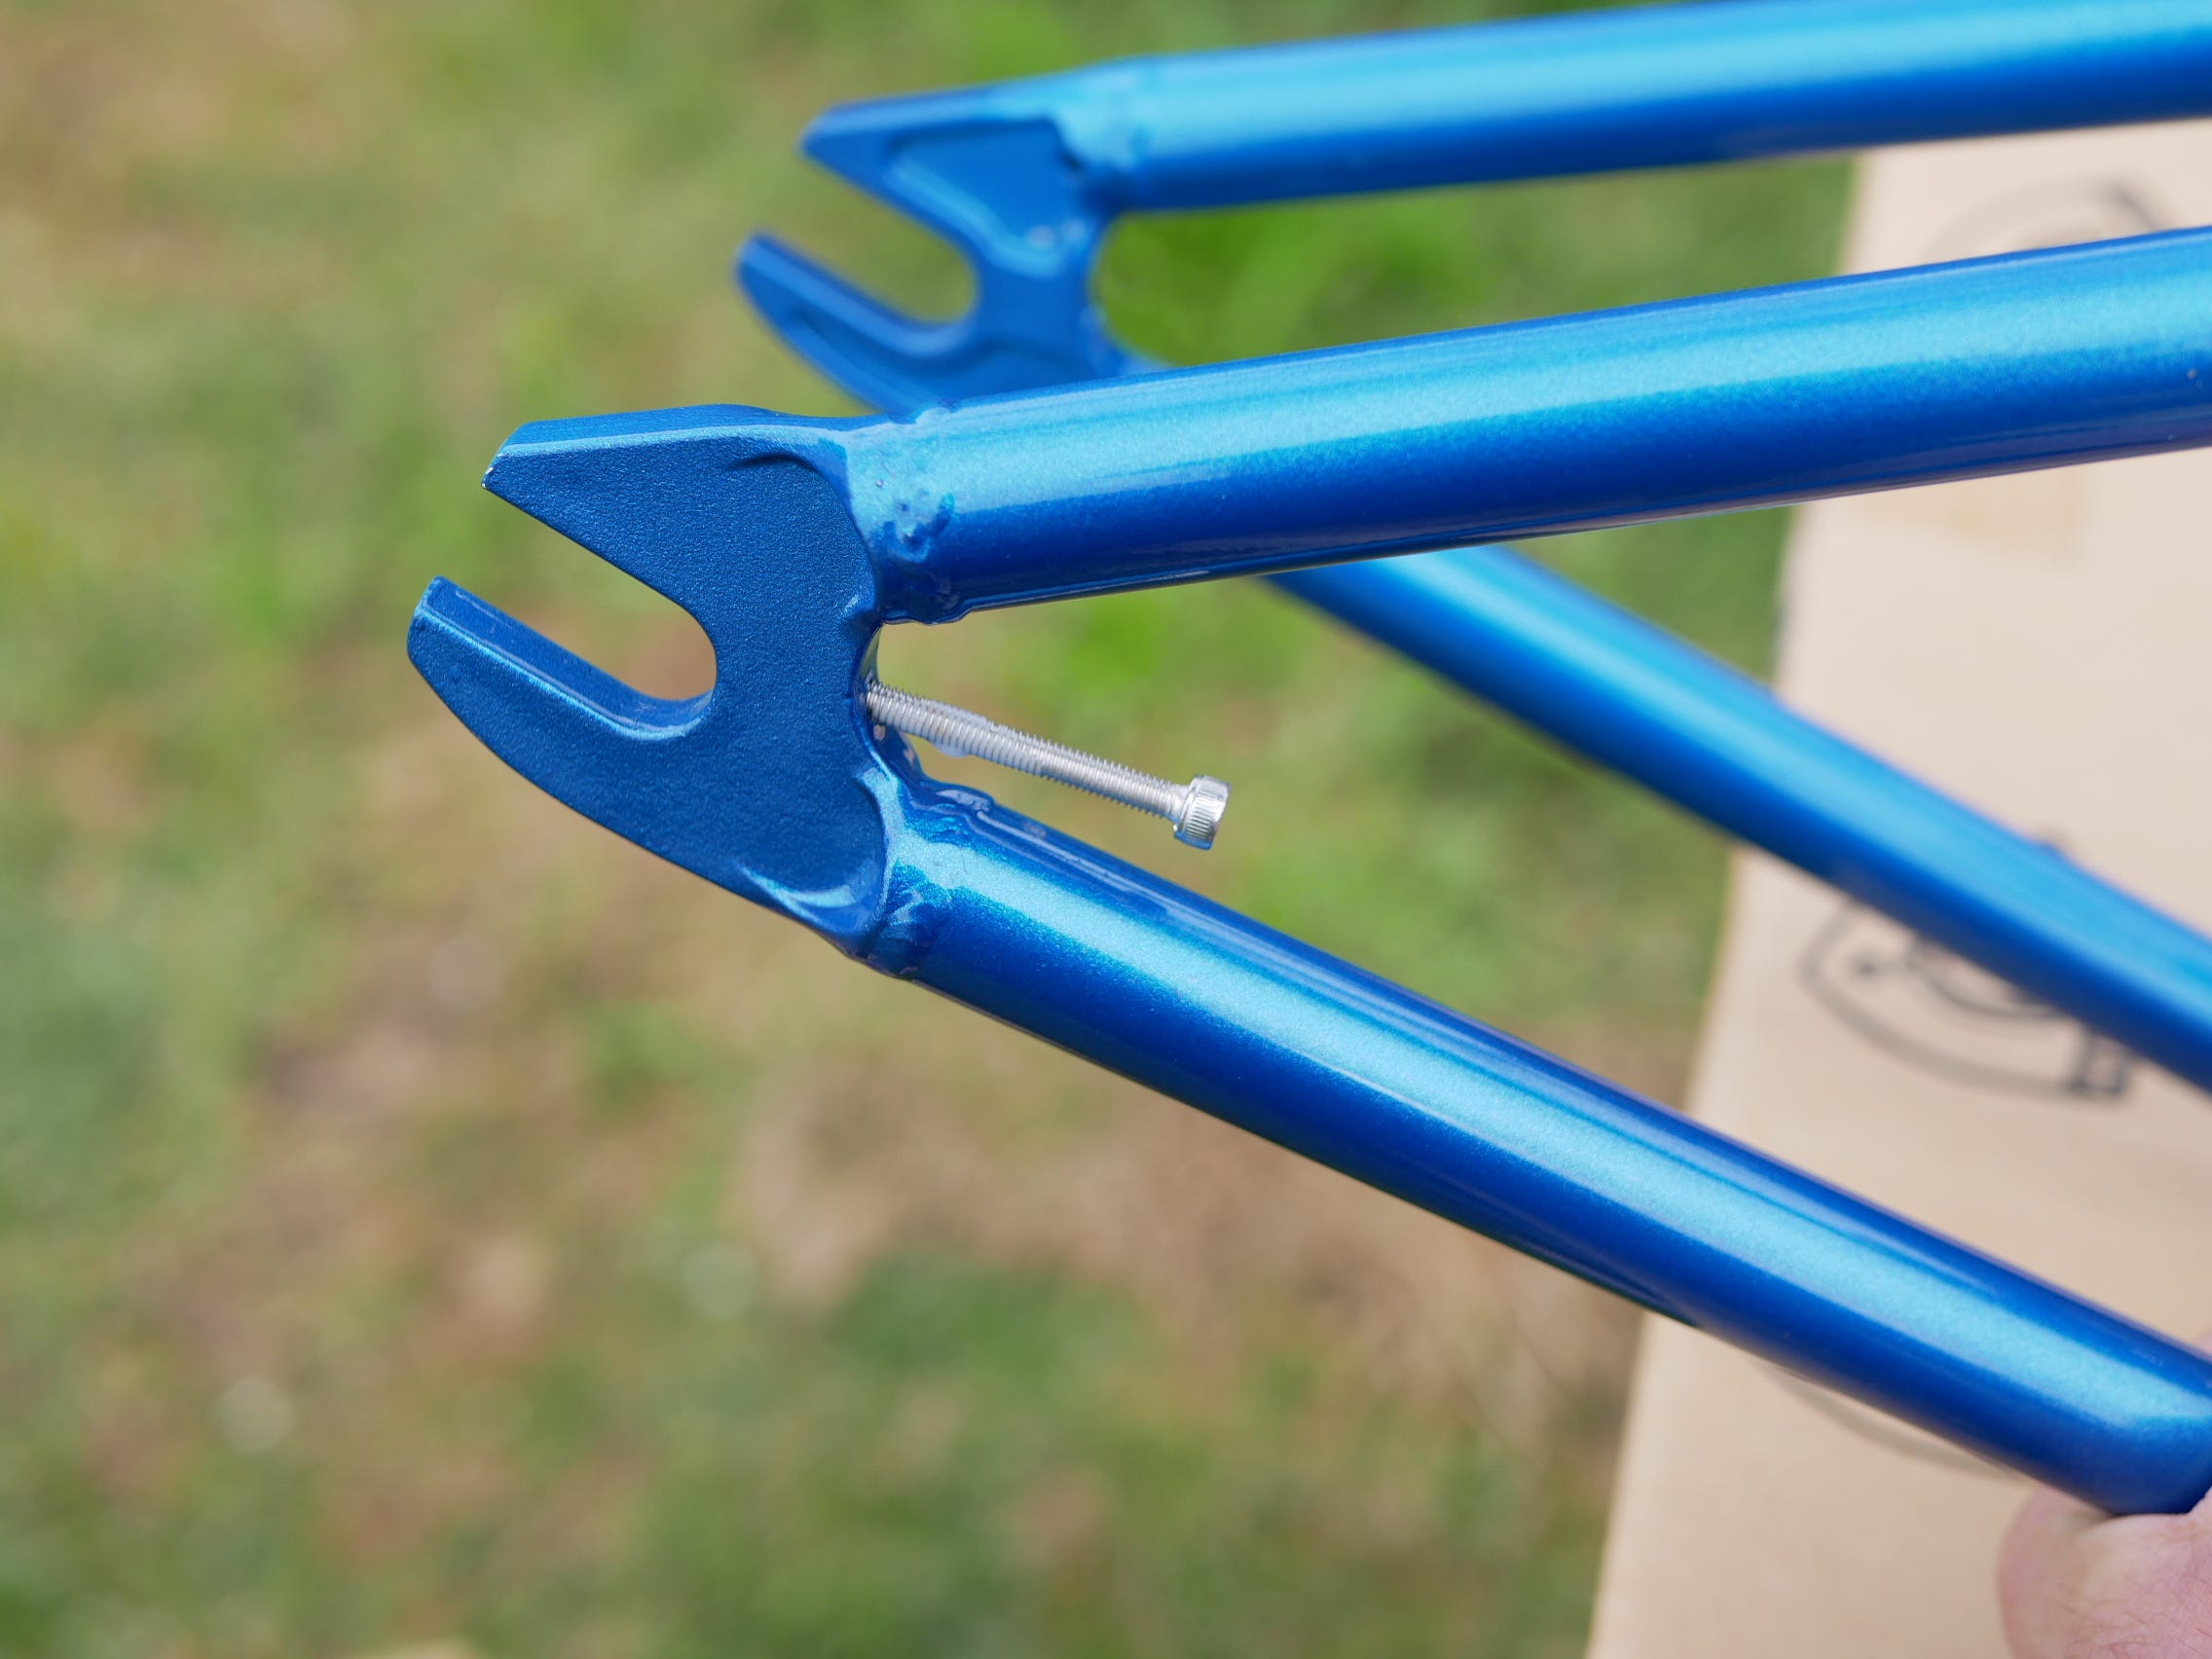
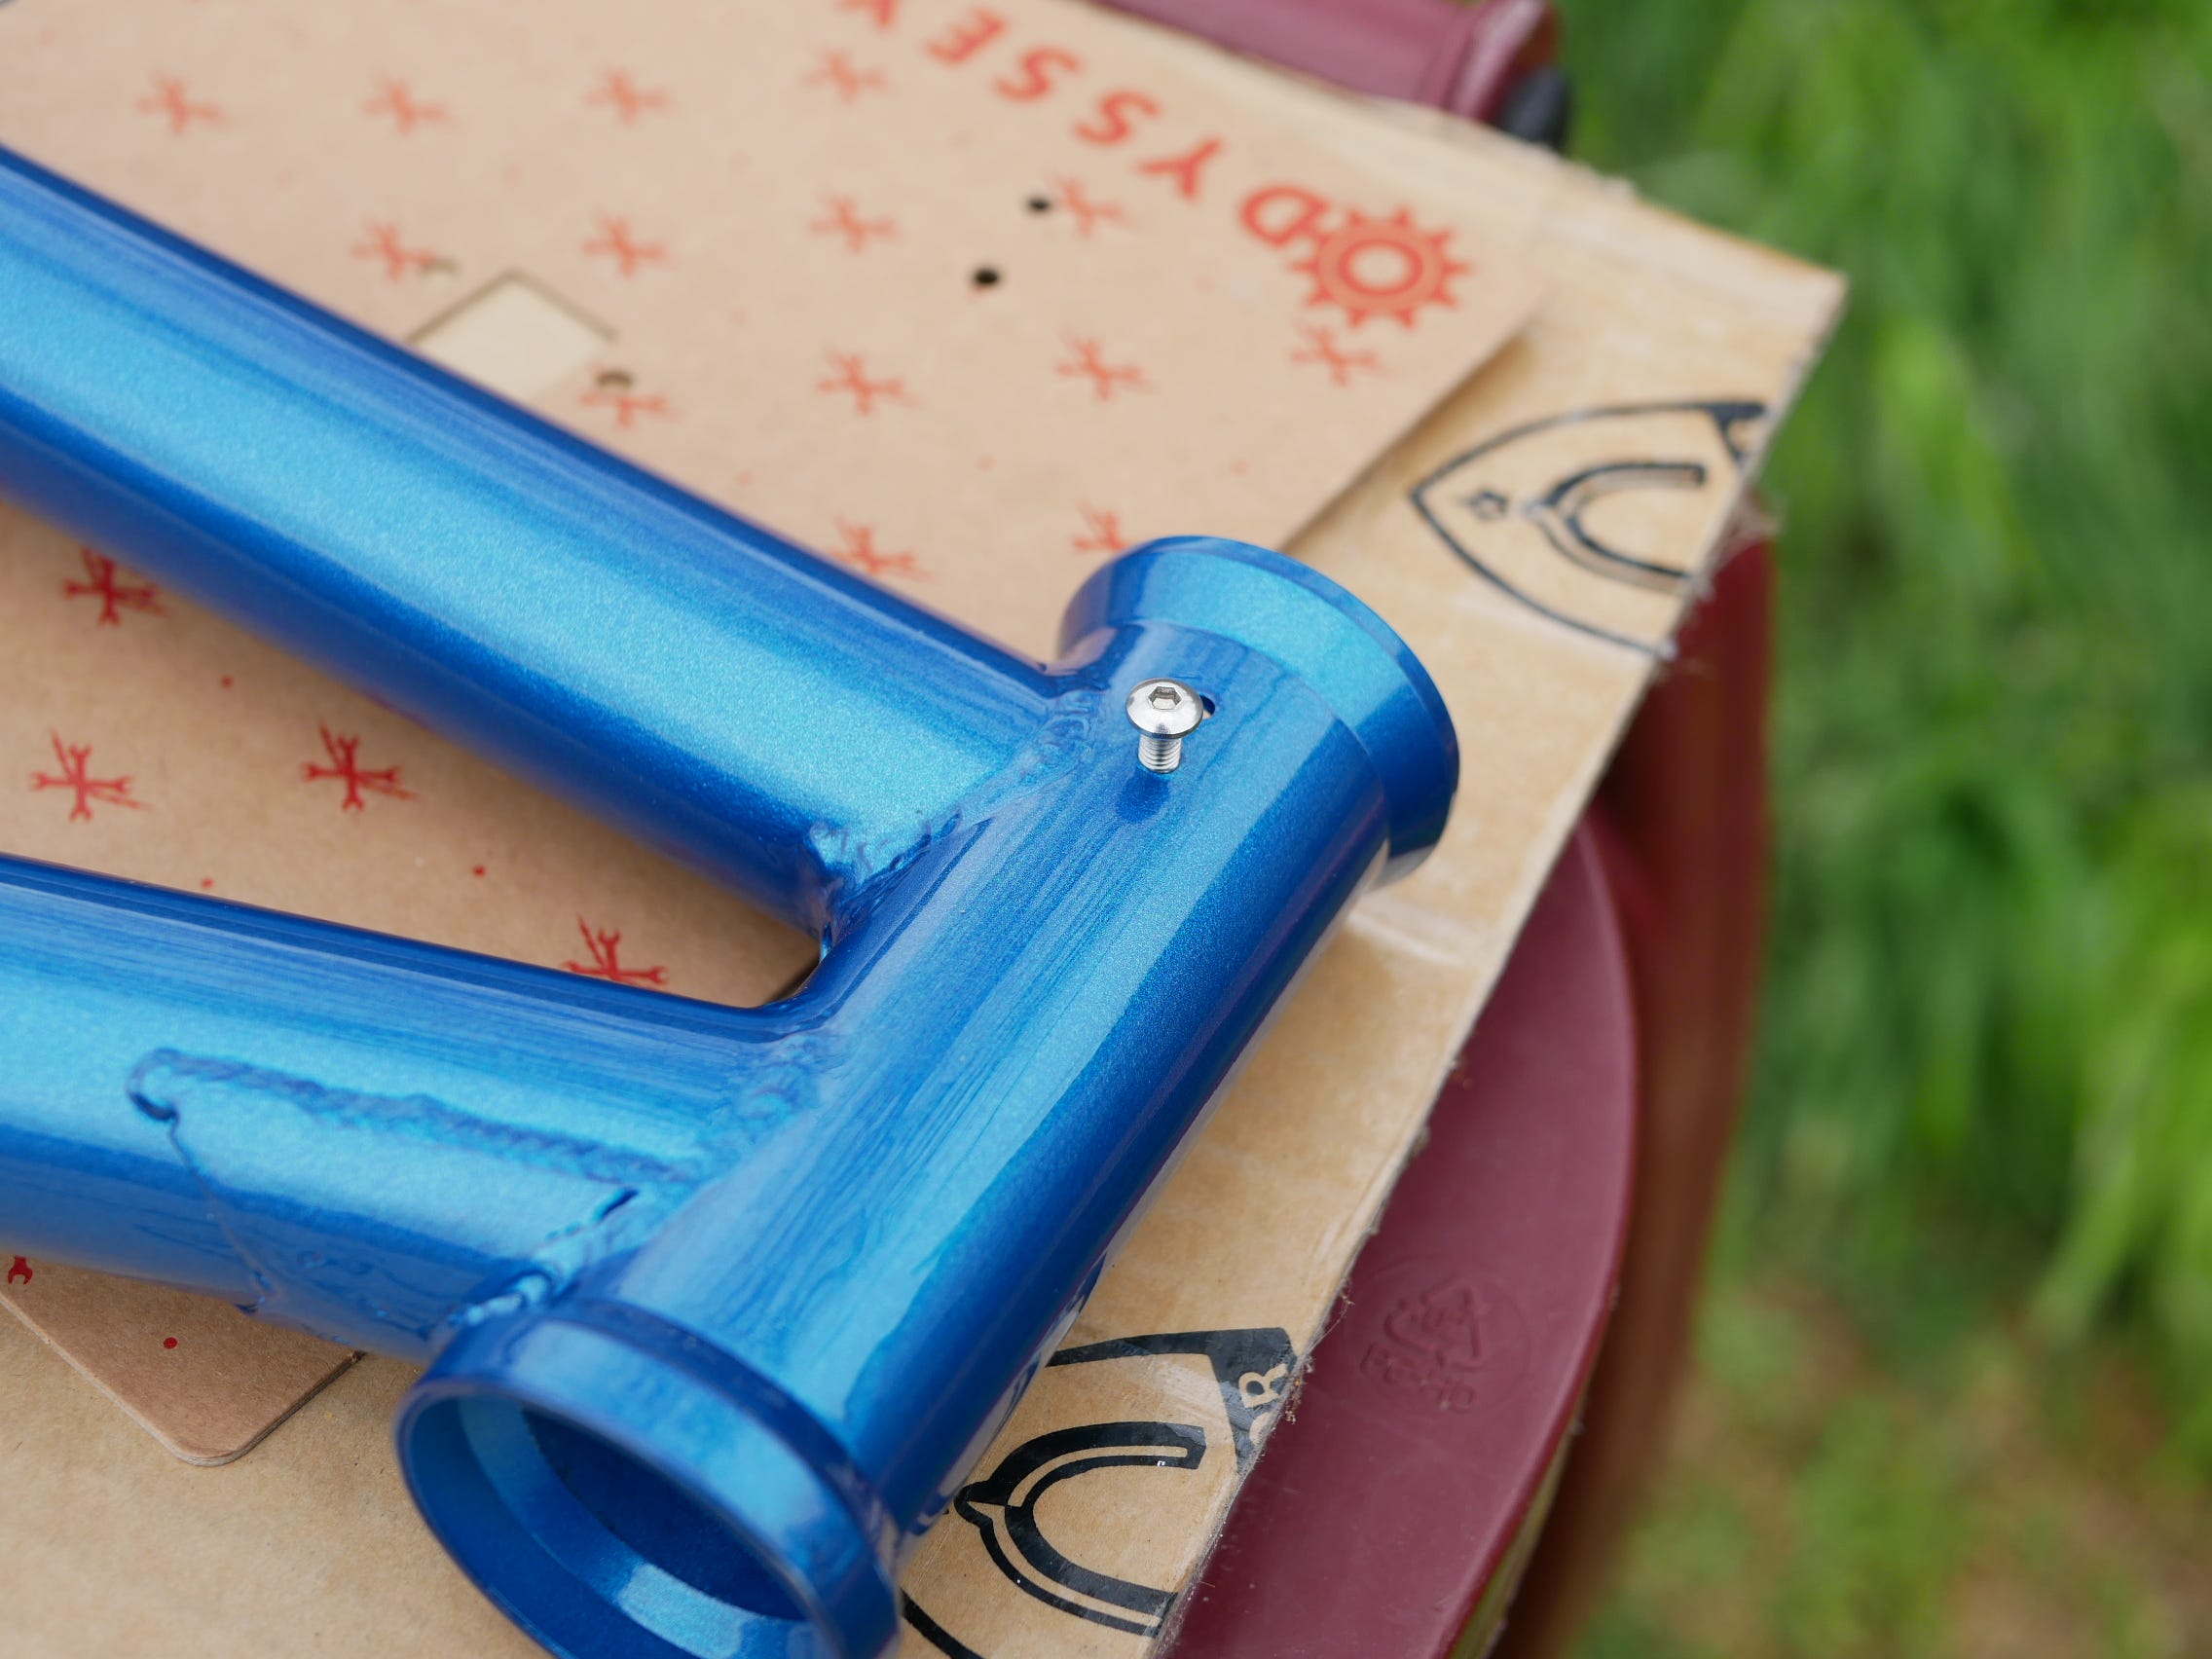
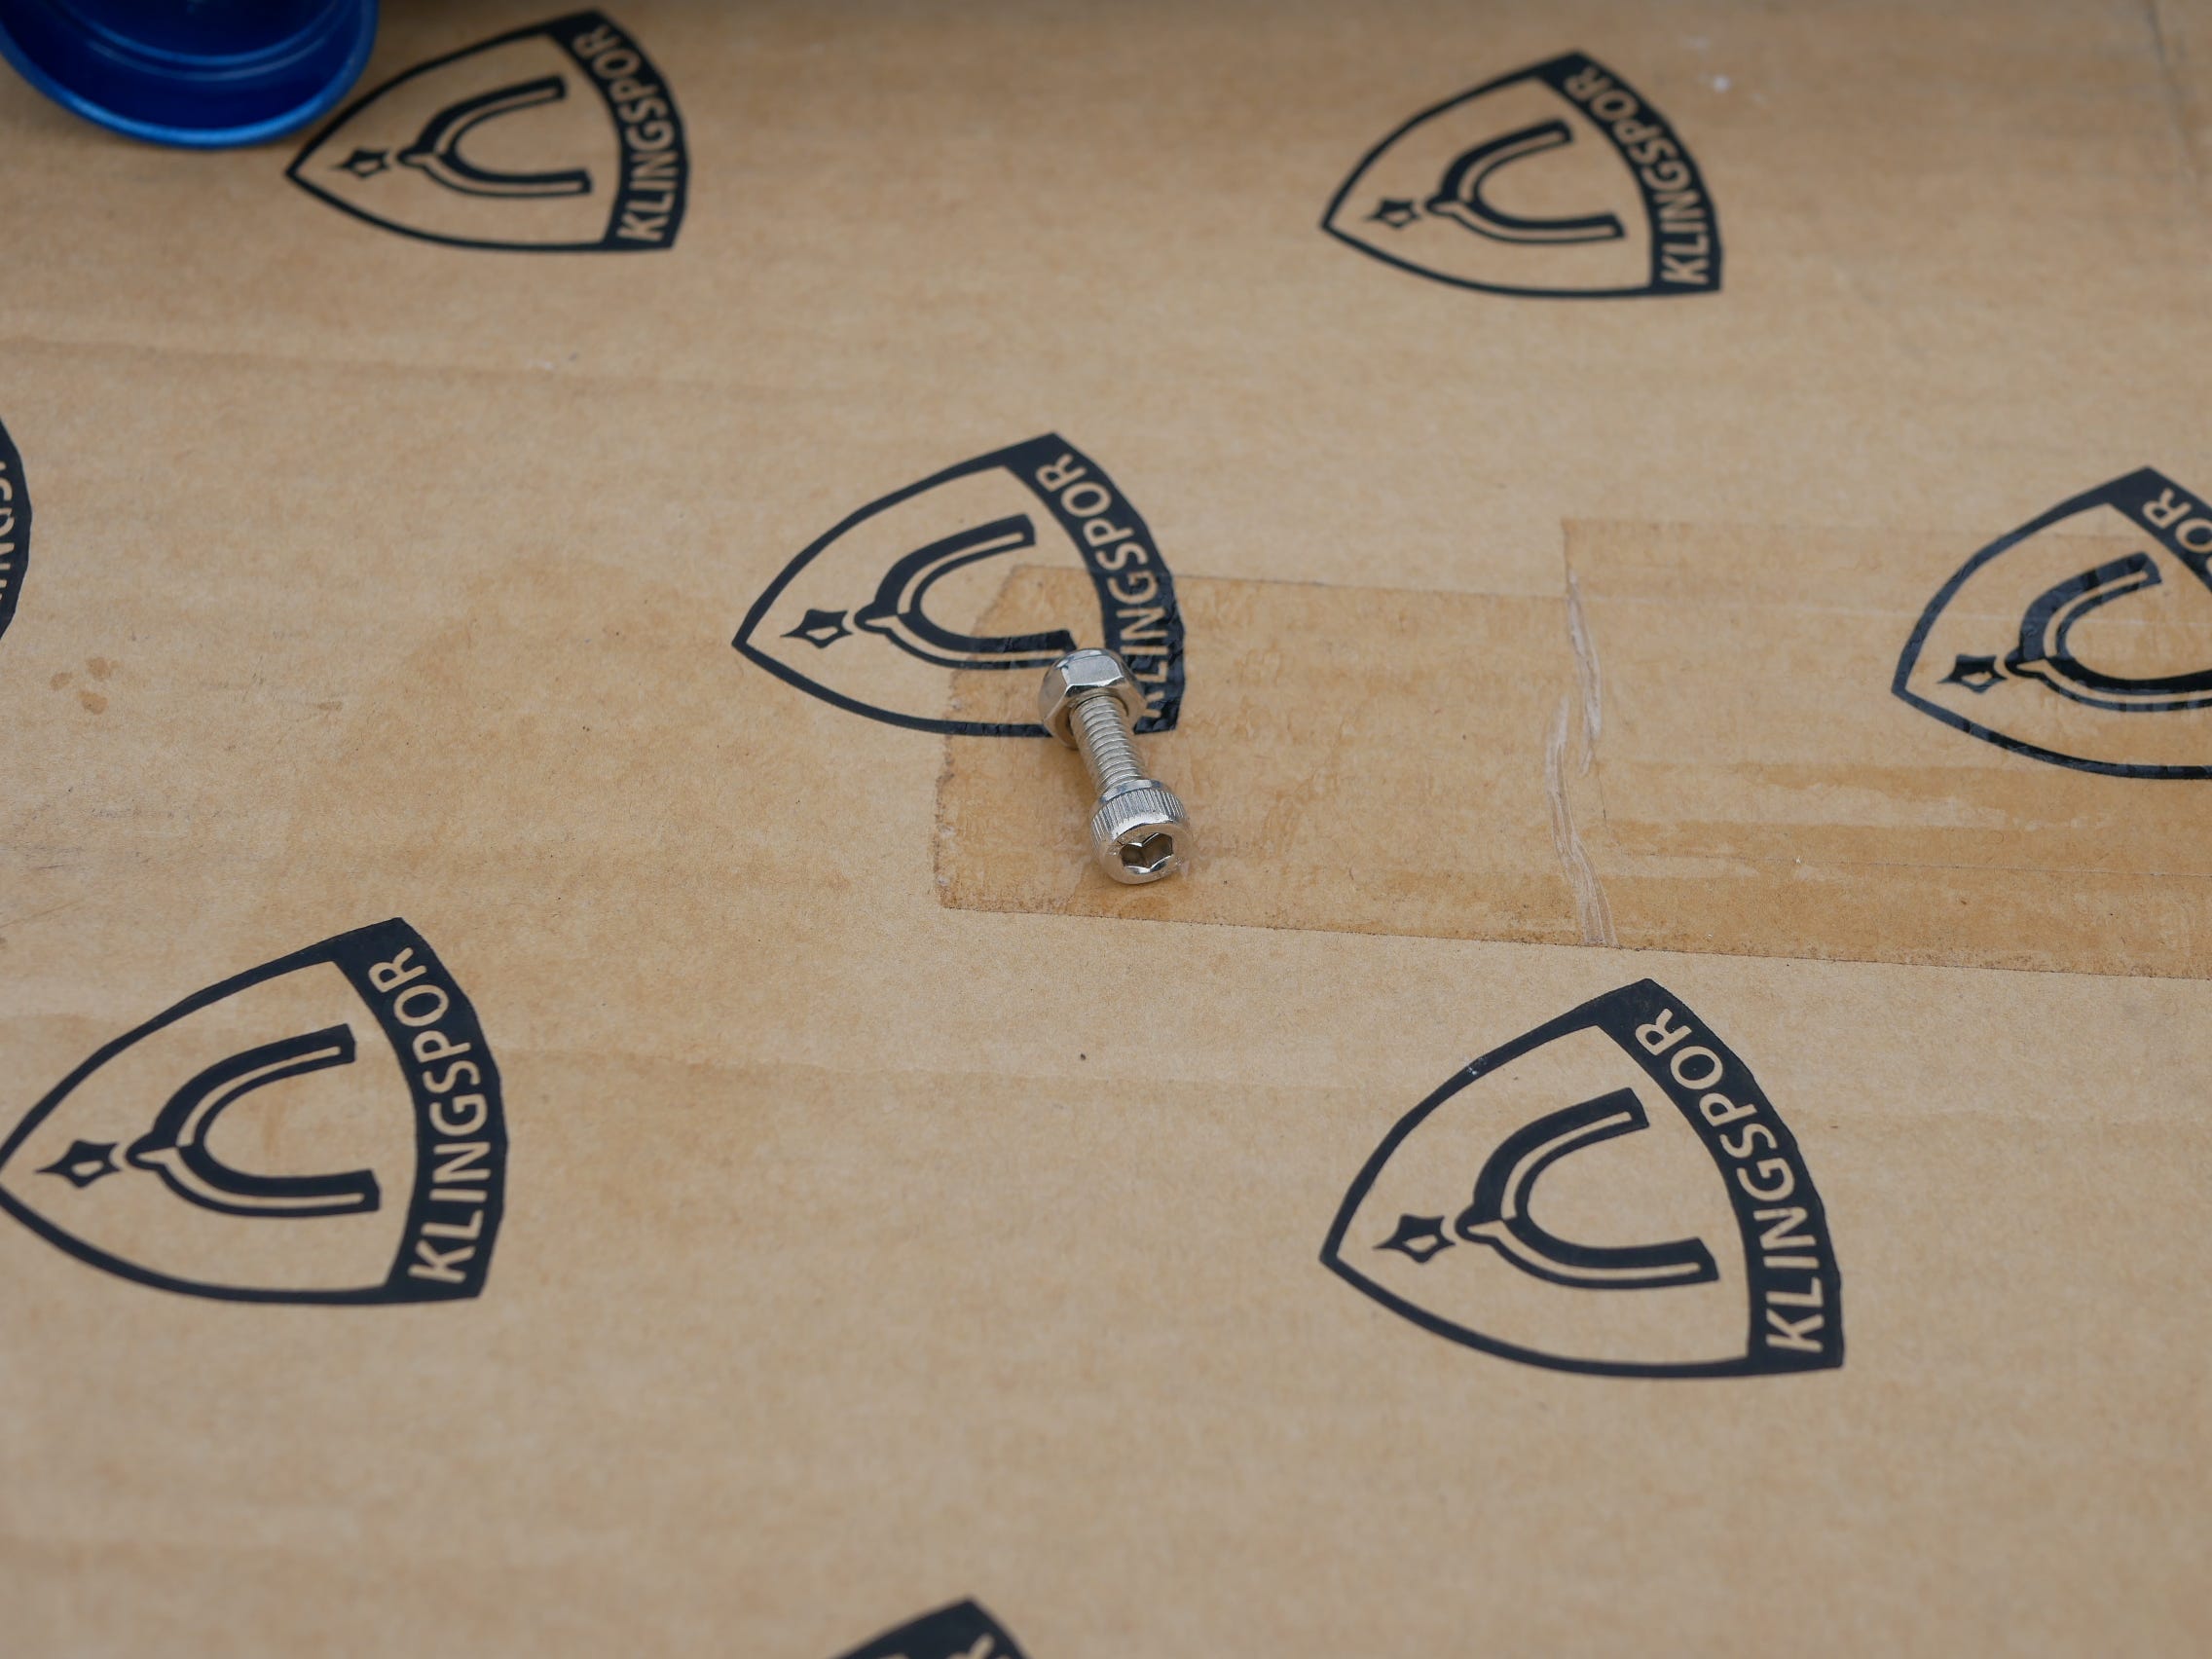
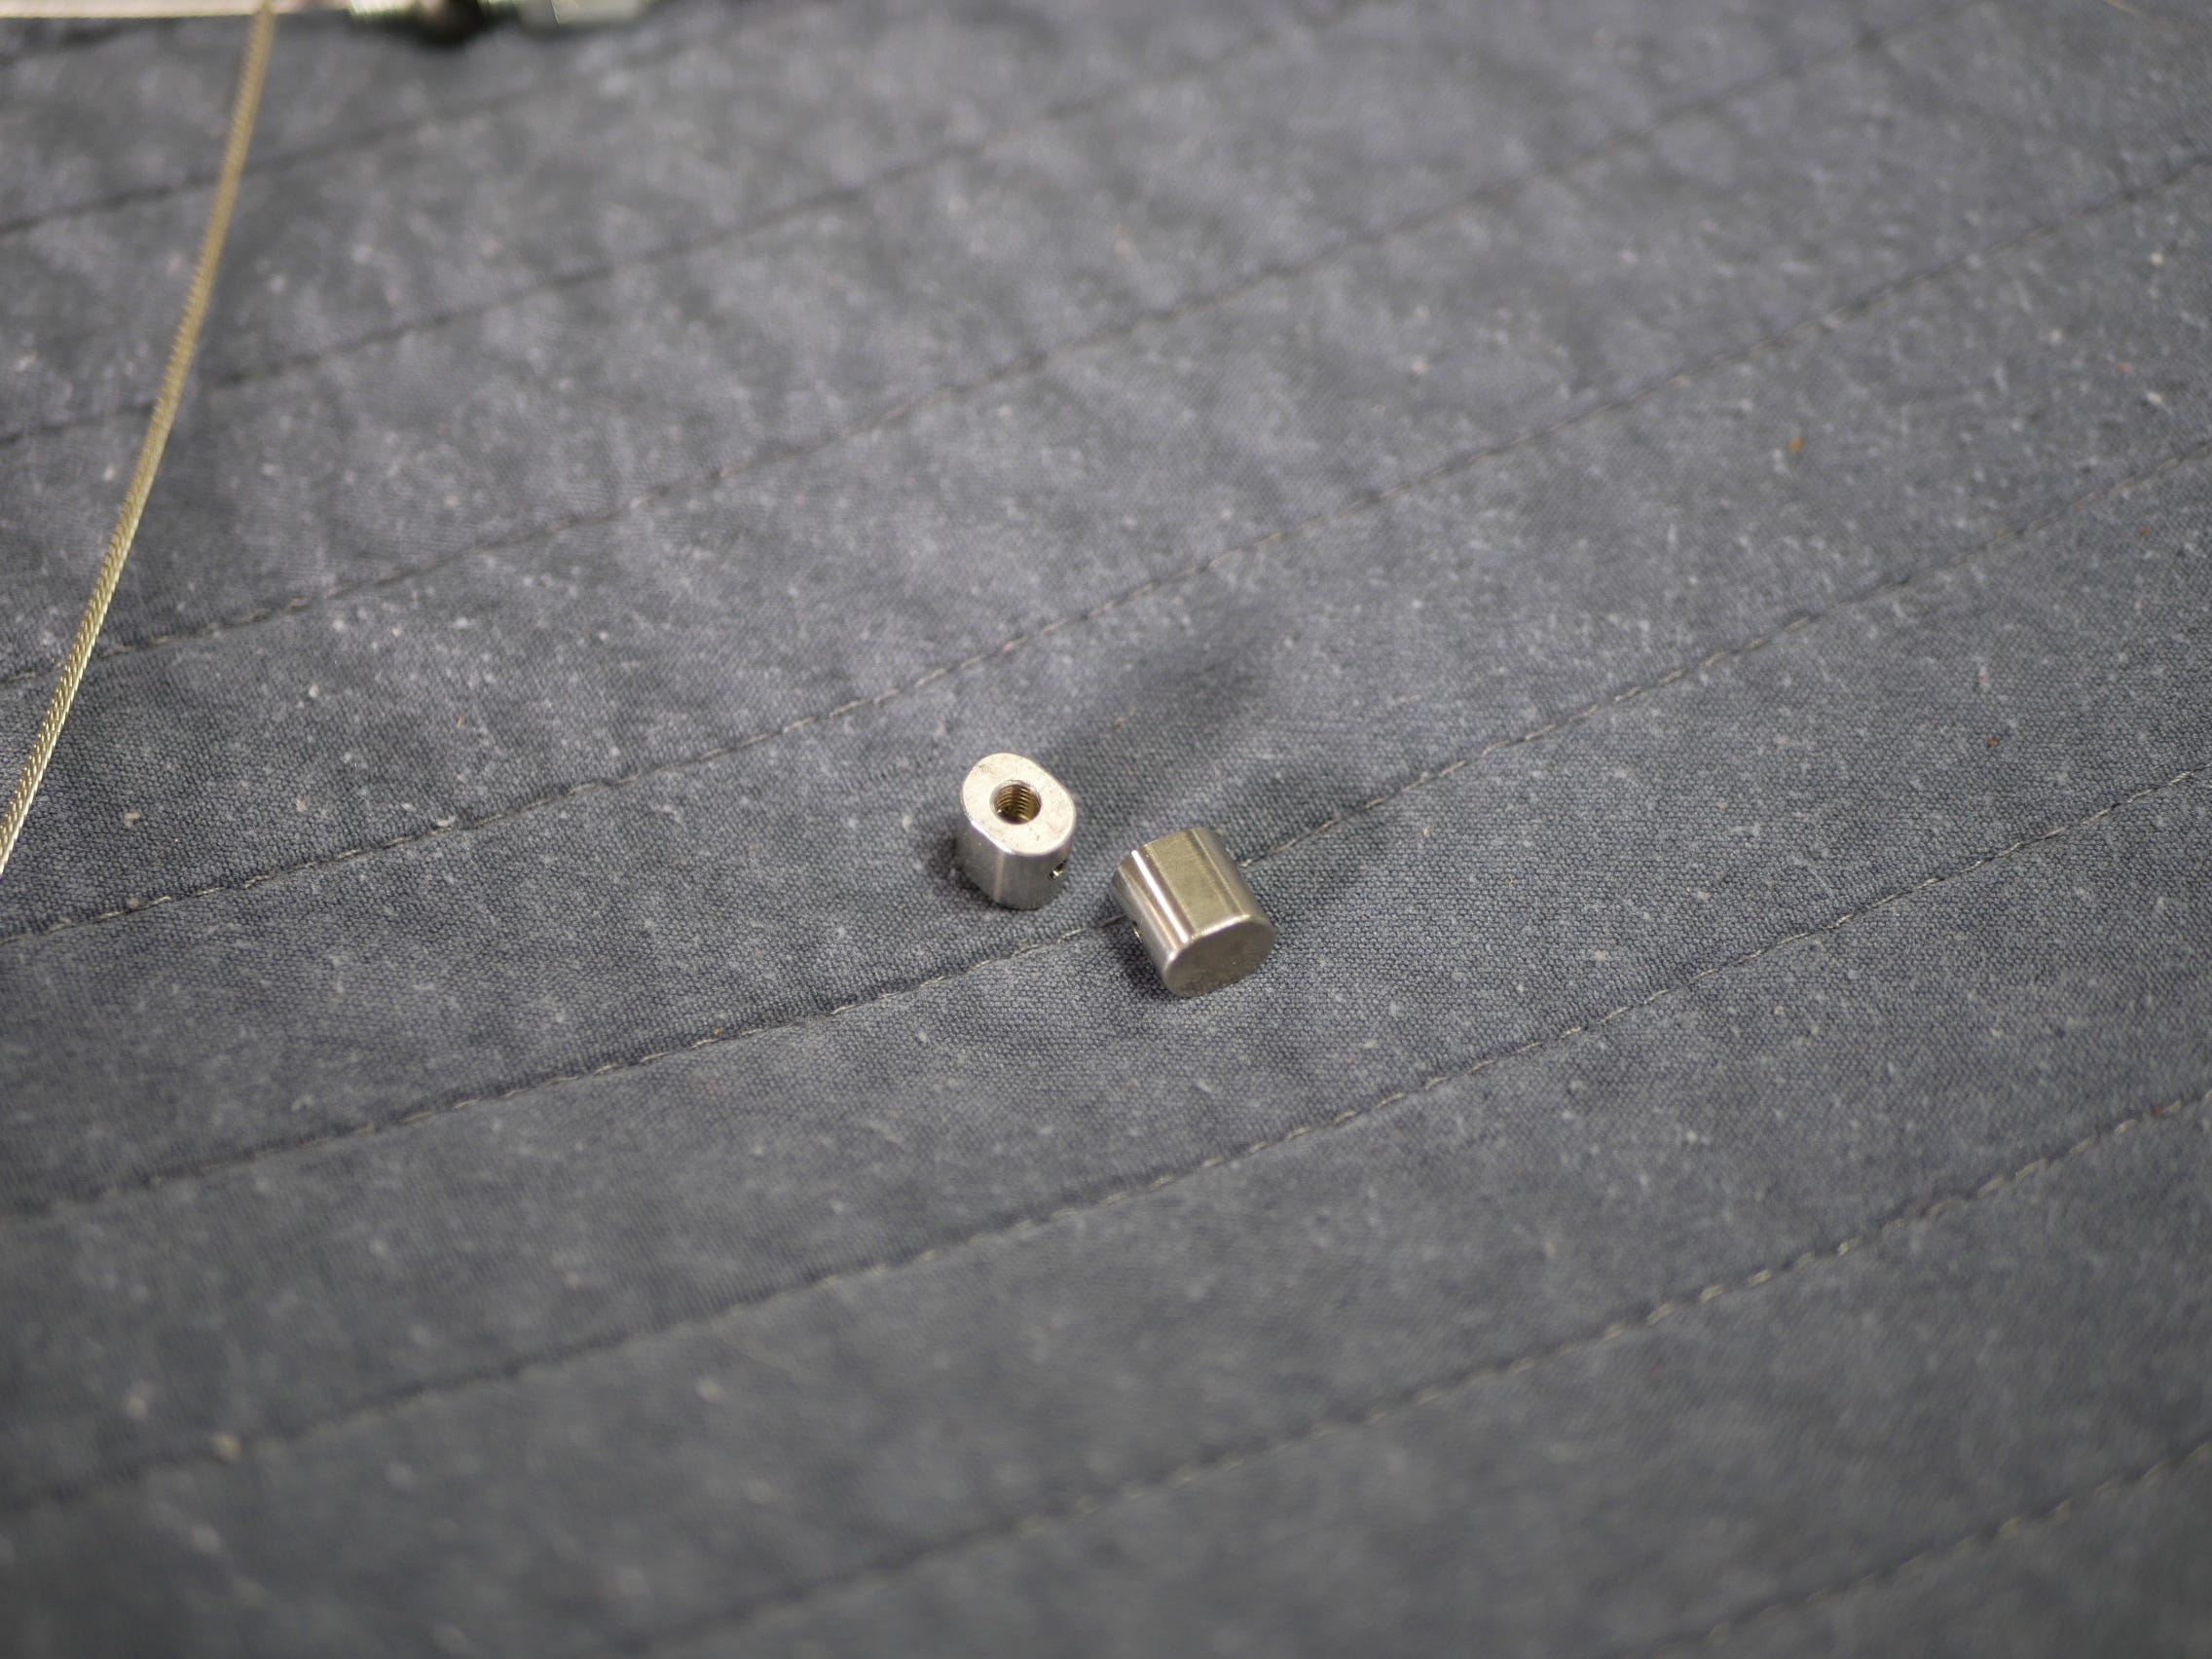
Followed by the Chain Tensioner Bolts which came with the Bike.
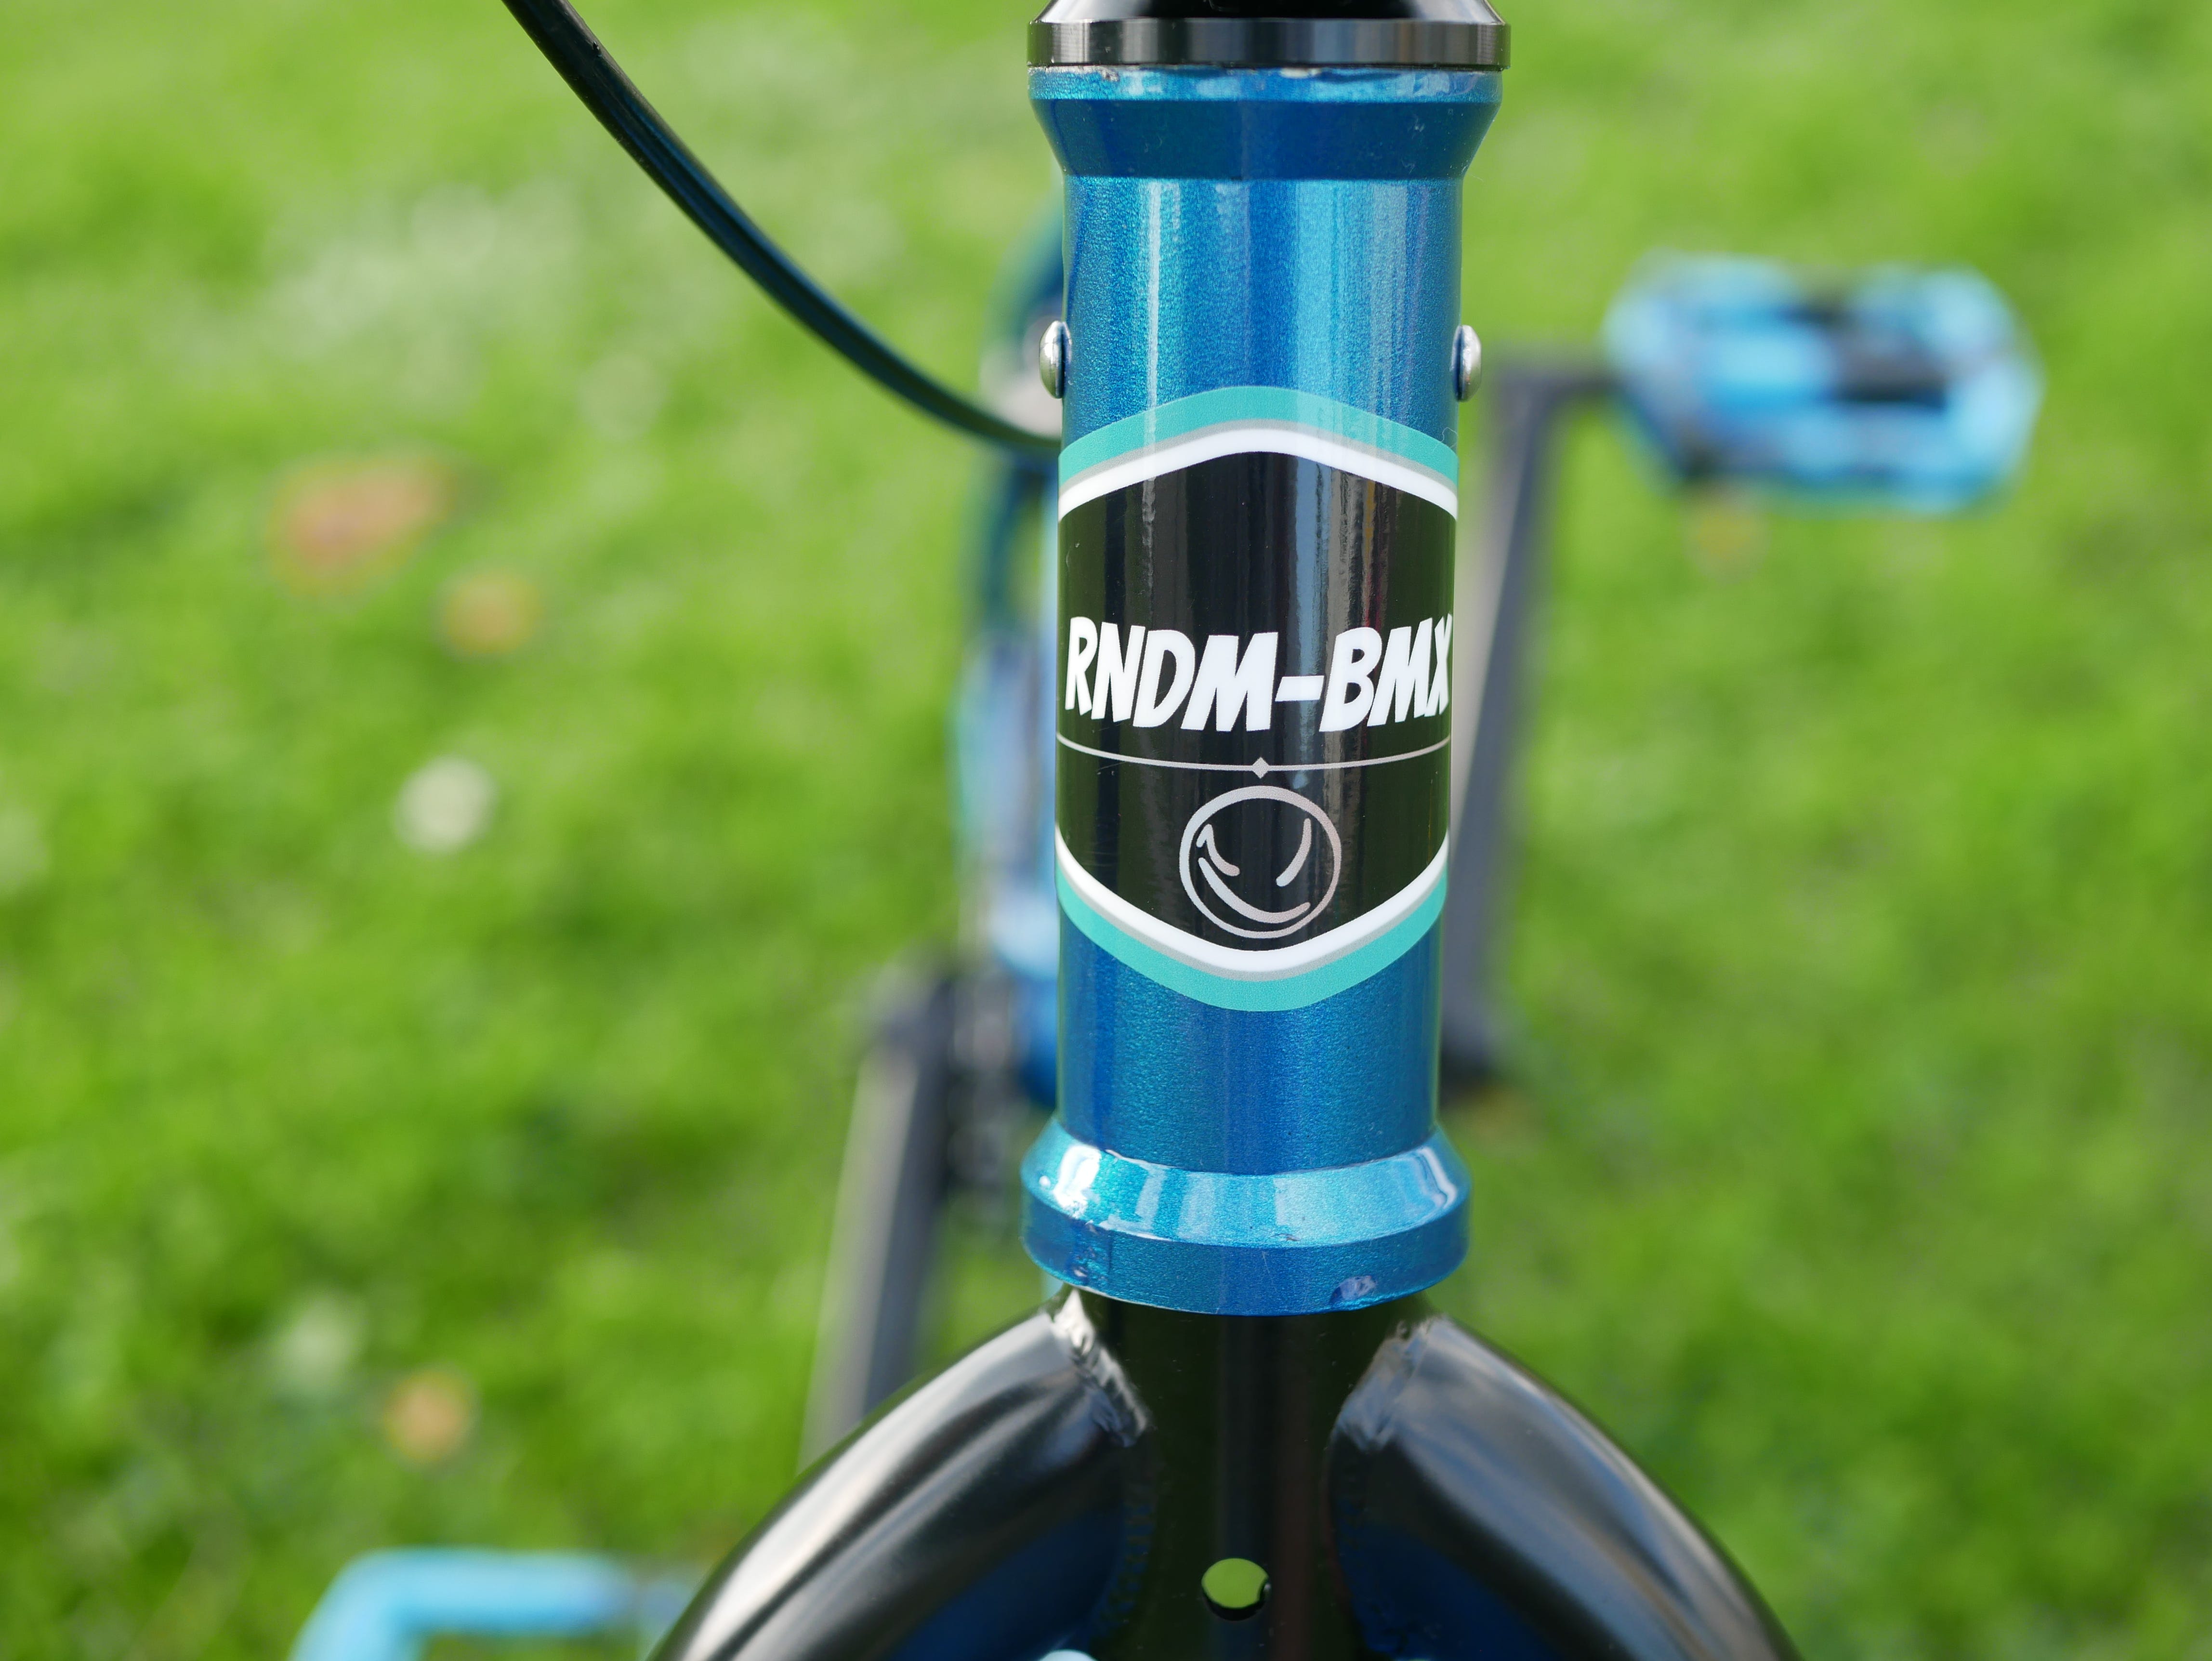
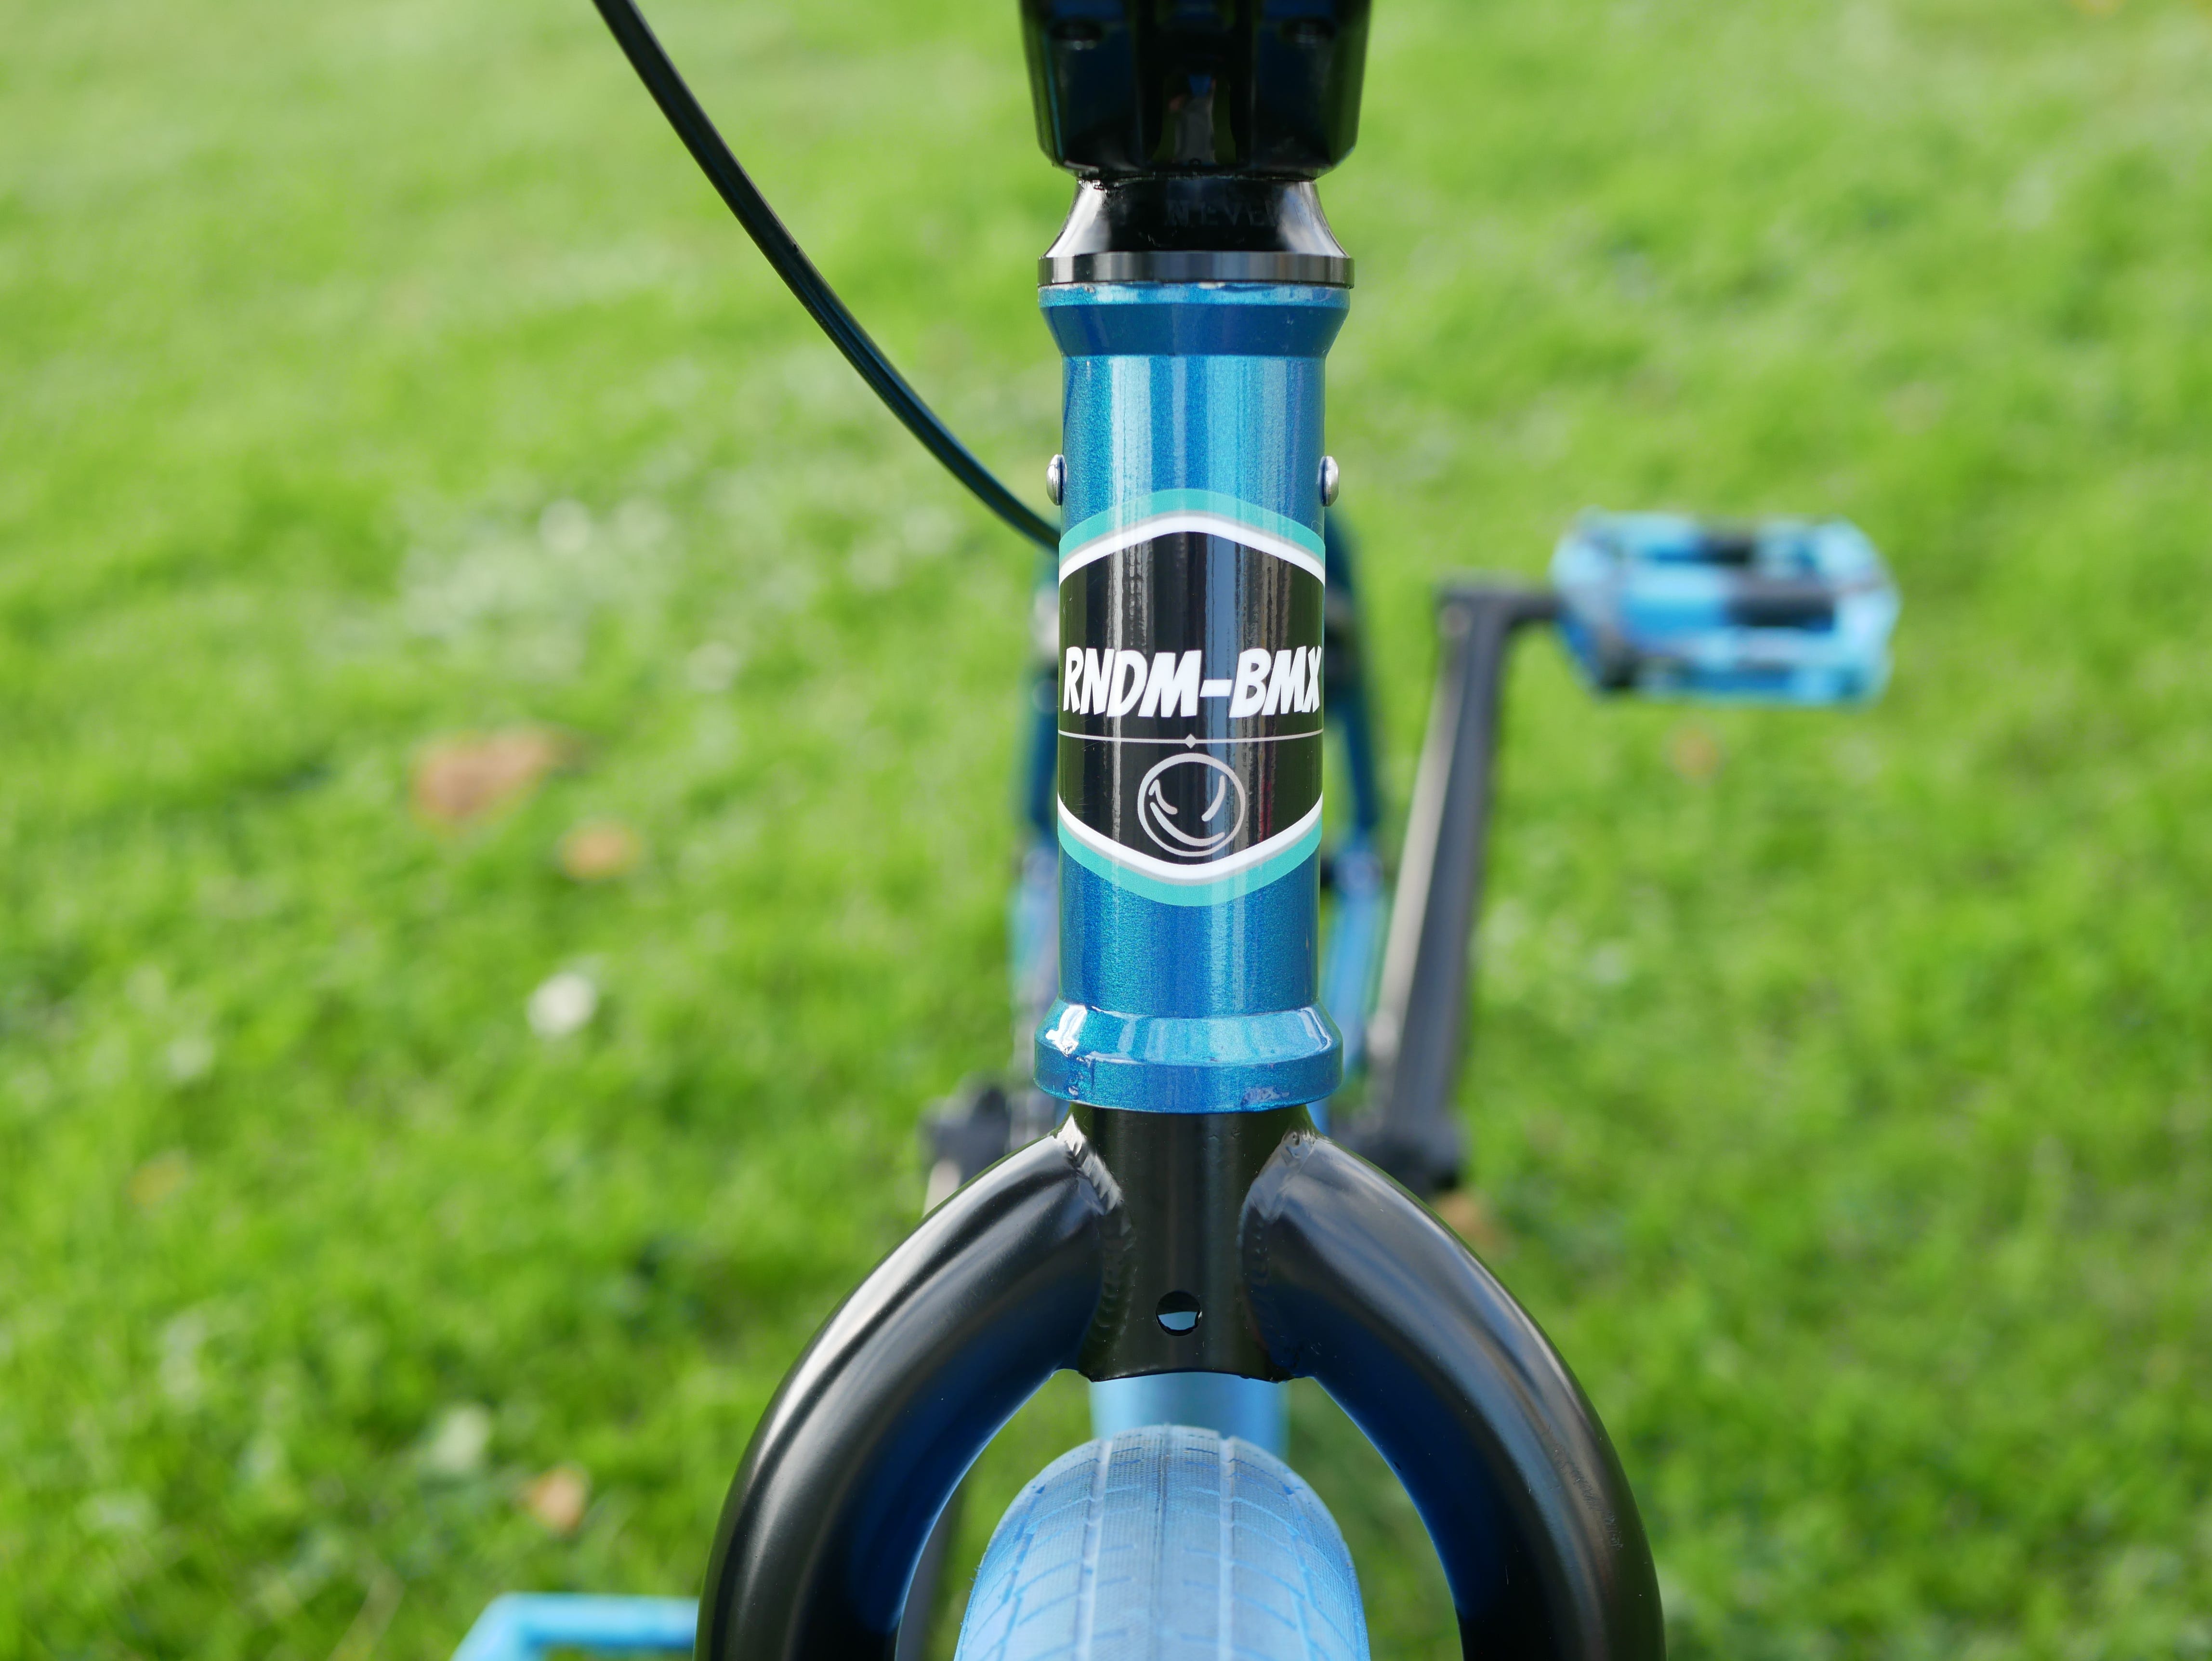
Followed by Head-tube Bolts which are for the RNDM-BMX IRS.
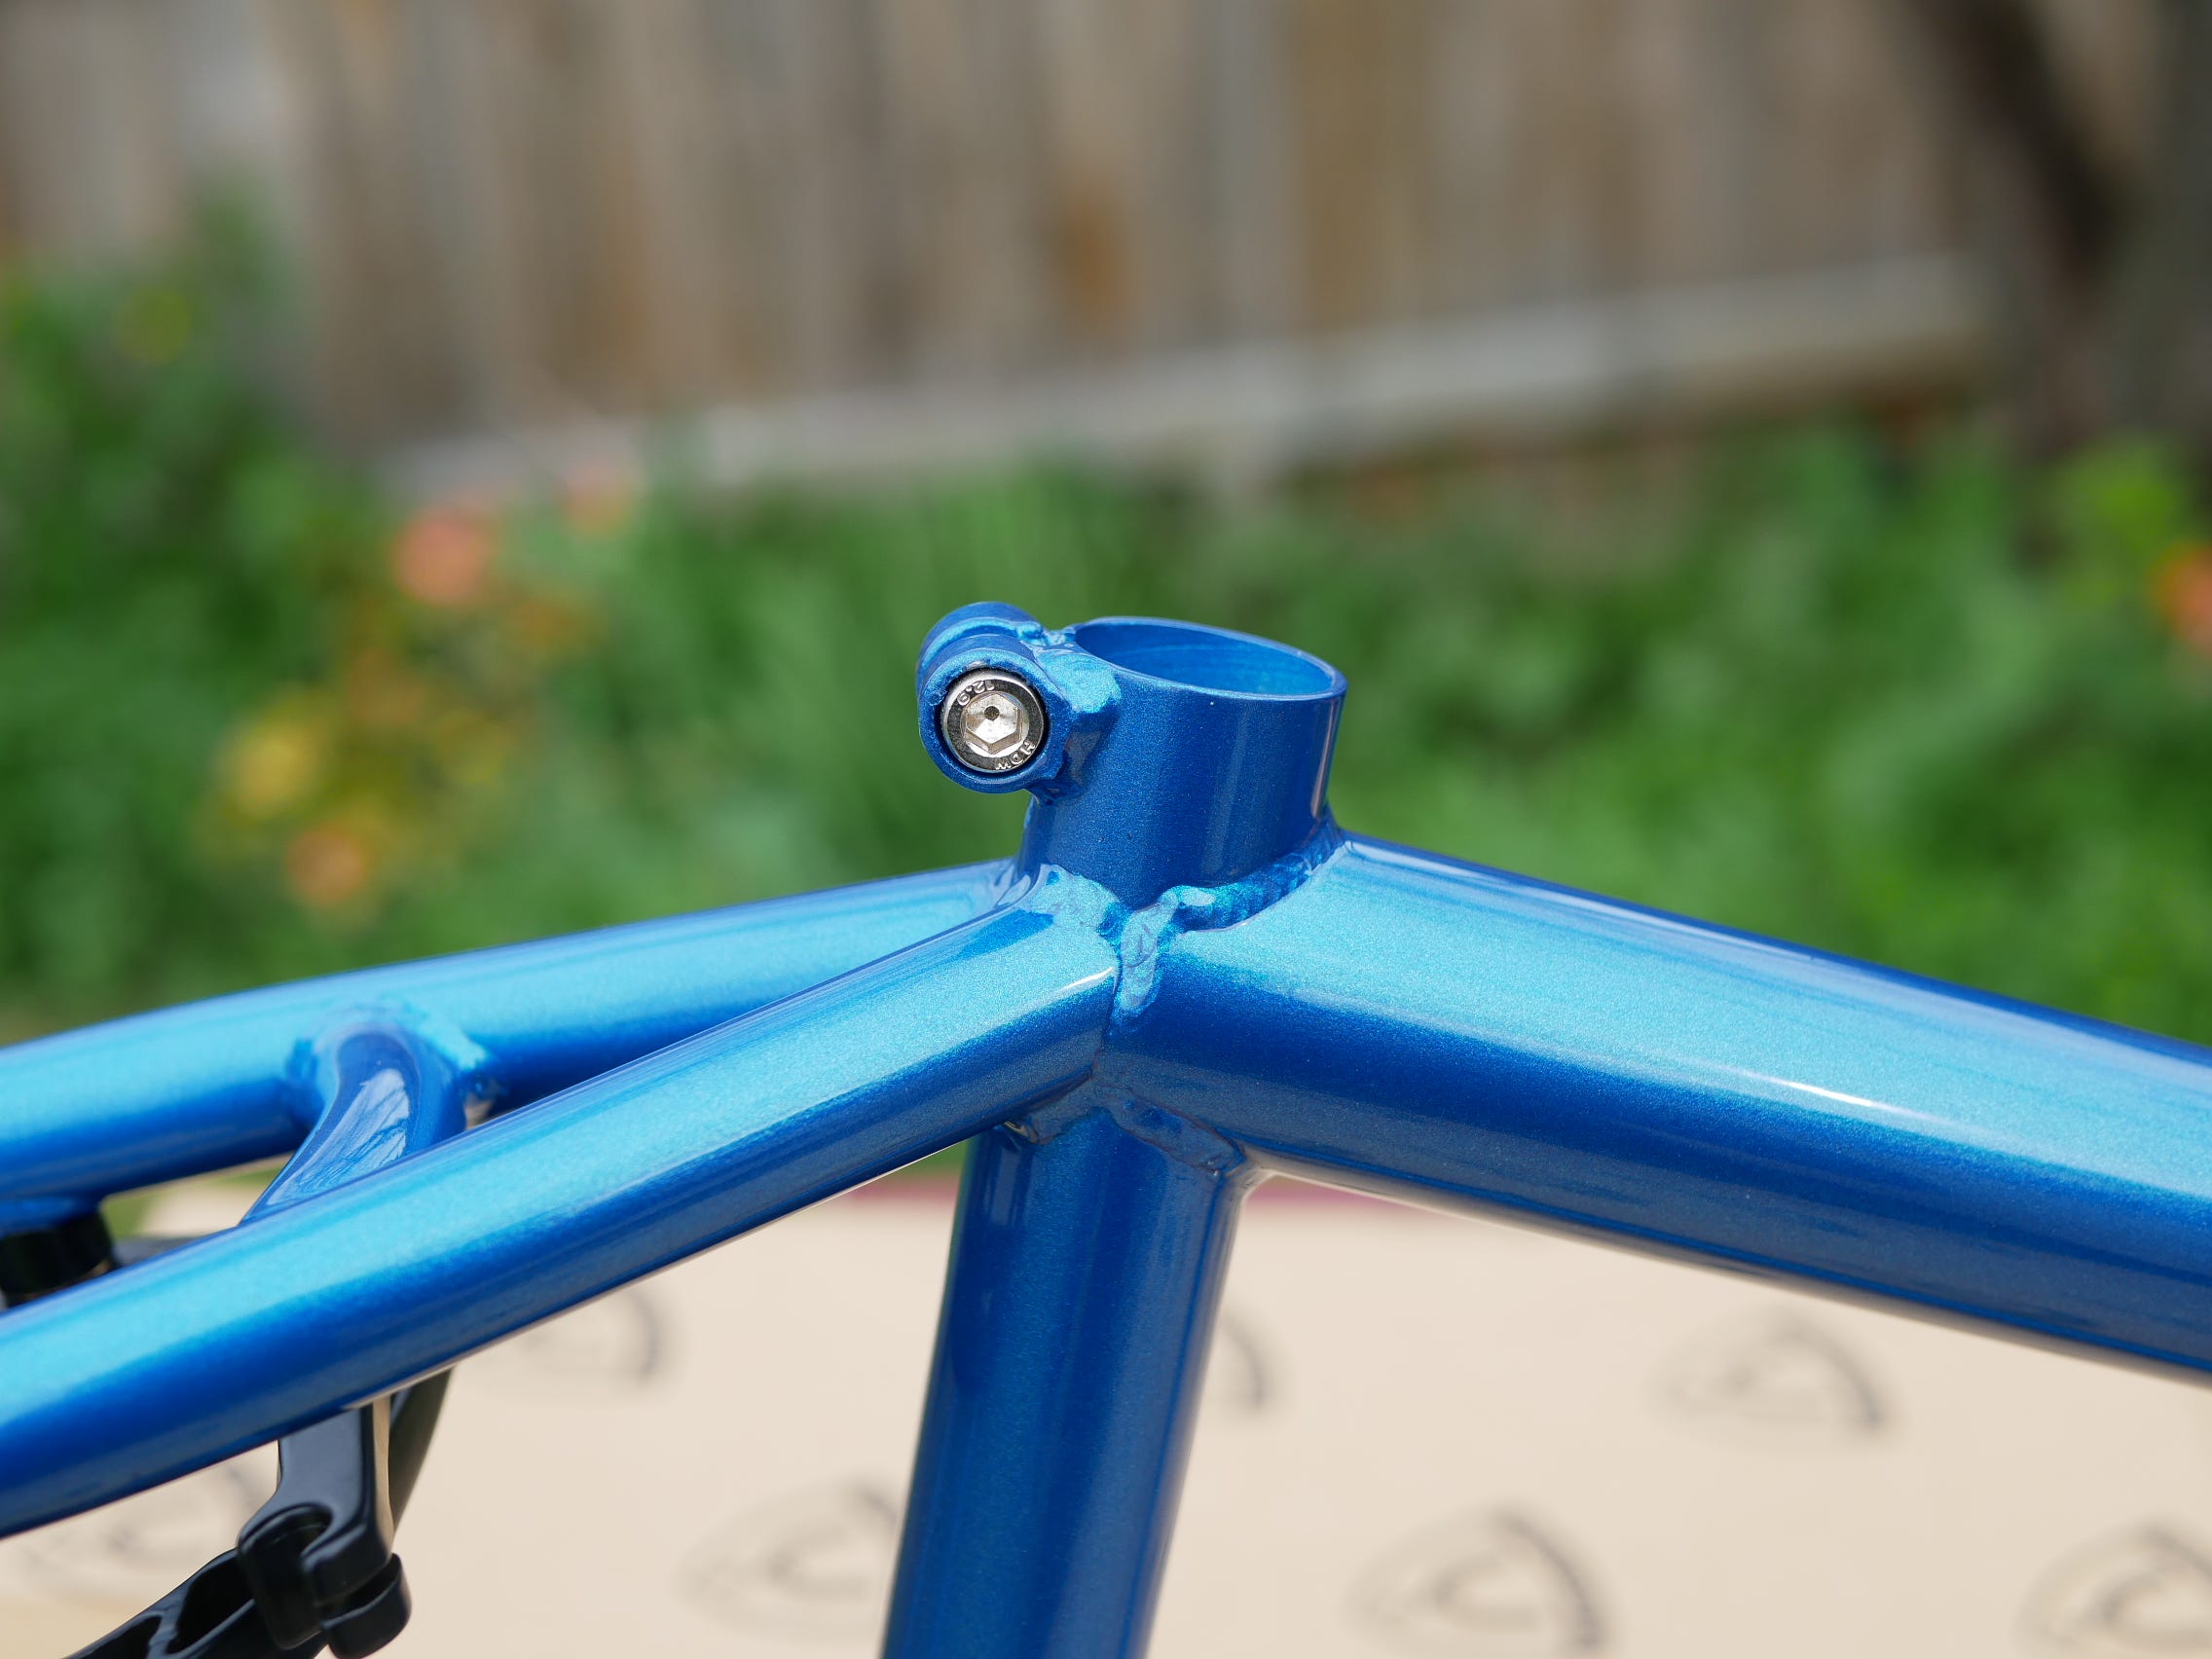
Next up the Seat Post Bolt.
Followed by it mounted.
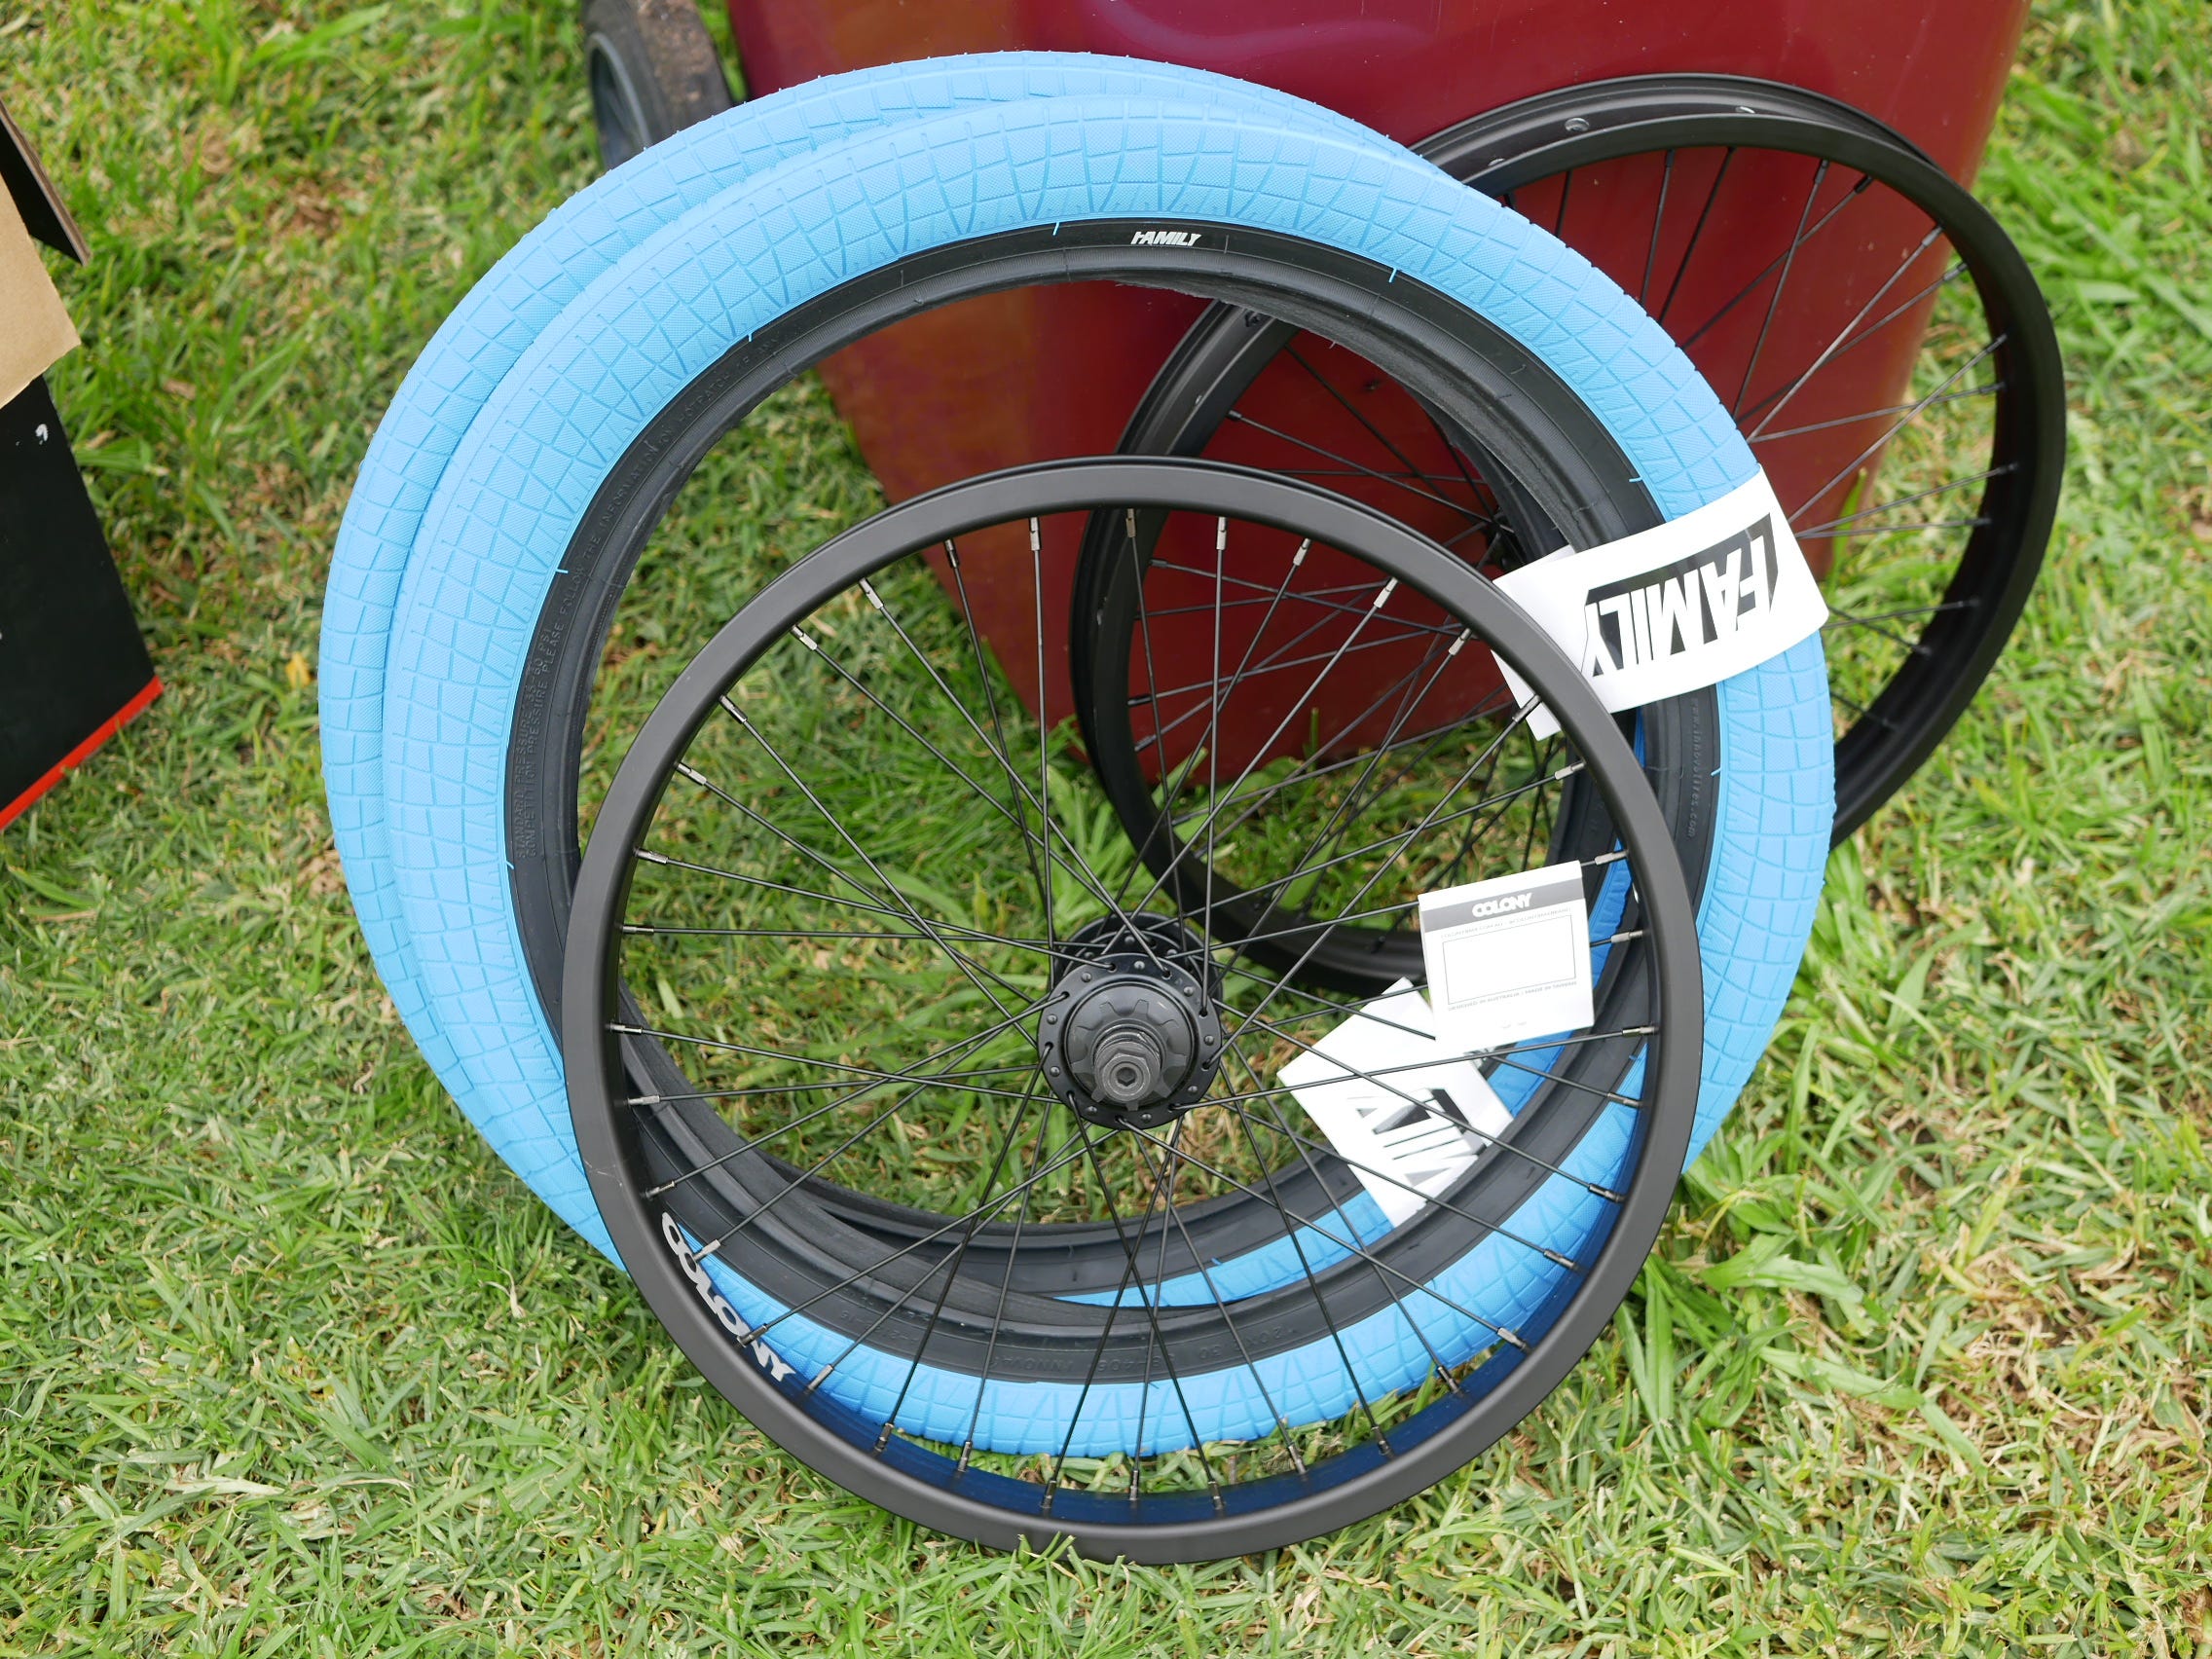
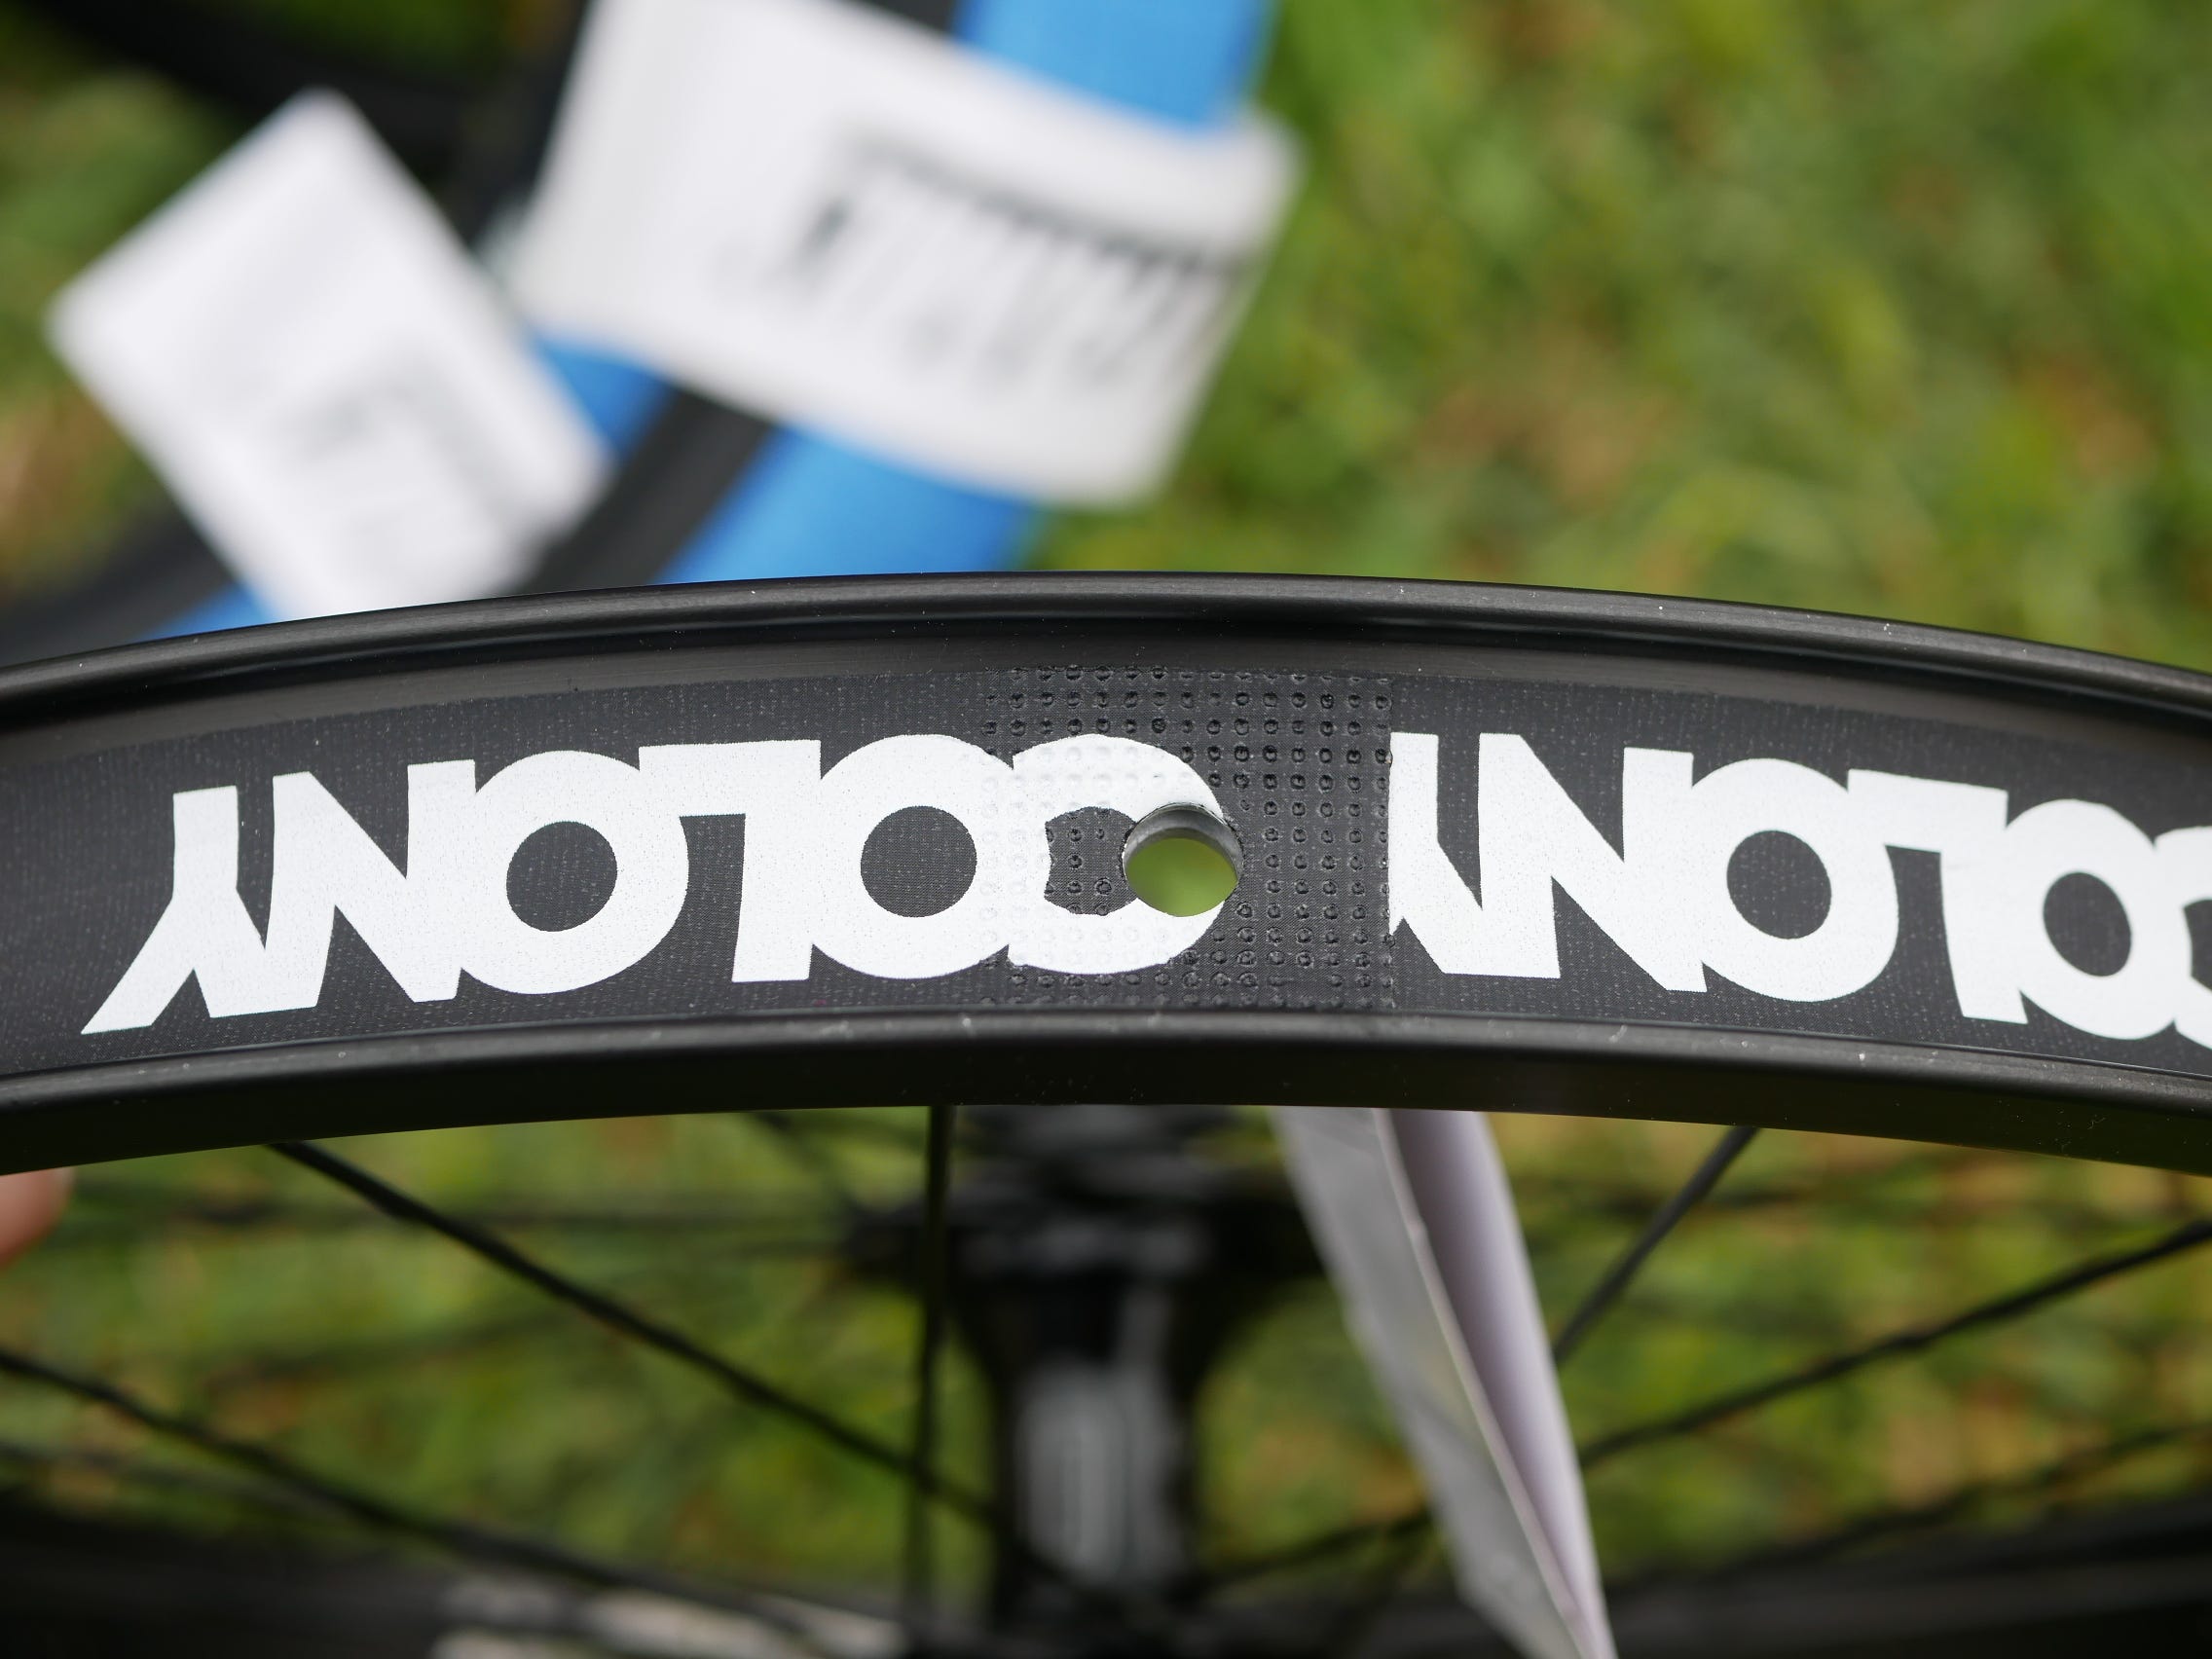
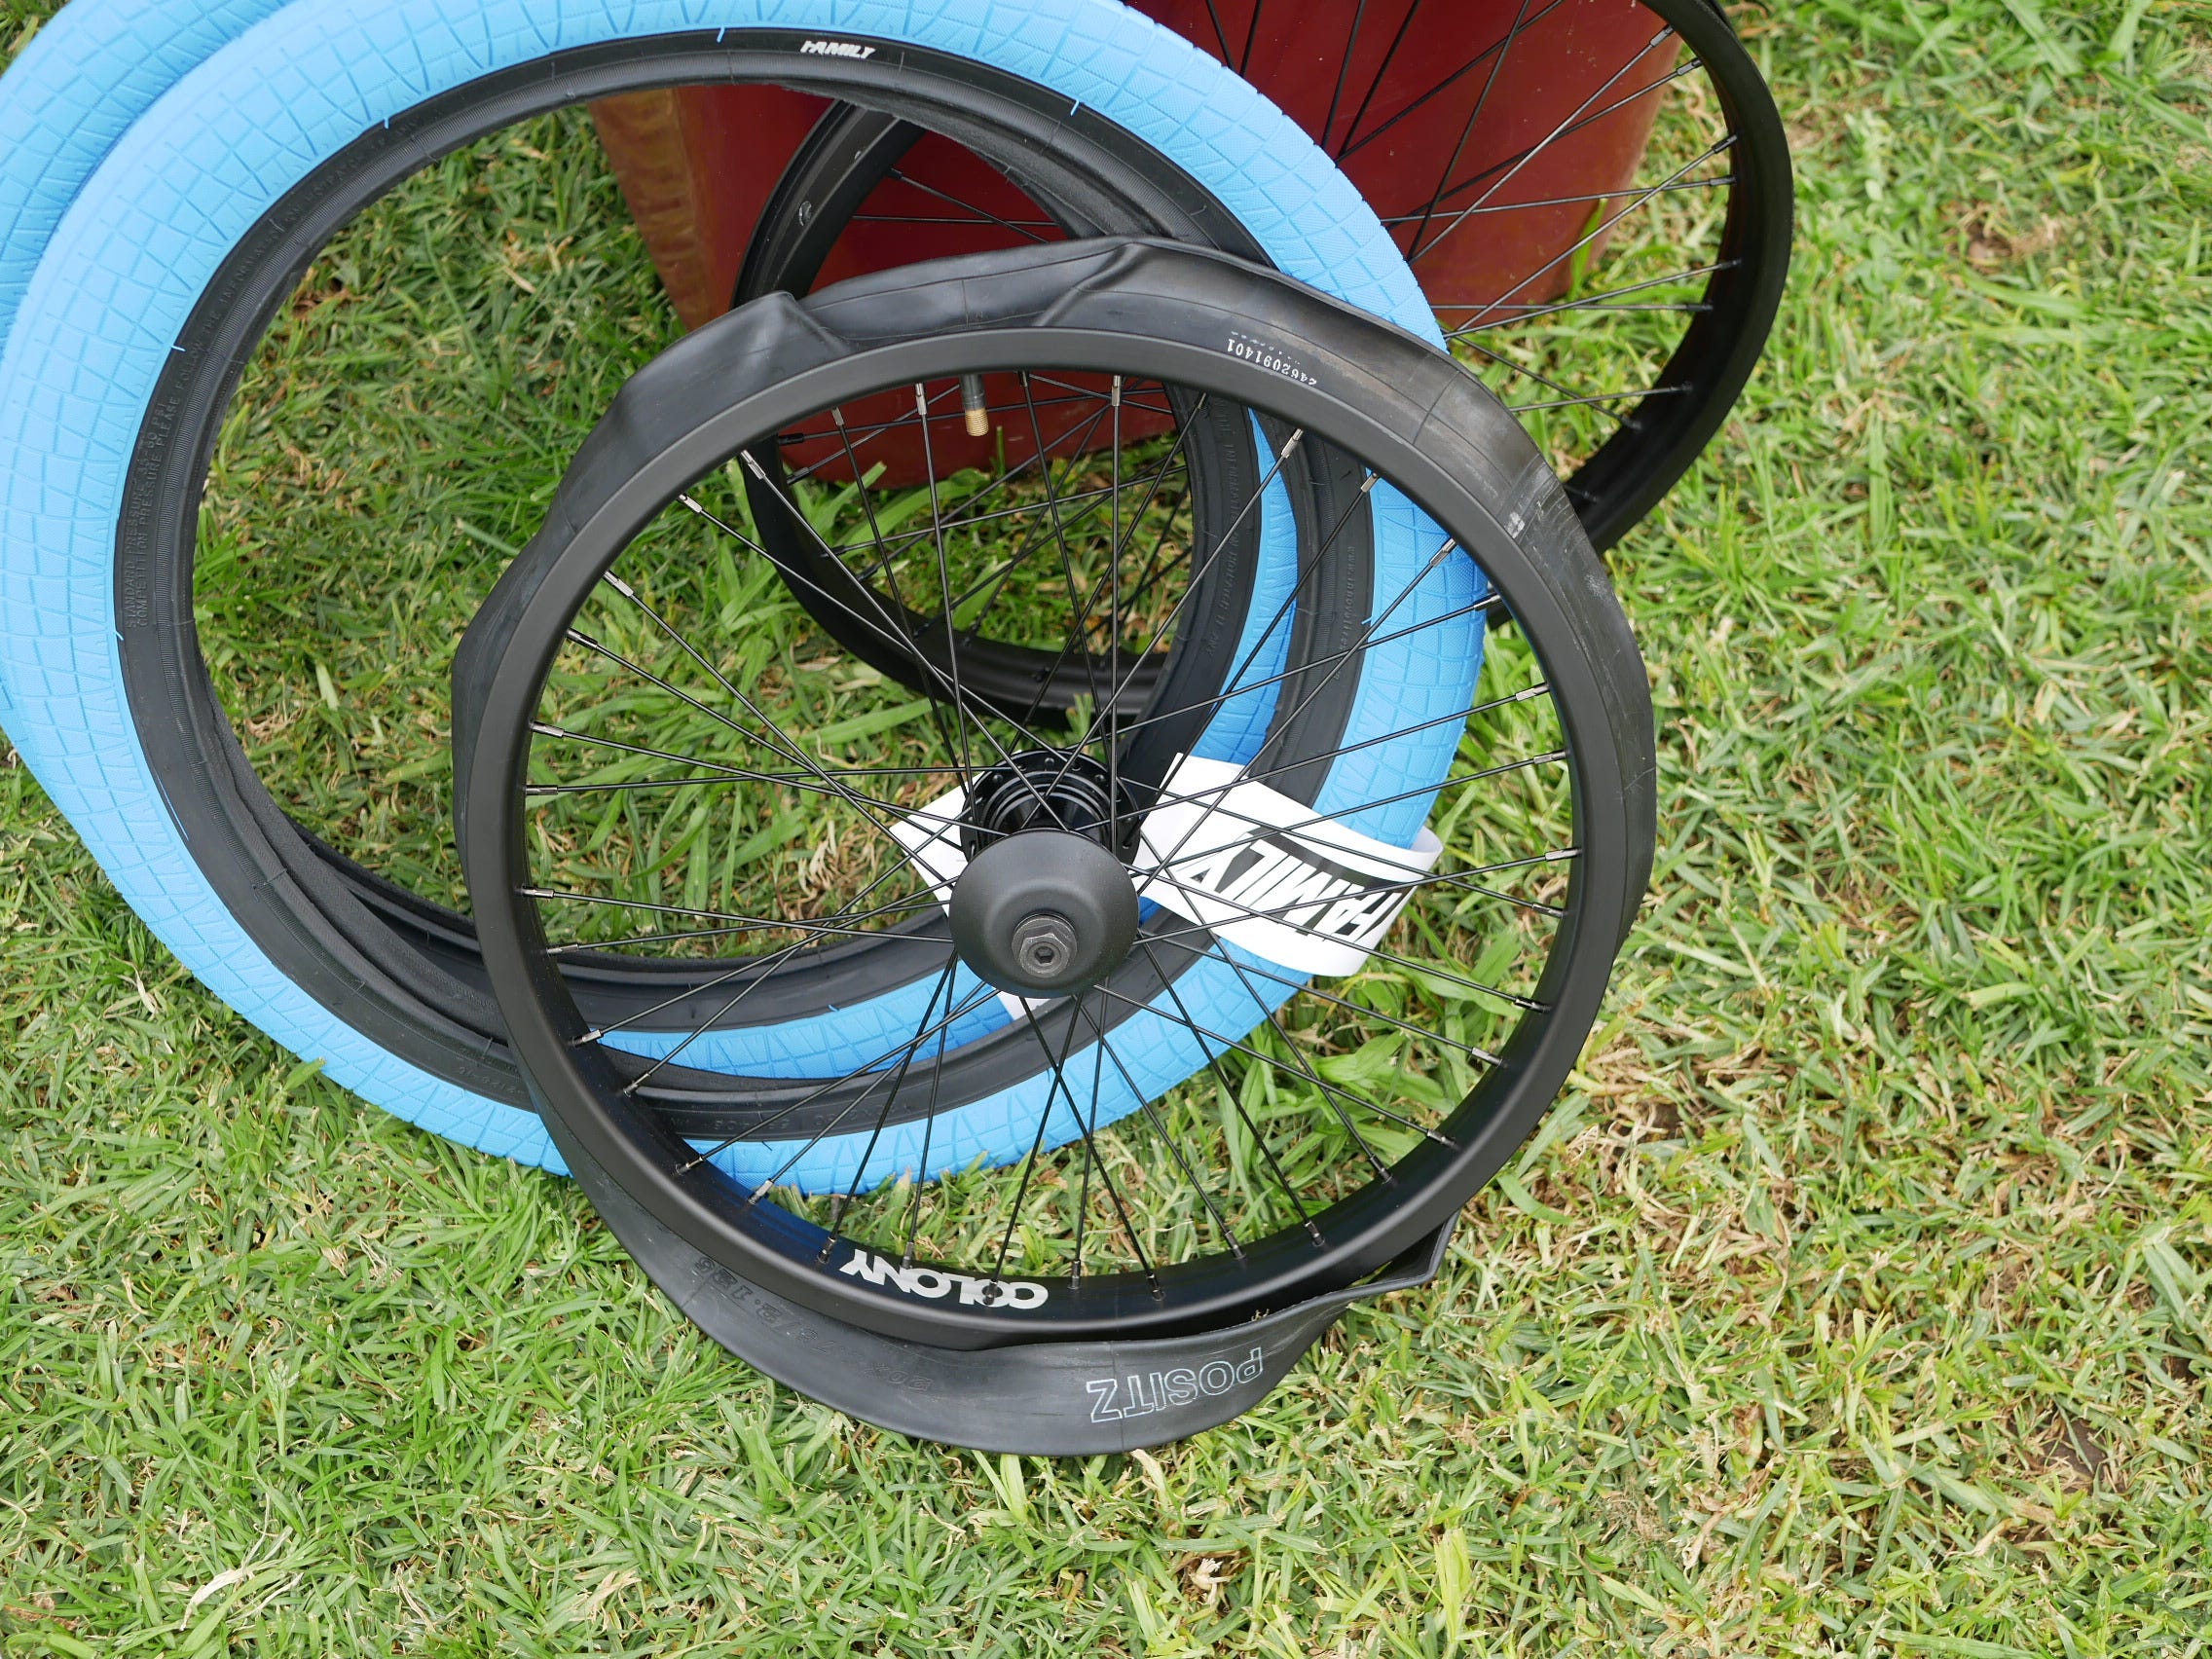
Next up, the new Rims and new Blue Tyre’s.
Which needed the Rim Tape.
And Inner Tubes.
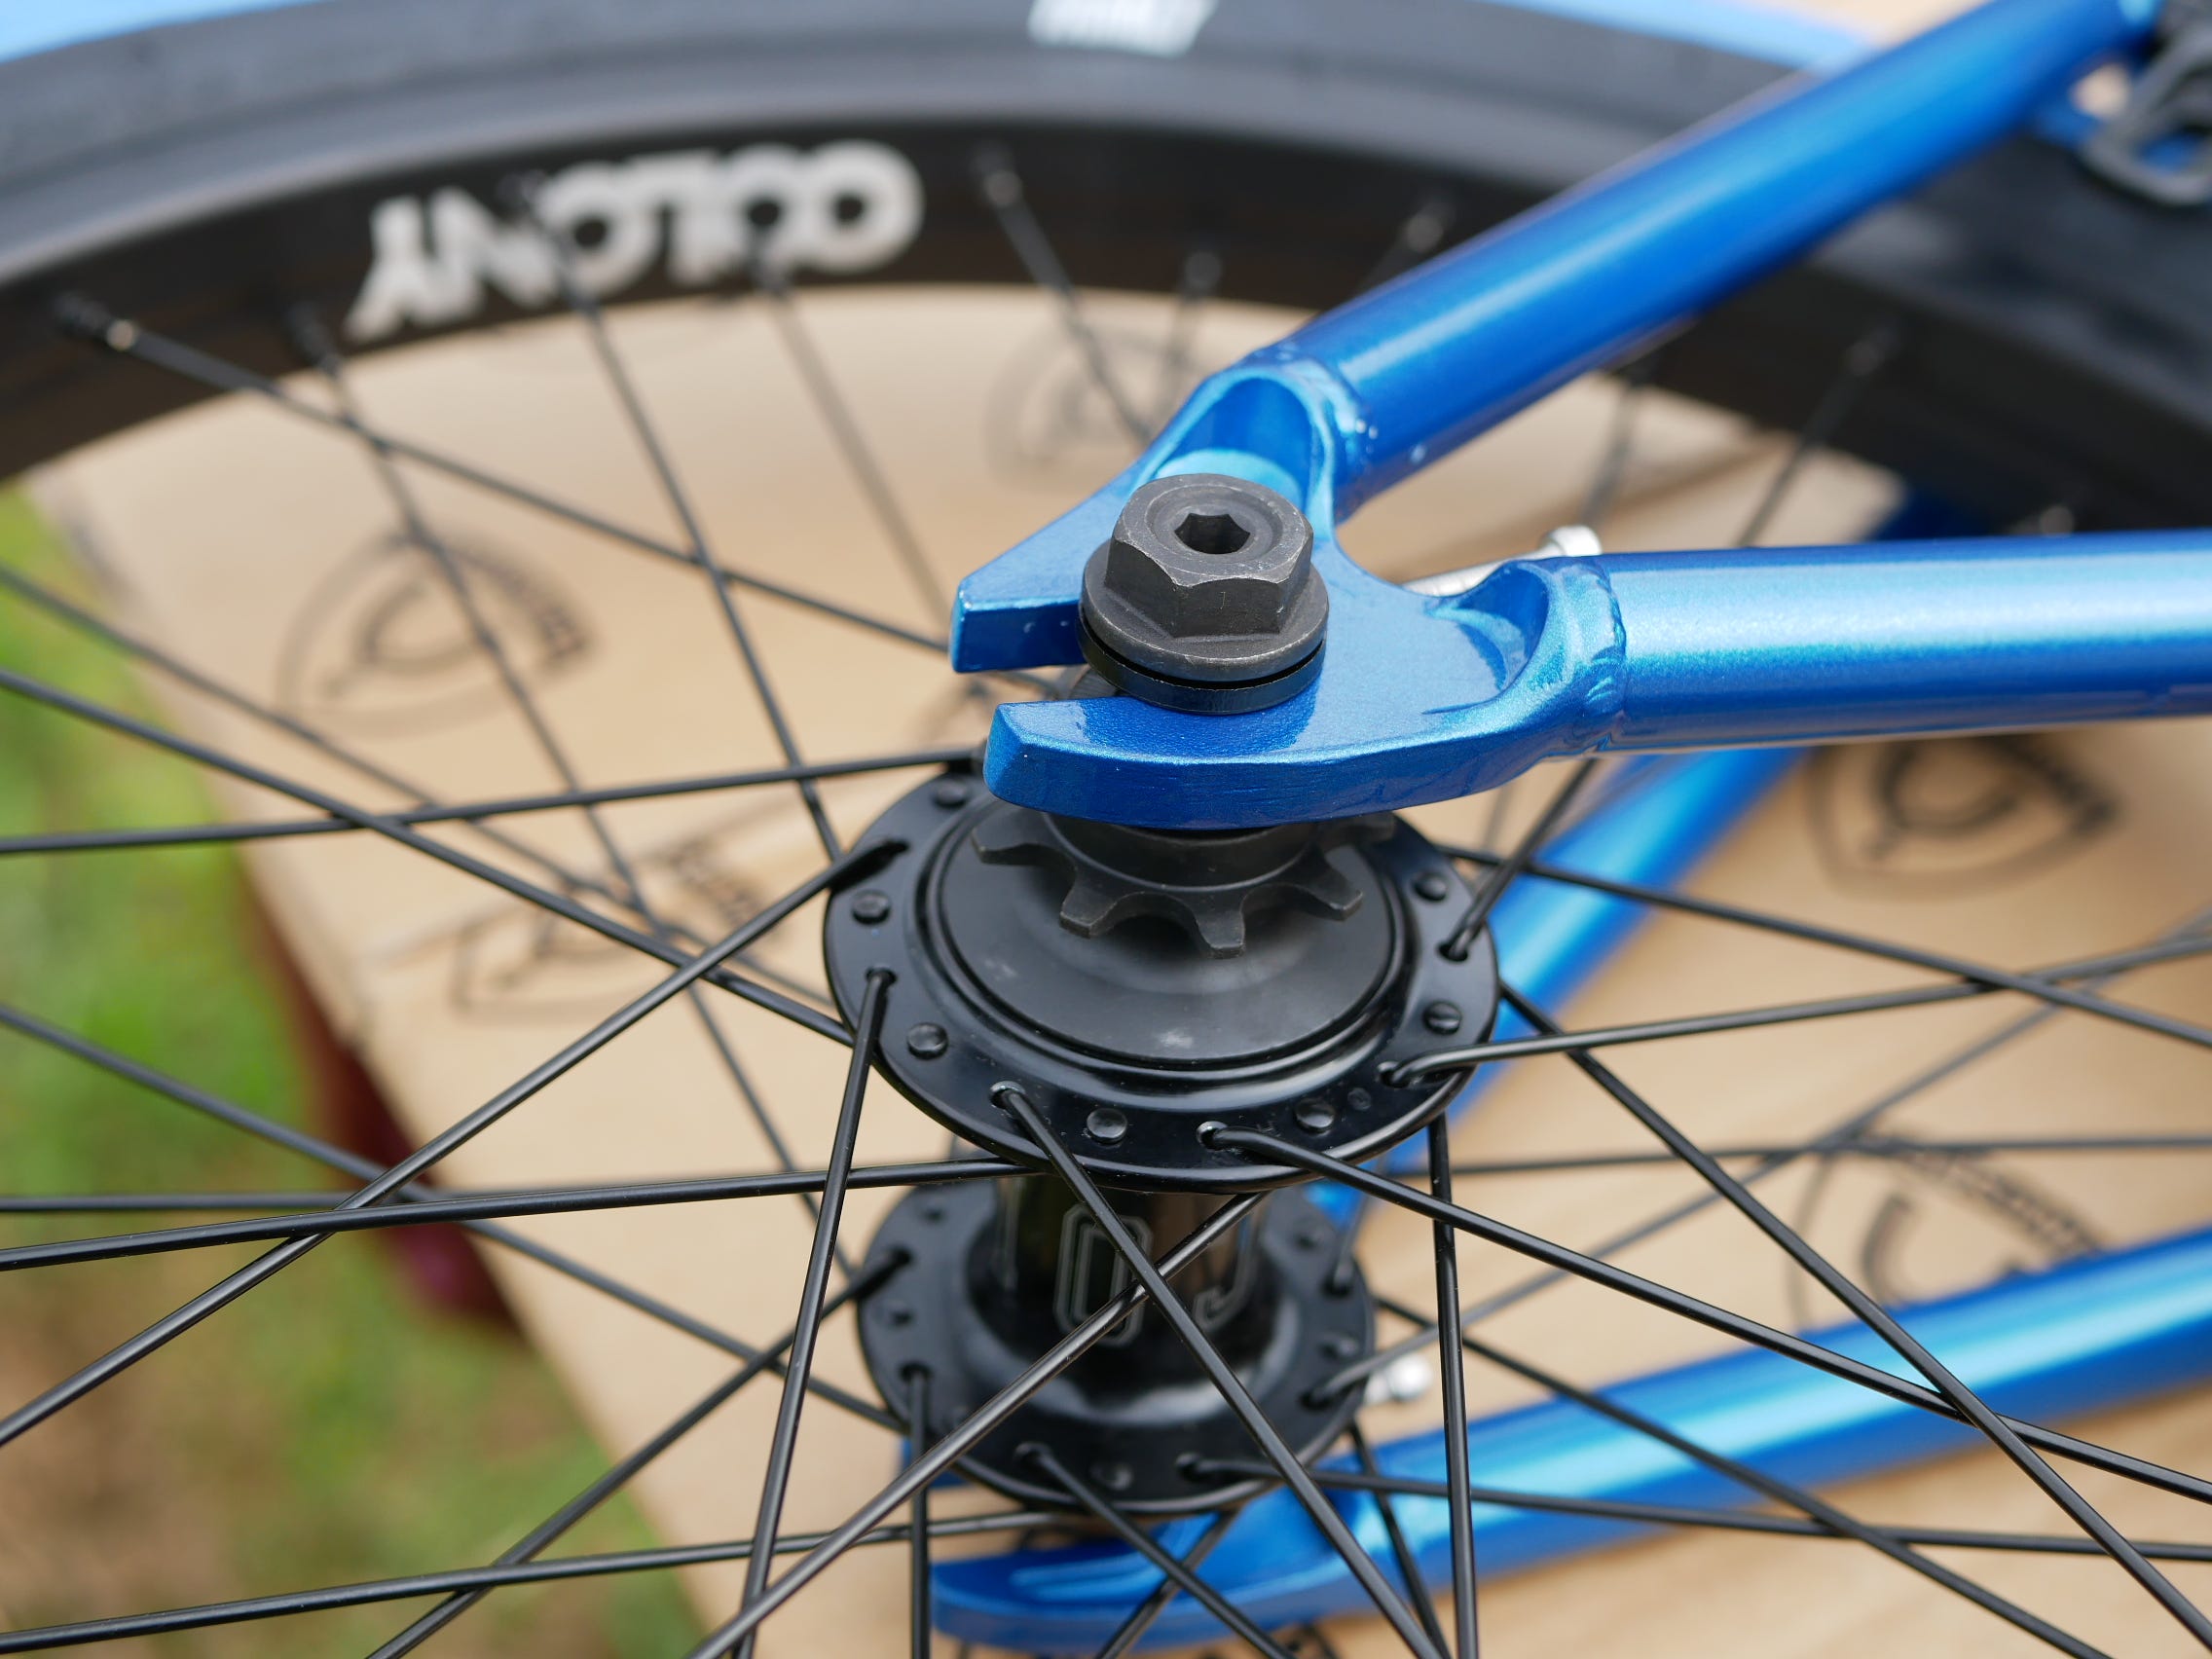
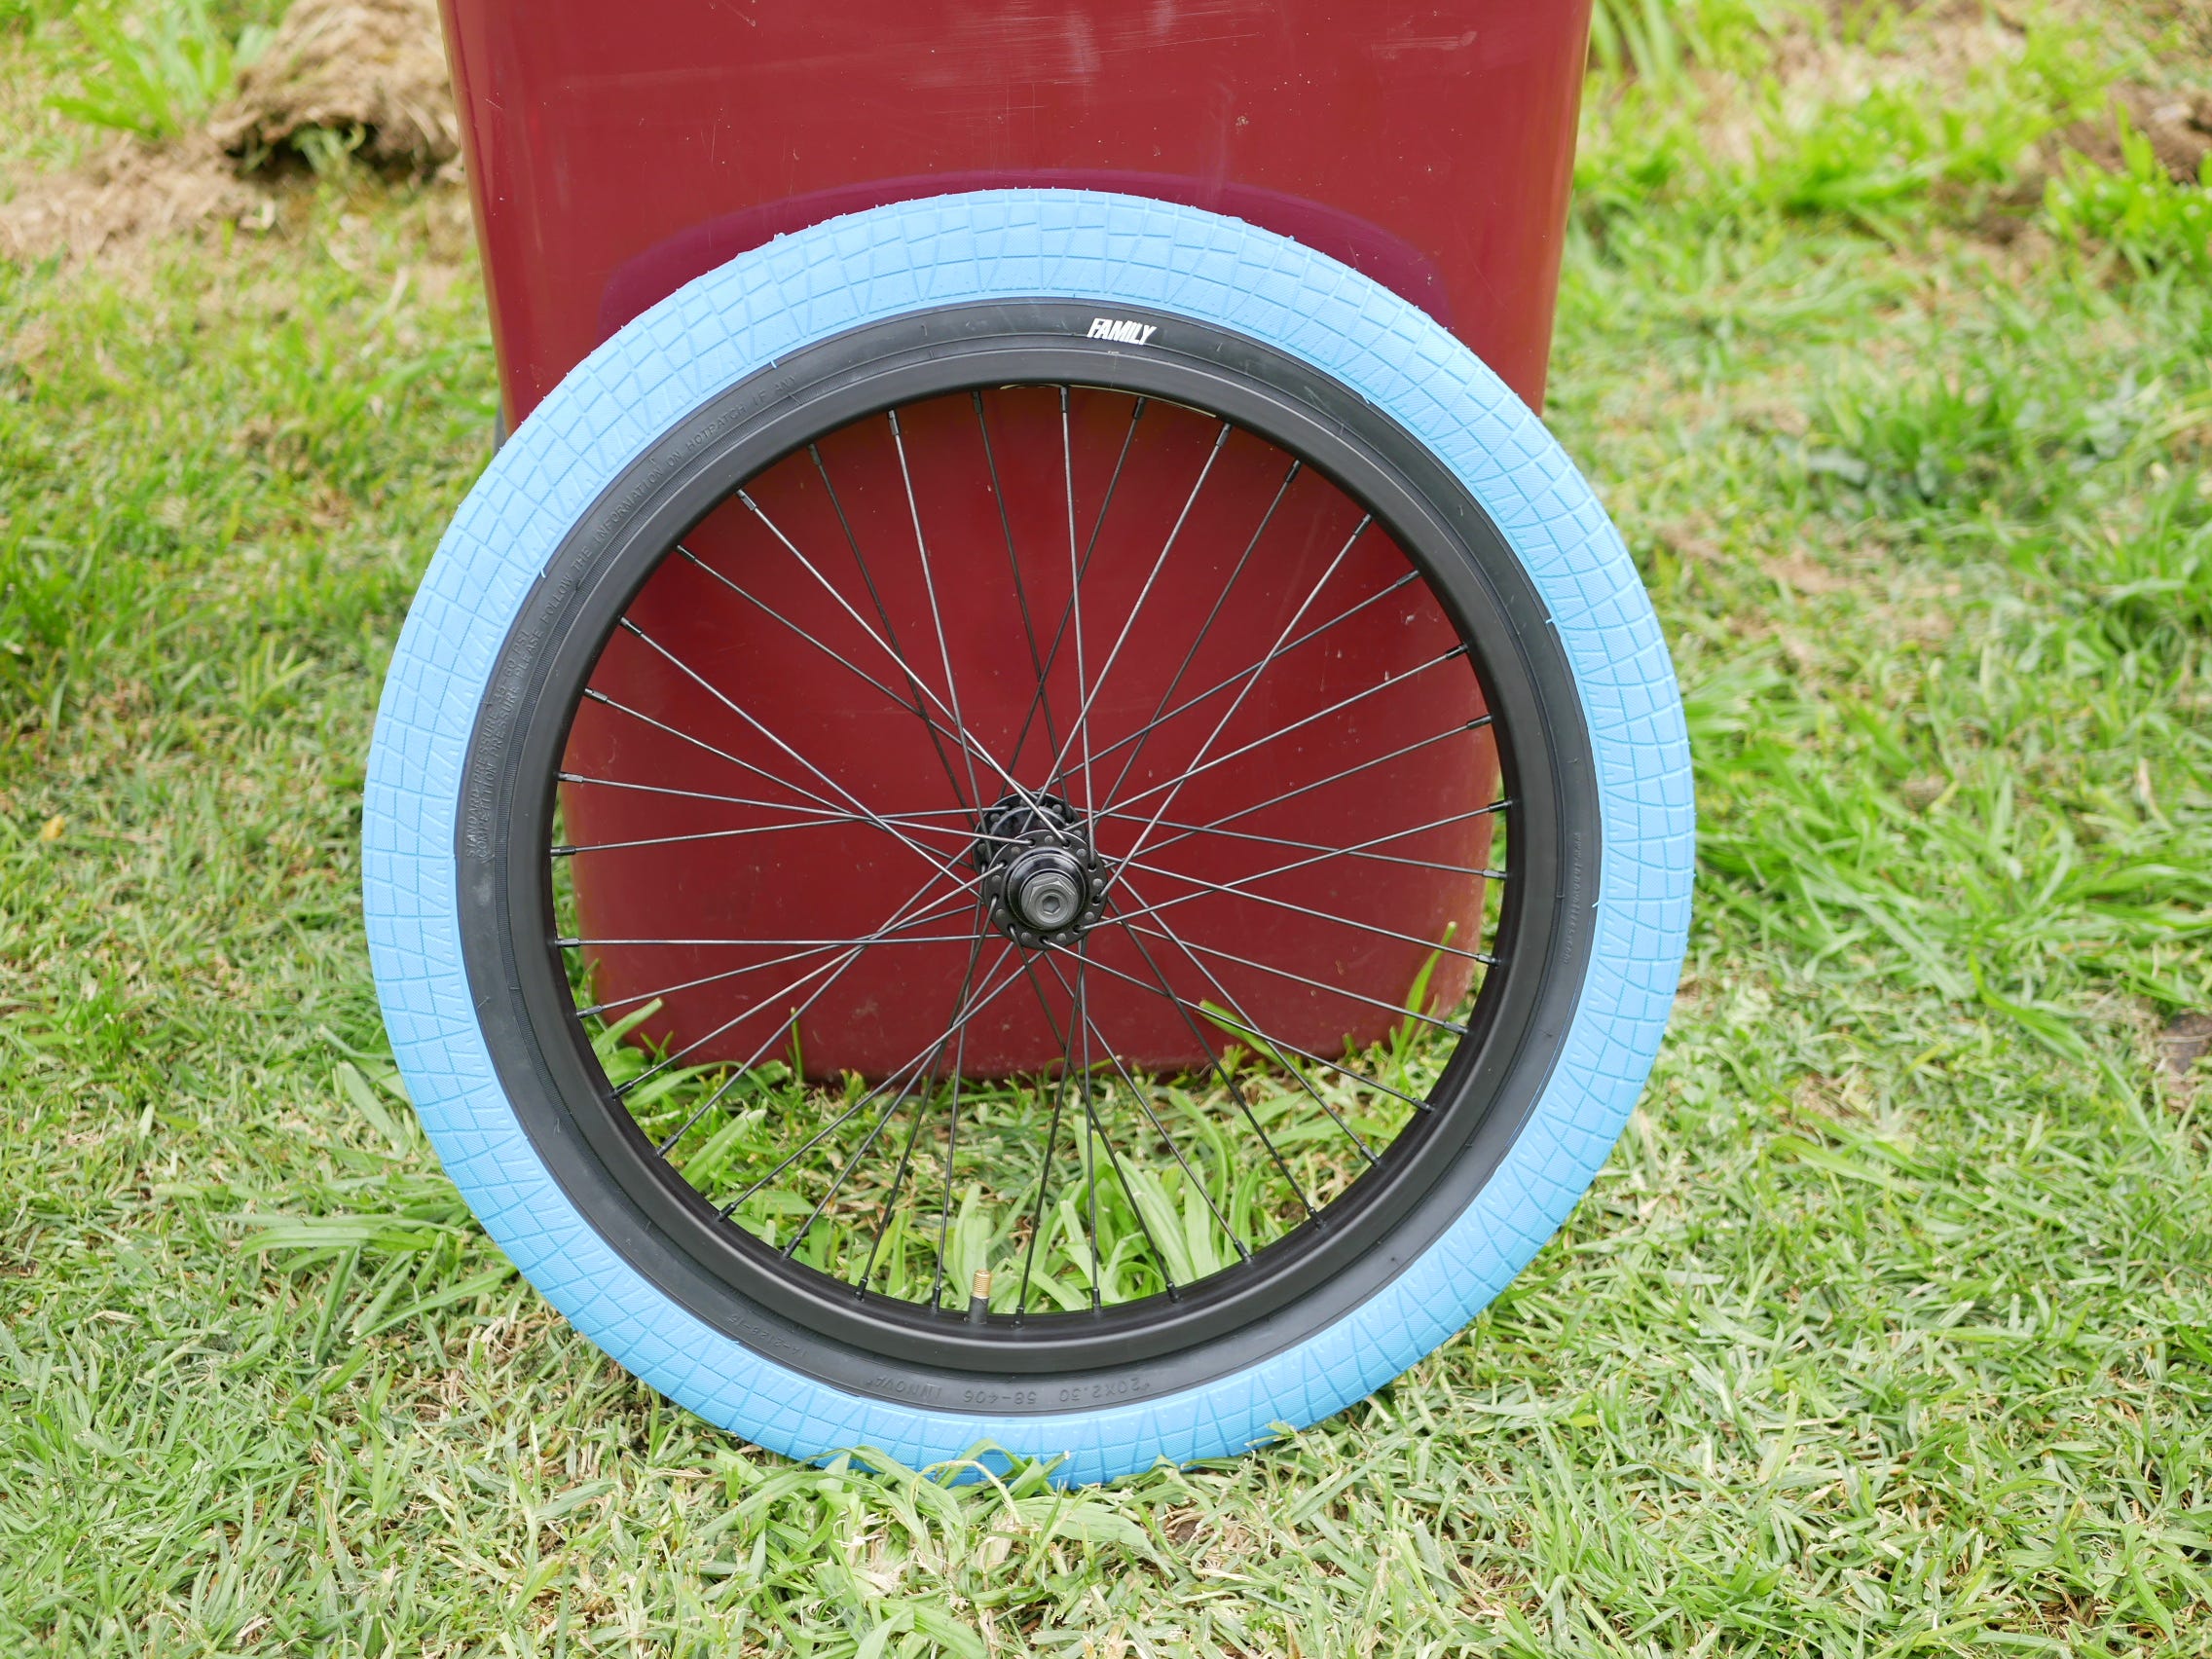
With the Rear Wheel being Completed.

Then Mounted.
Followed by the Front Wheel.
Which was not mounted yet thanks to needing to do the Cranks.
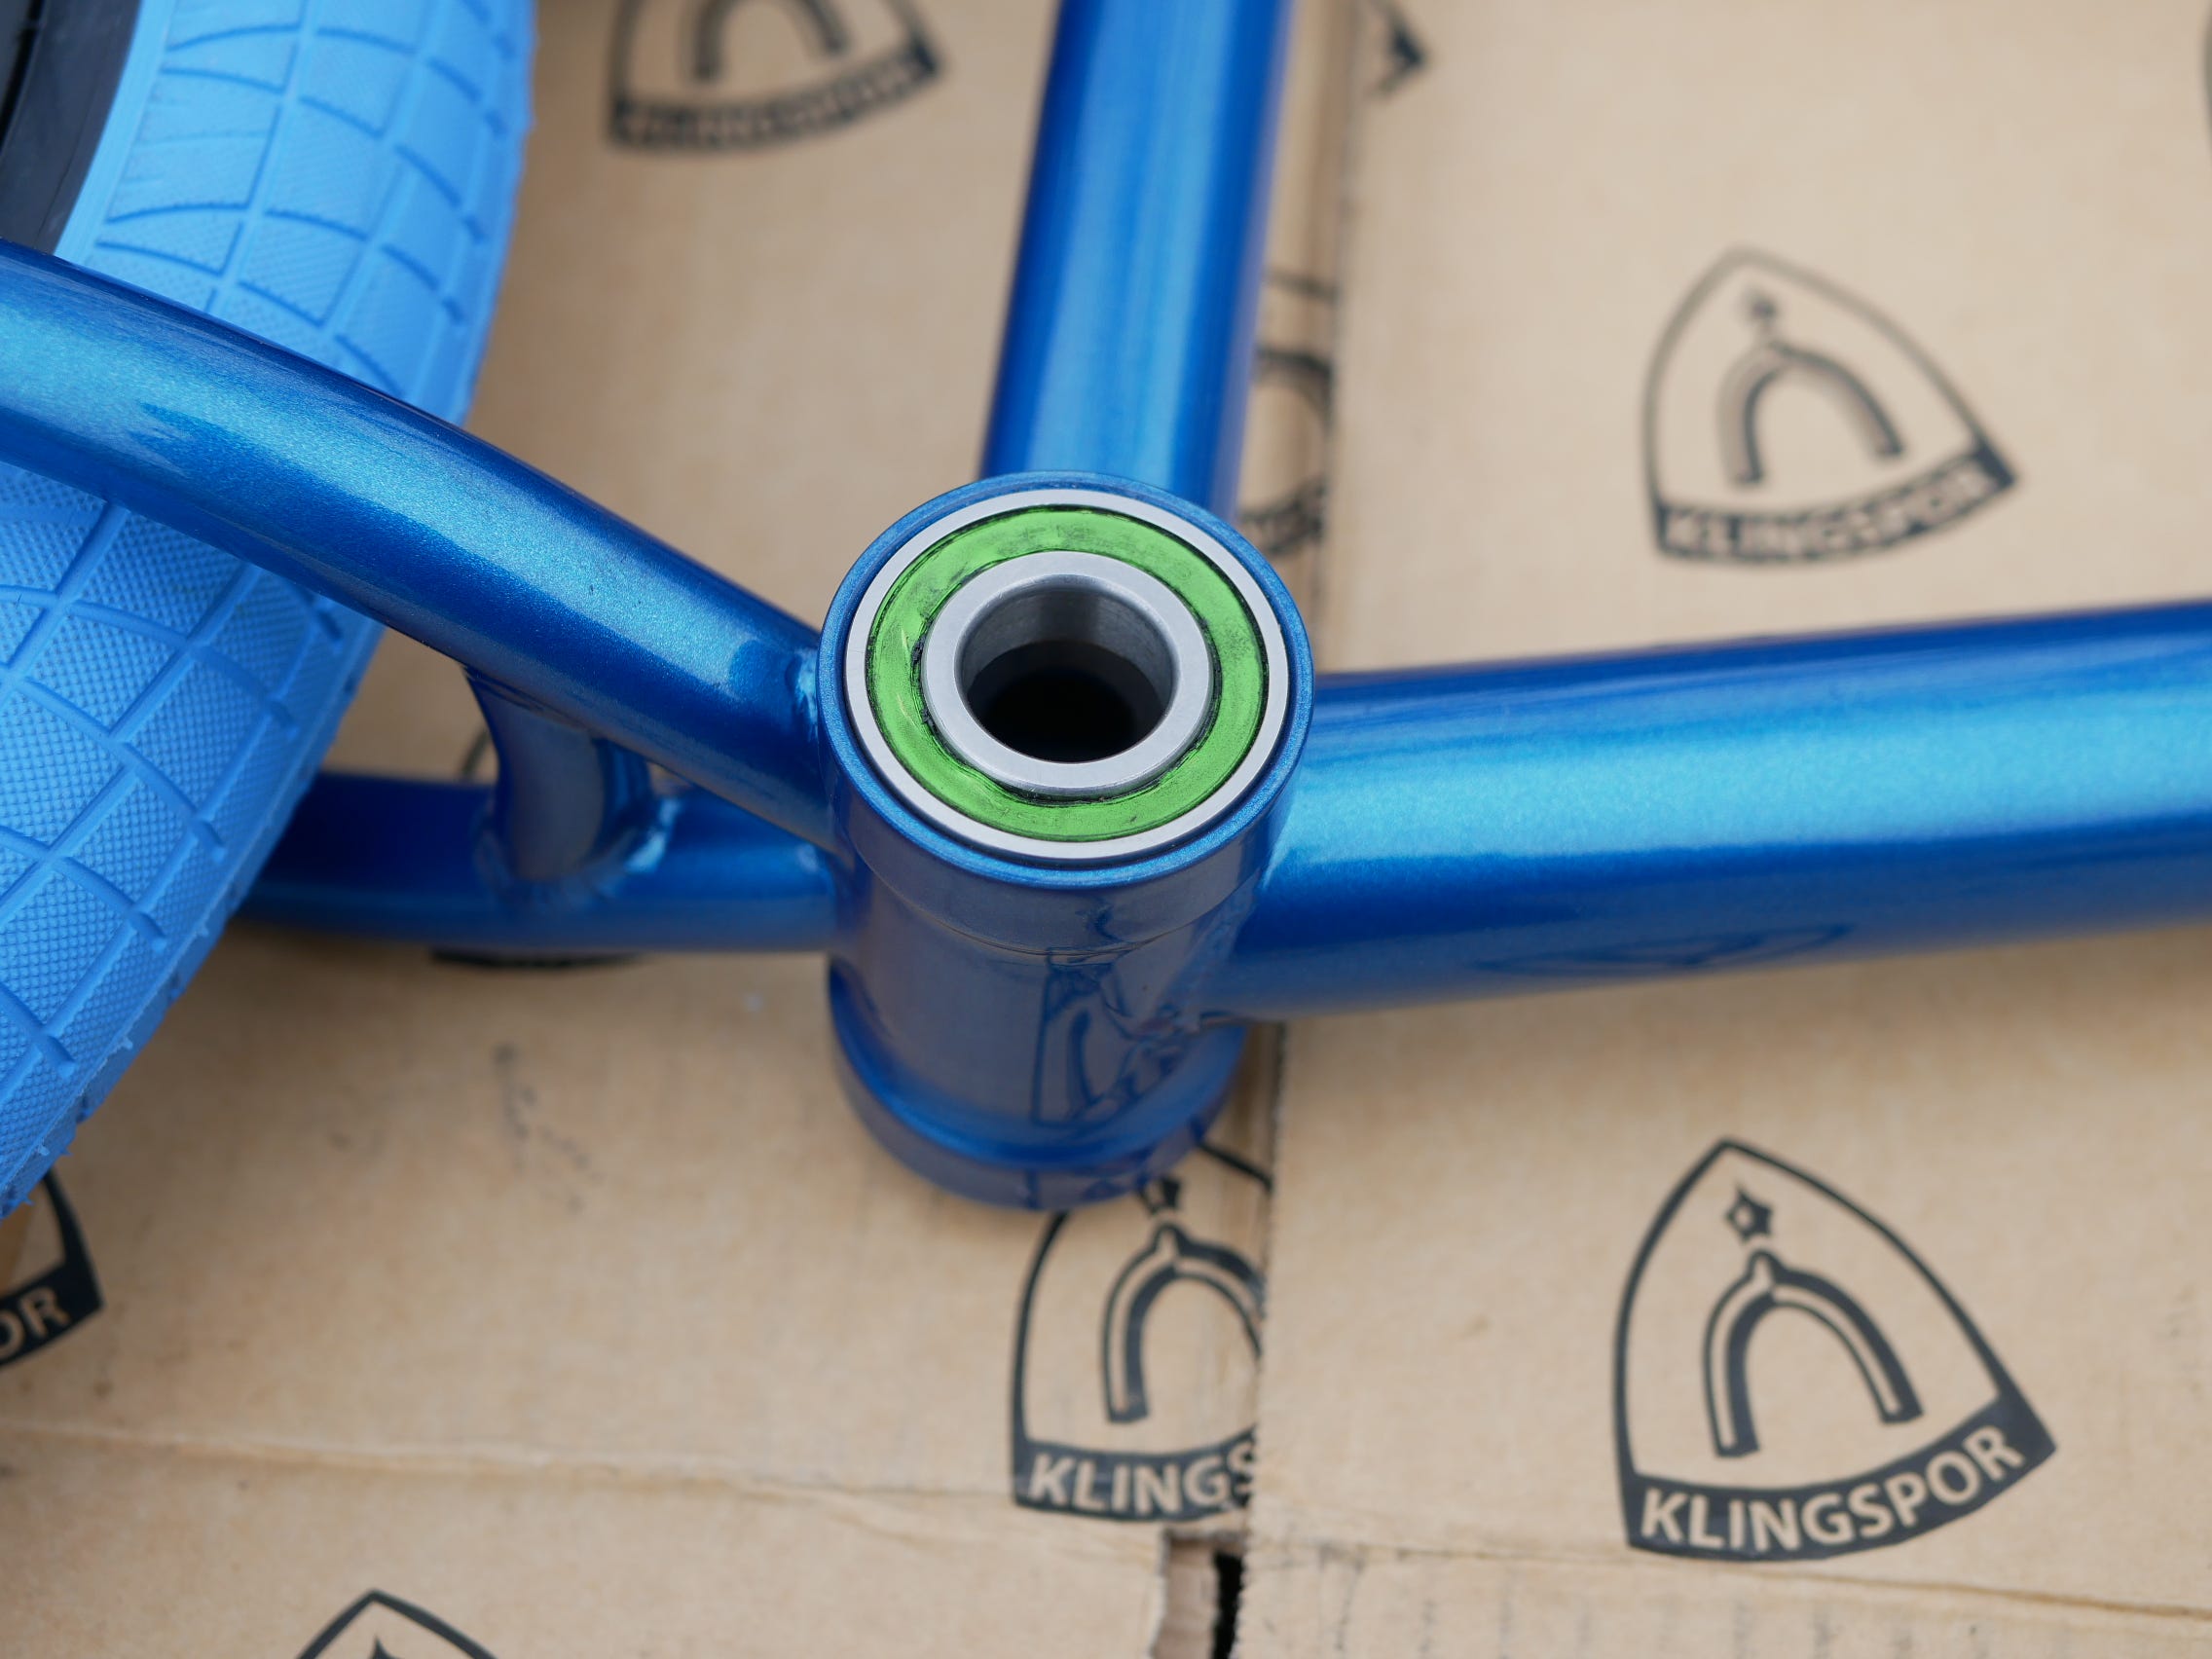
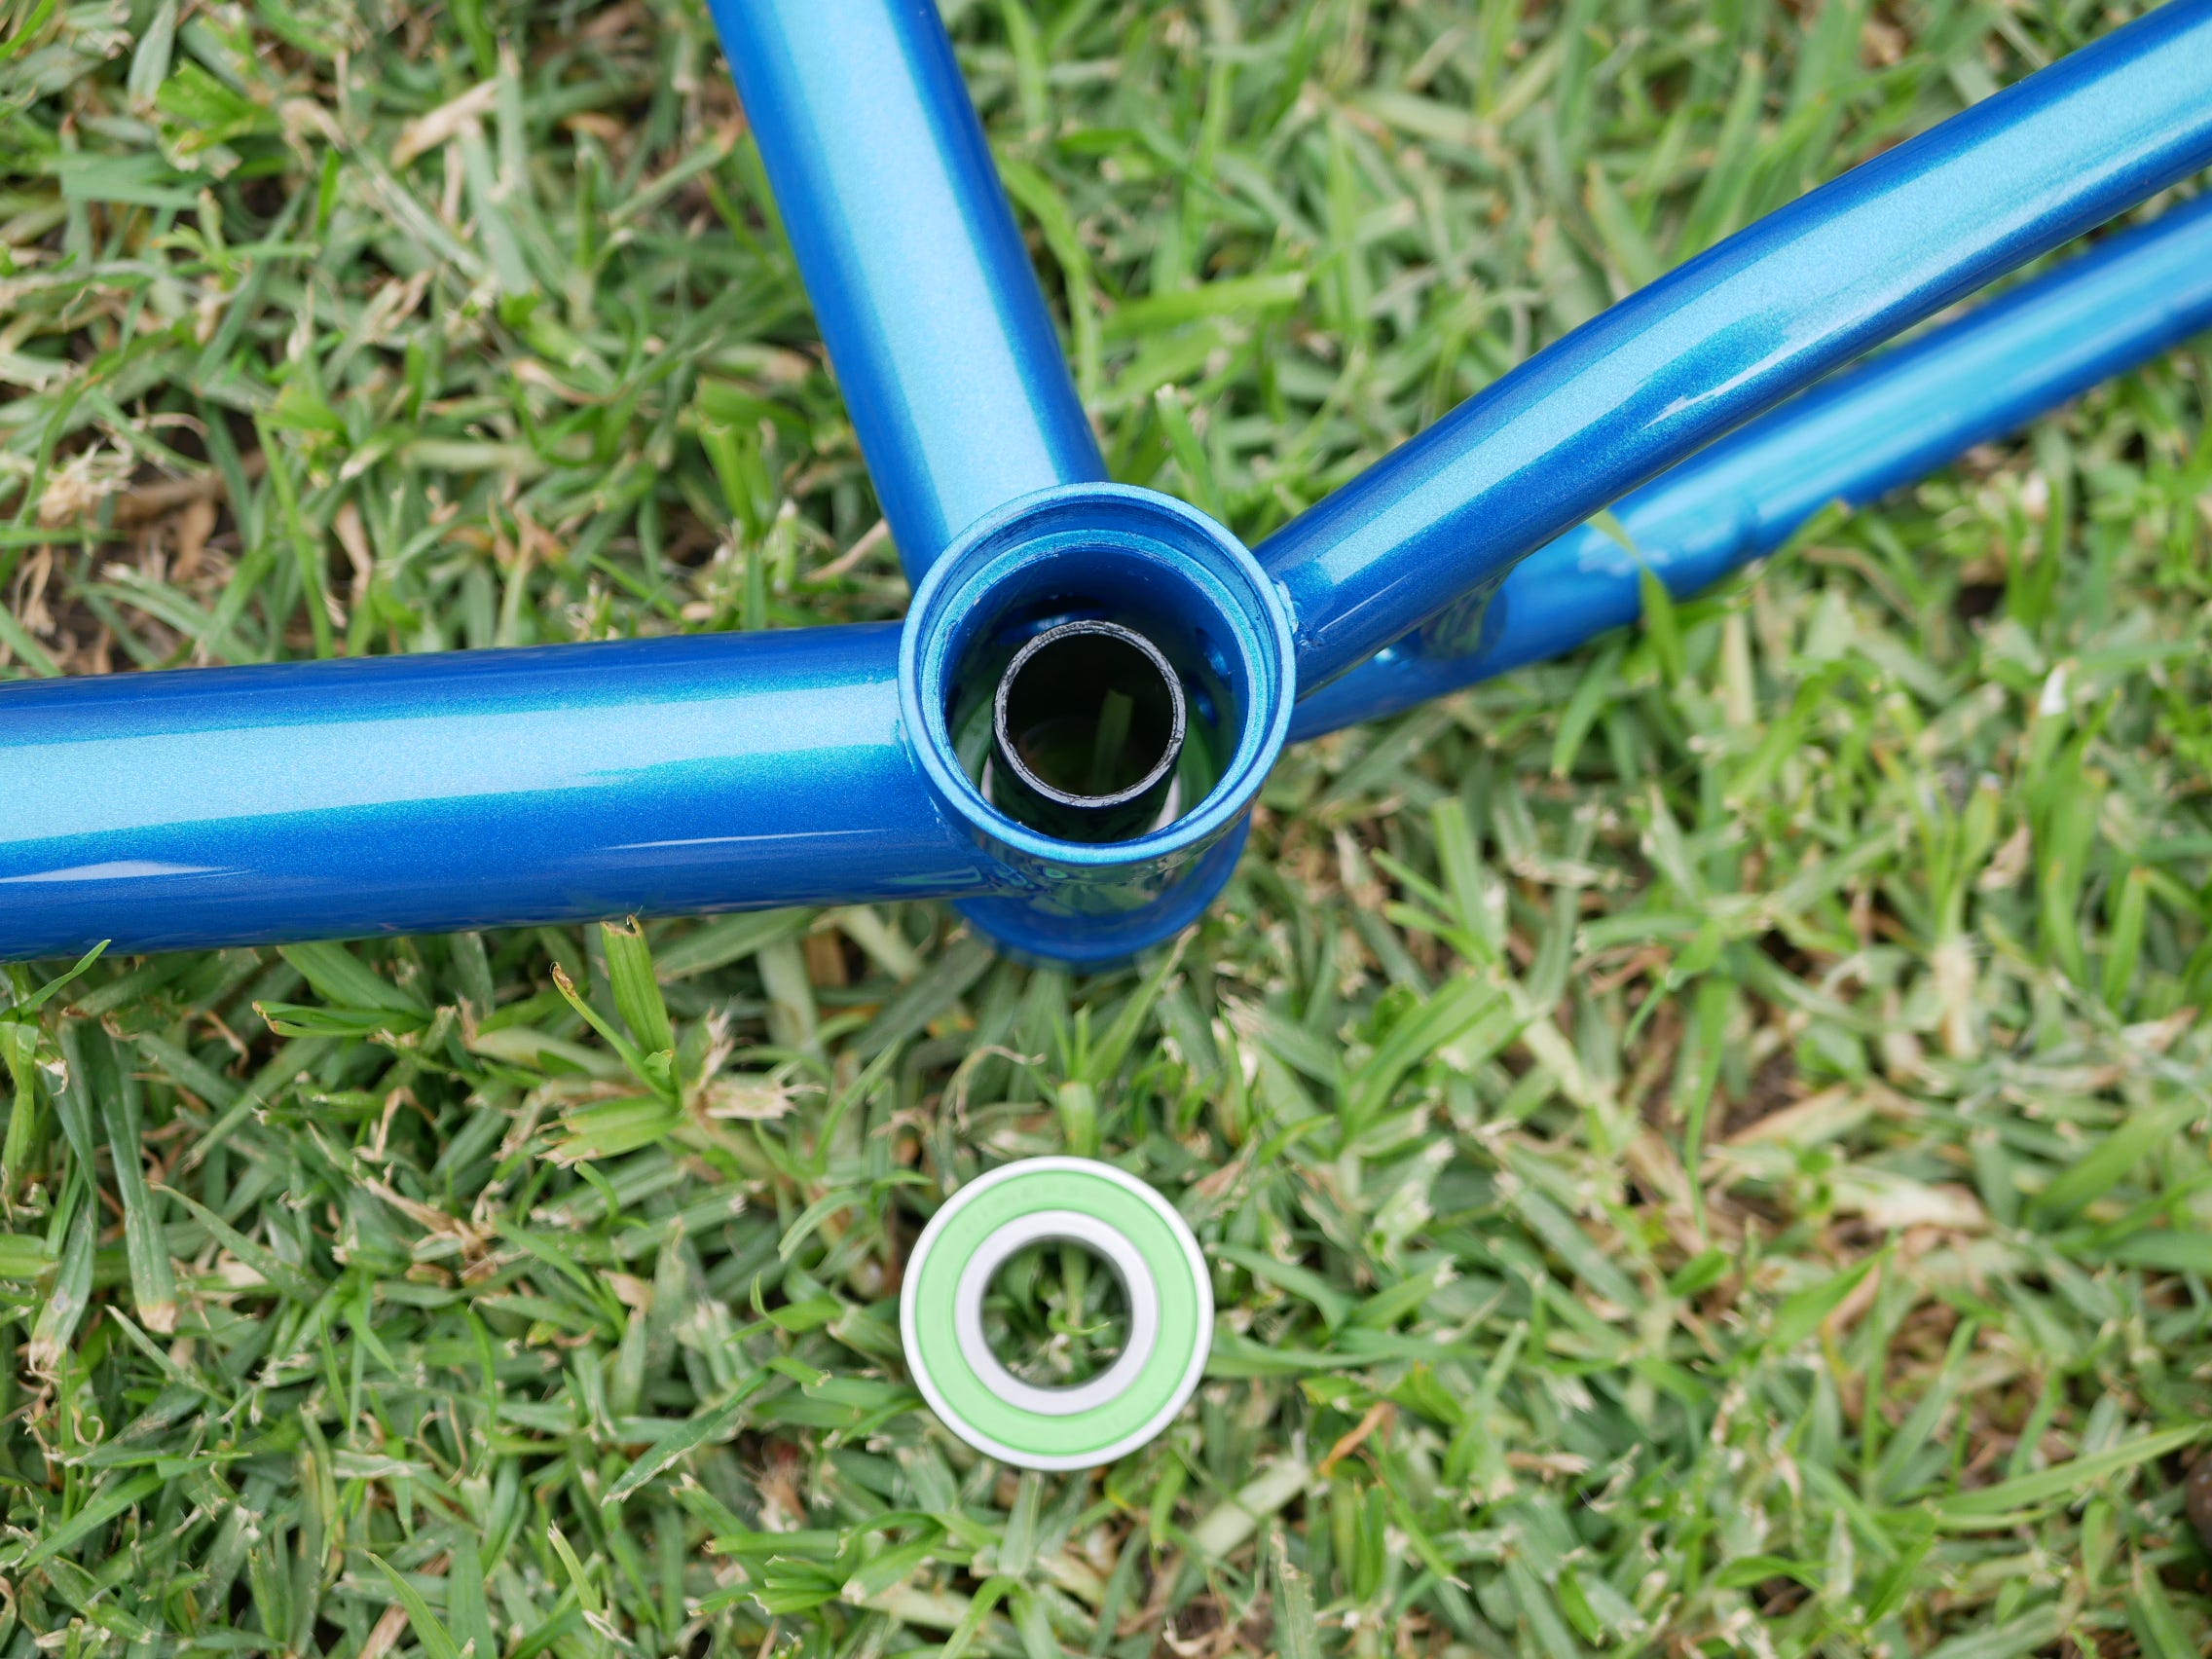
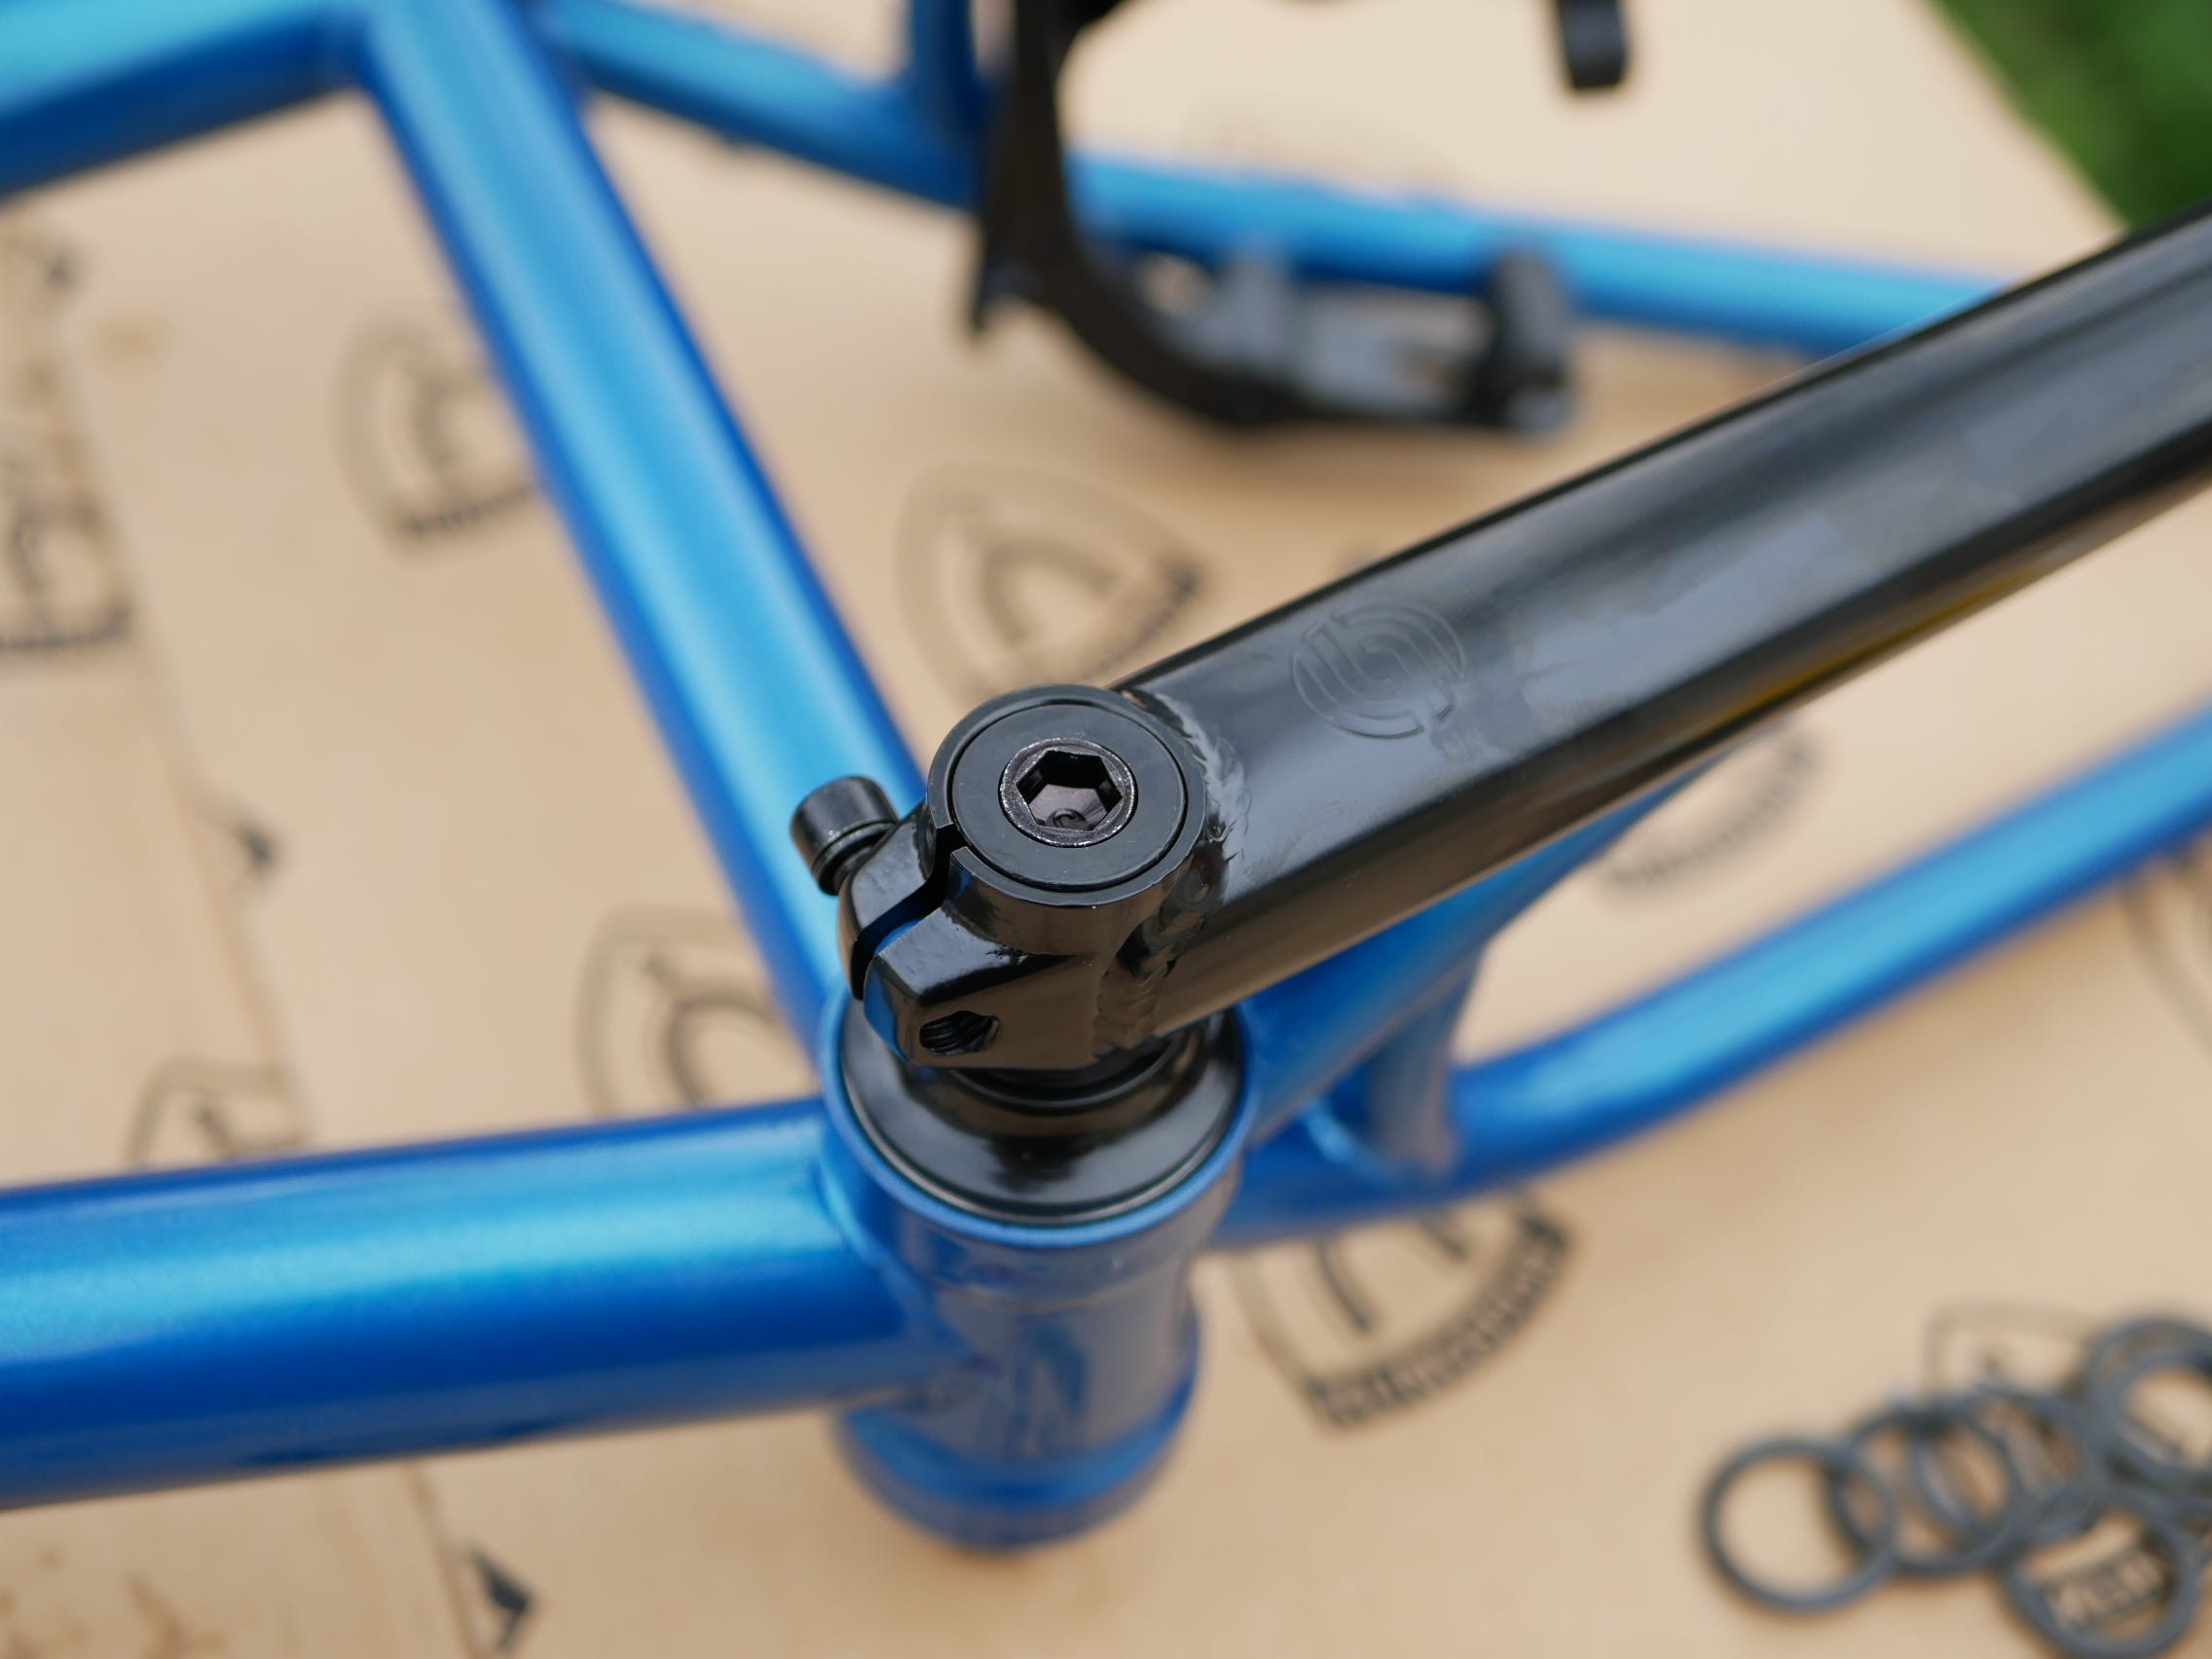
So after pulling out the Crank kit, it was time to fit up some bearings.
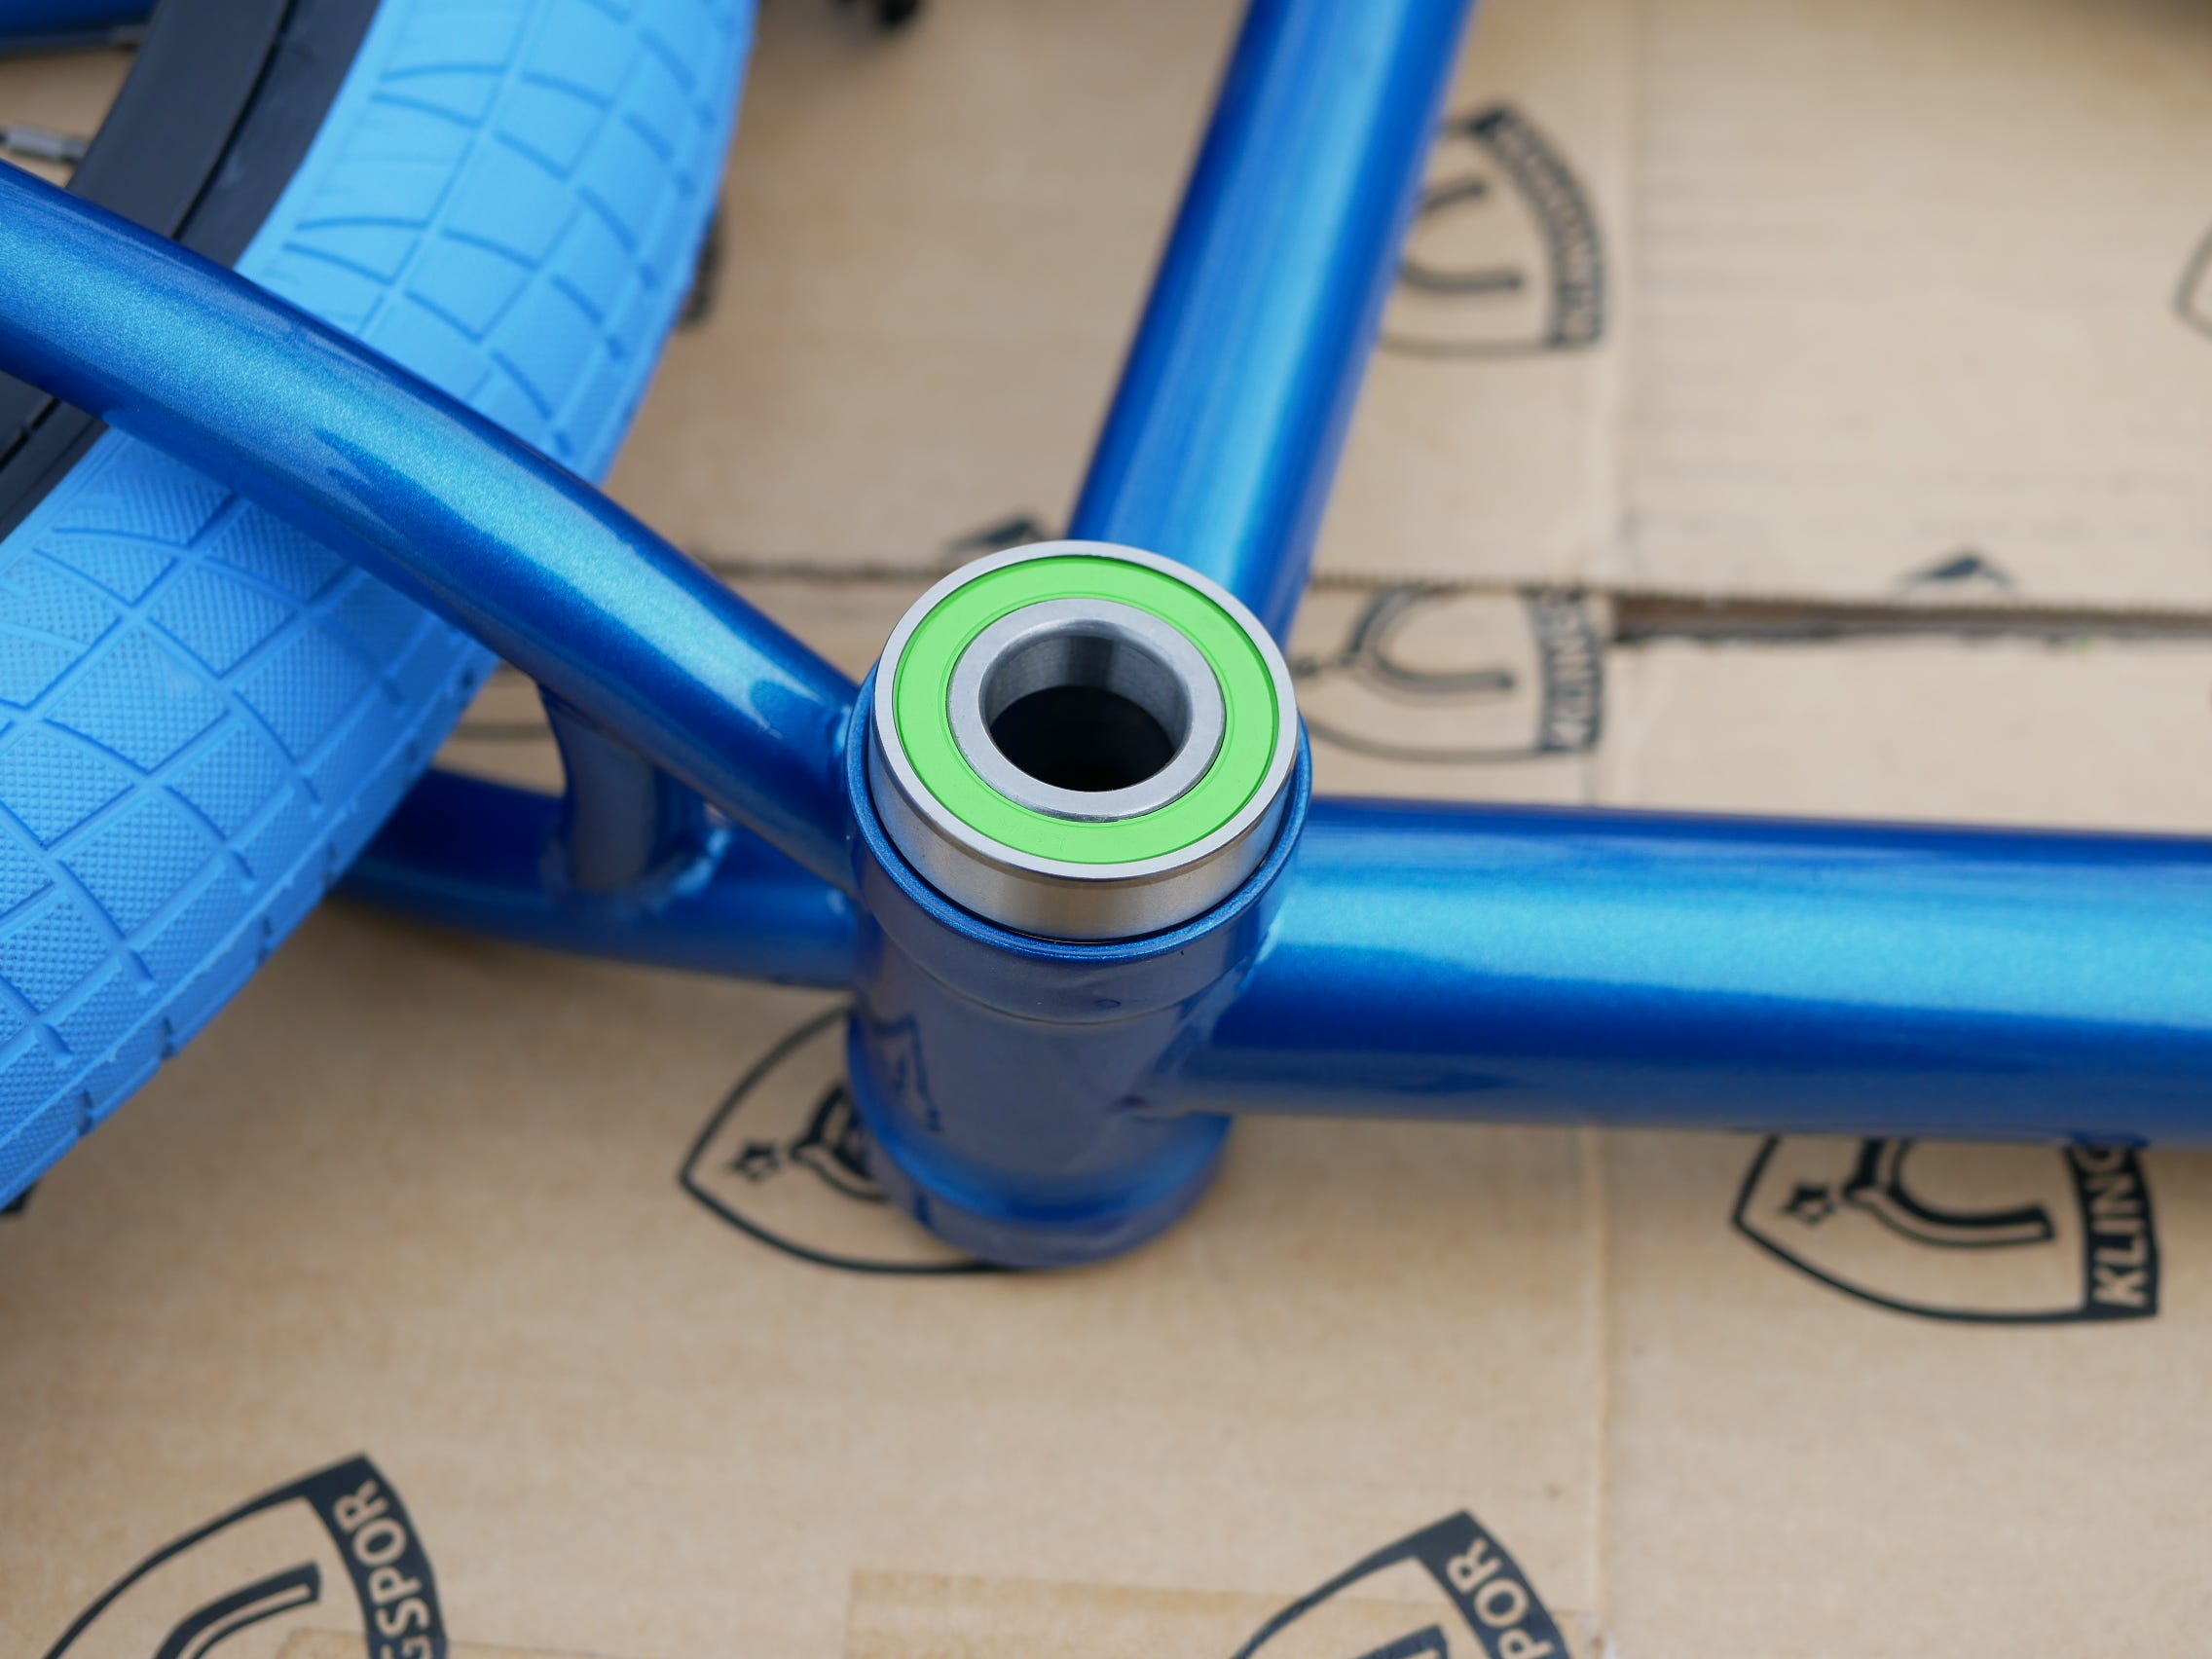
Which was unfortunately slightly damaged in placing it on. (Mind you it was only the Front Seal affected.)
Followed by the Crankshaft and Spacer.
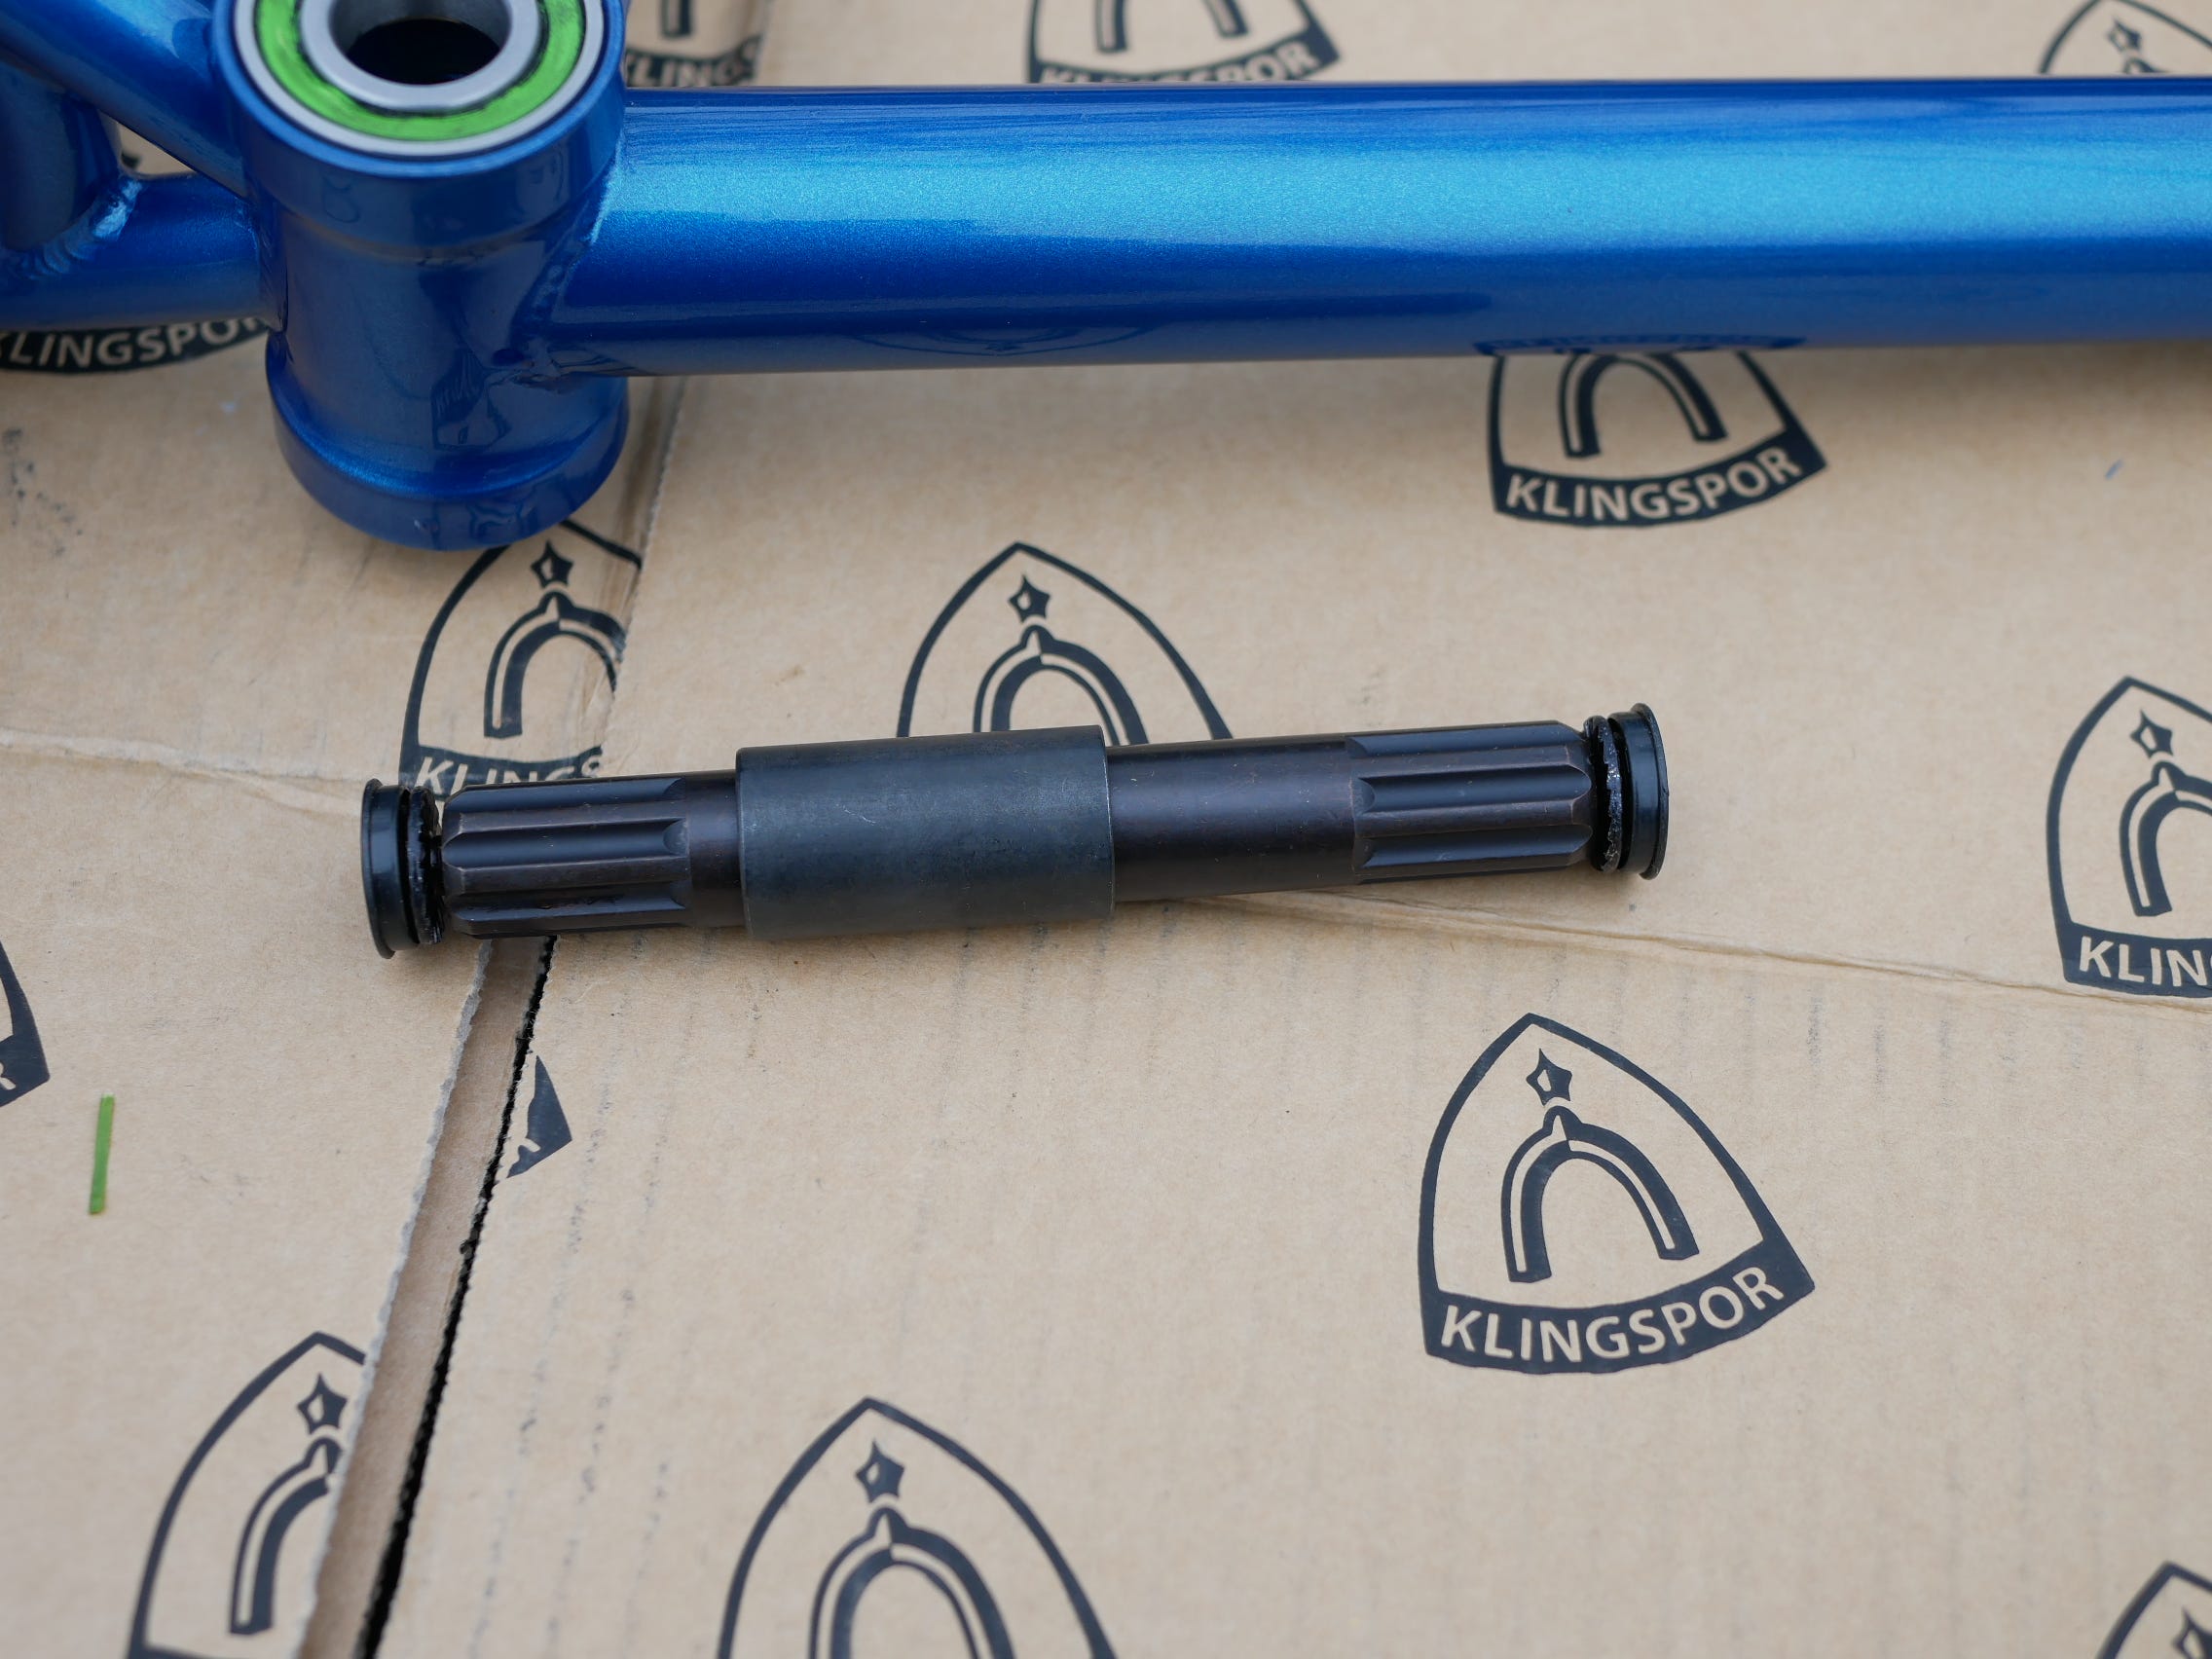
Which were greased up and then placed together.
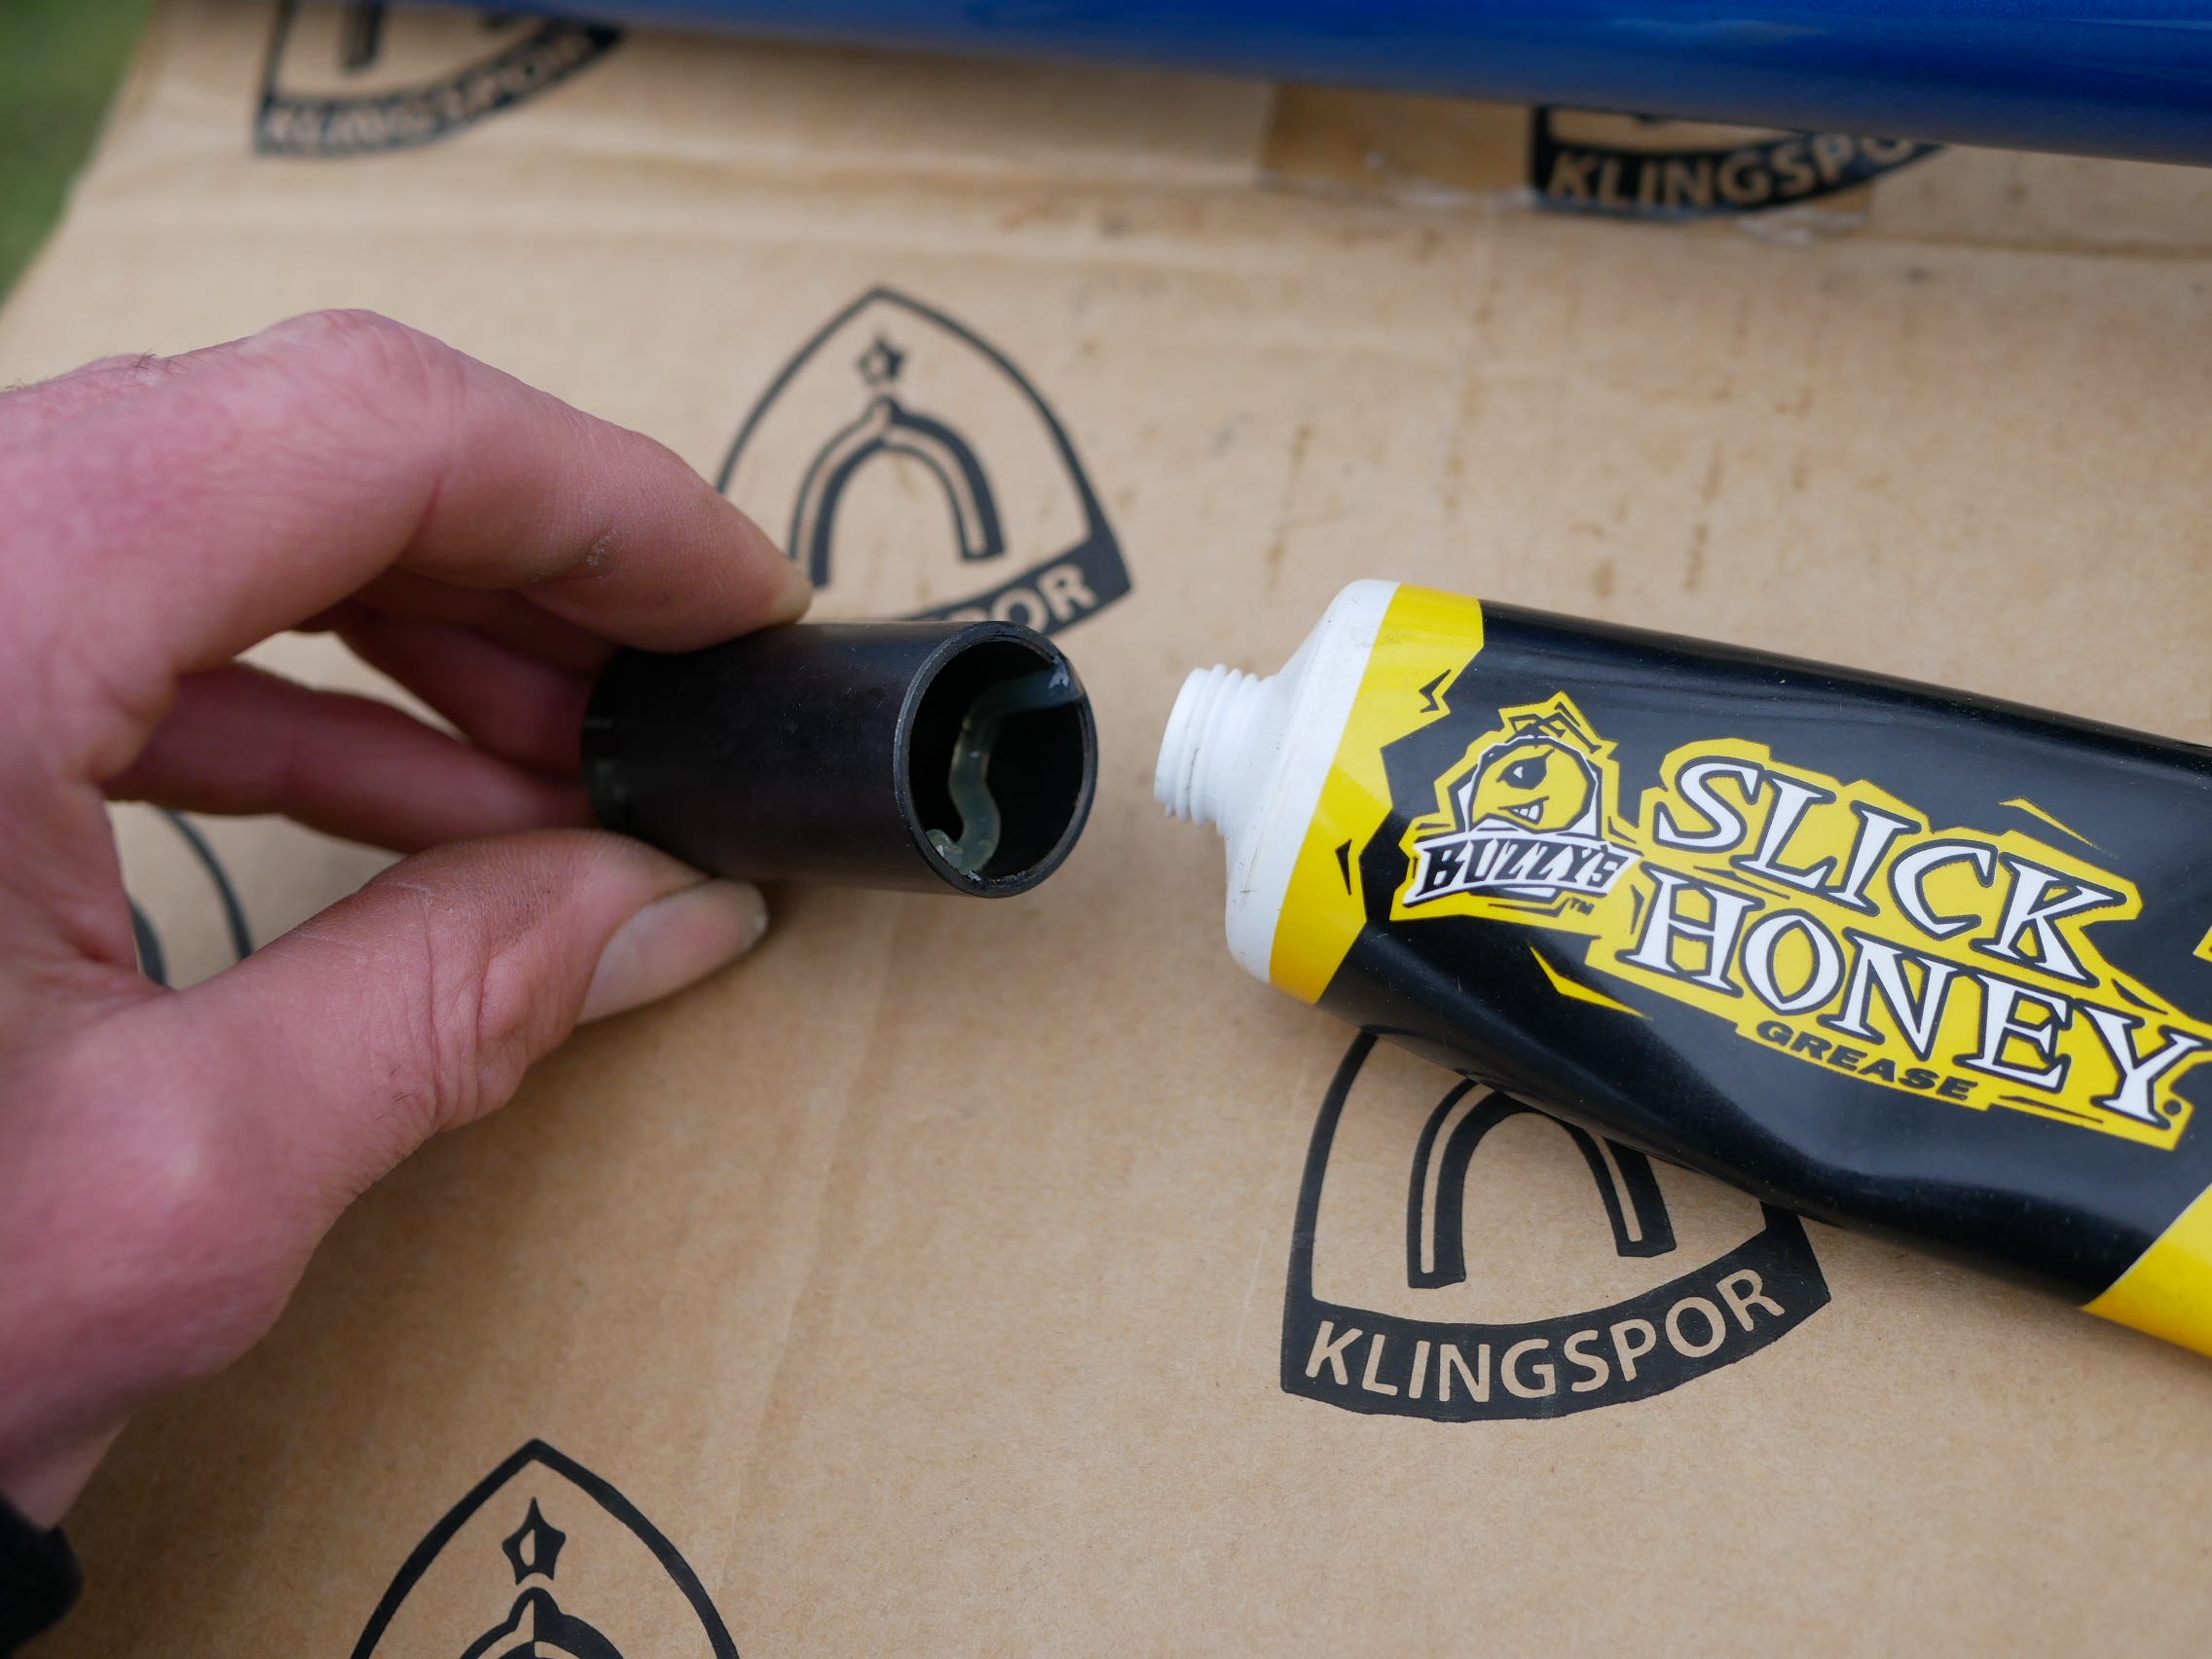
Then placing the Spacer in the Crankshaft cavity.
Followed by the other Bearing being smacked in.
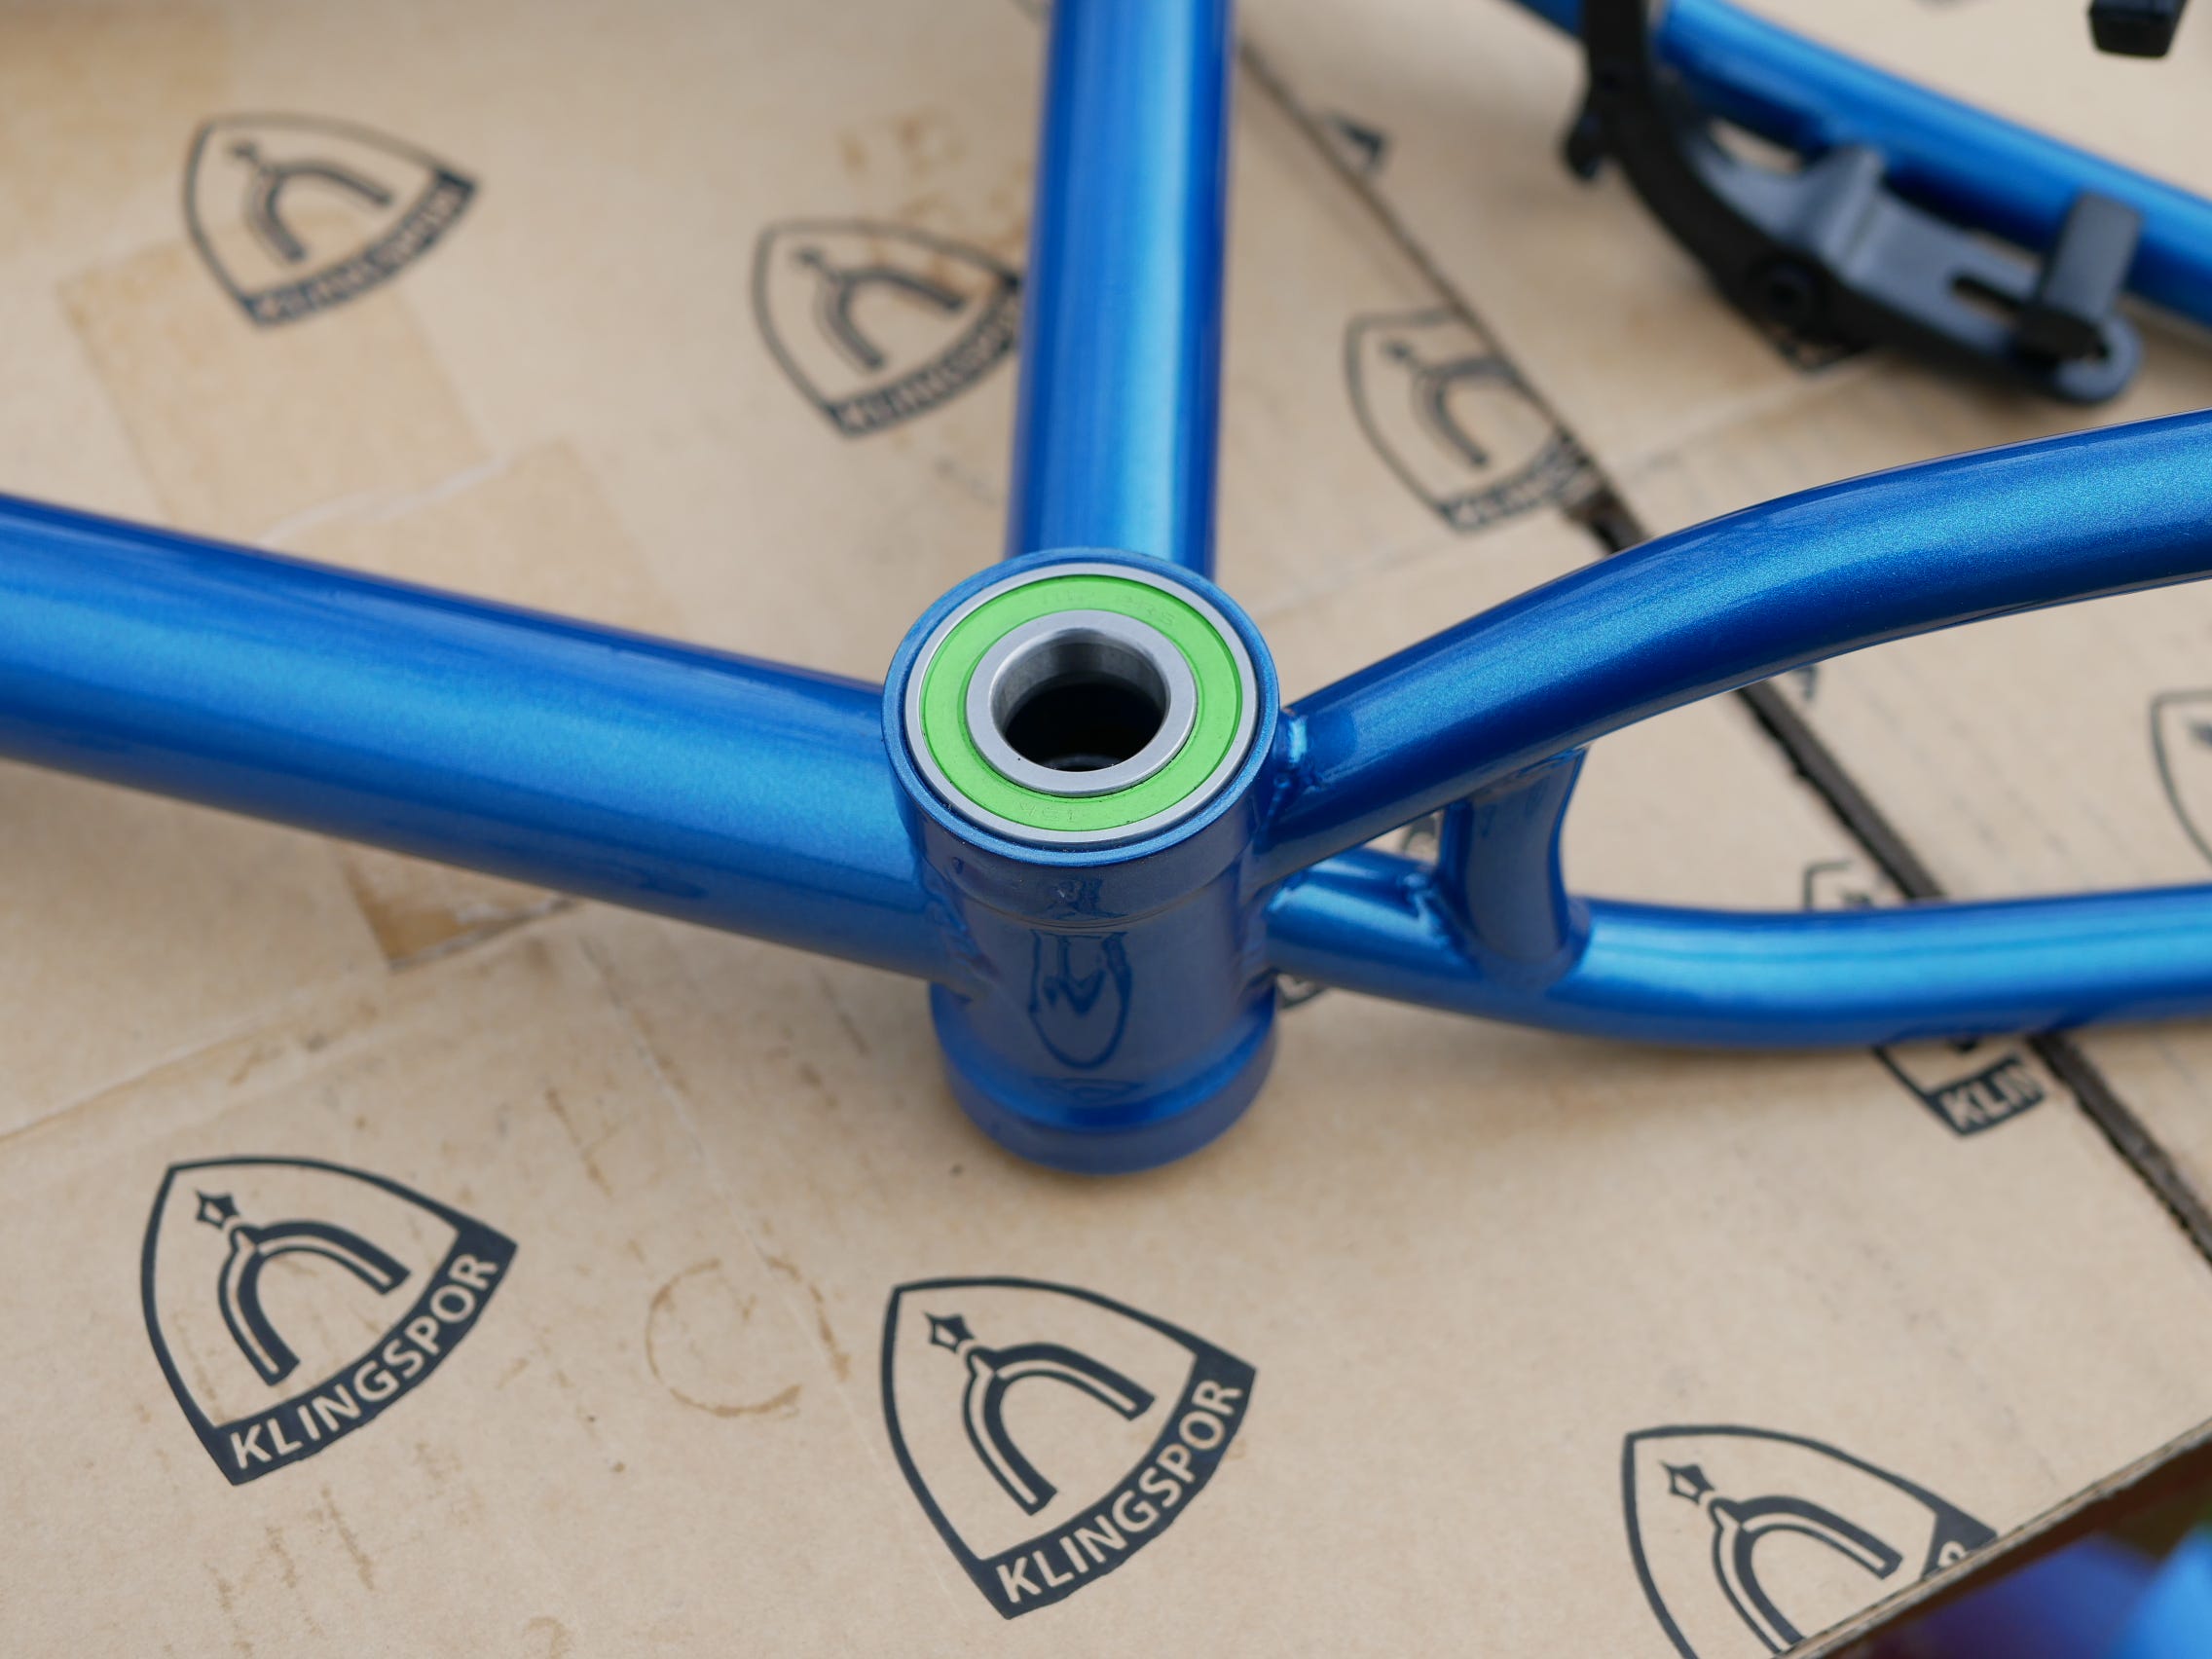
This time not damaging the Front Seal.

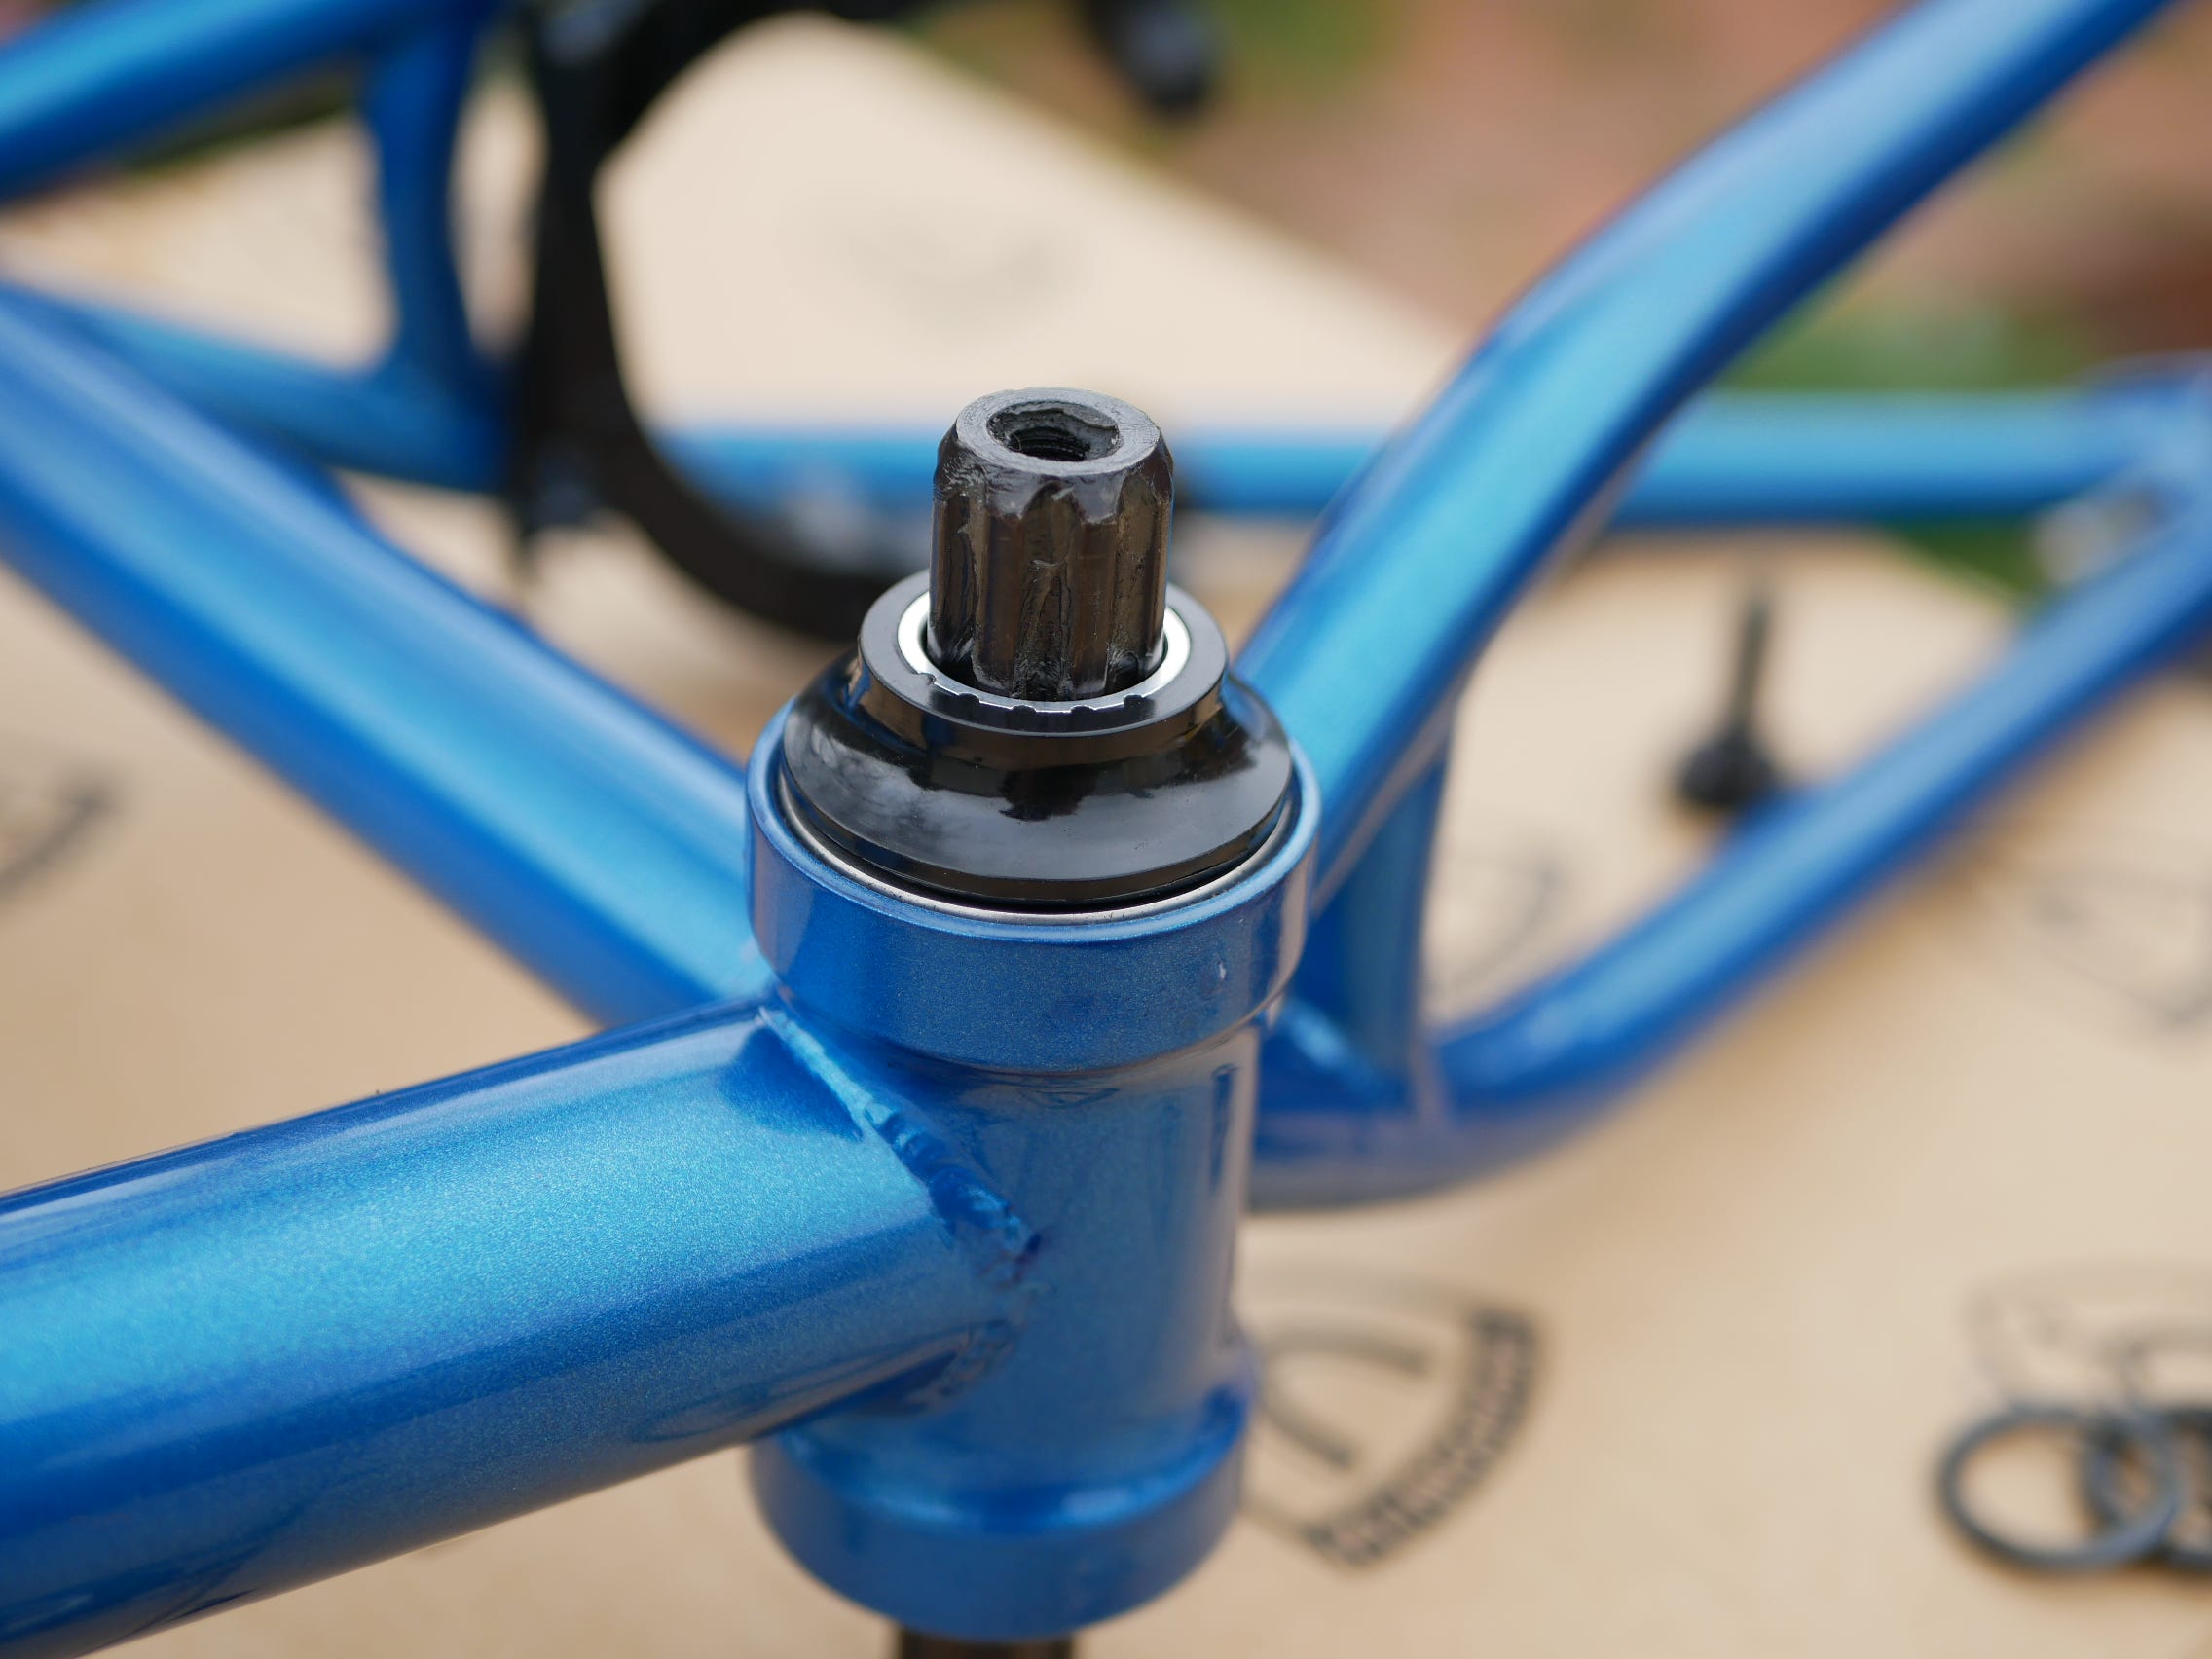
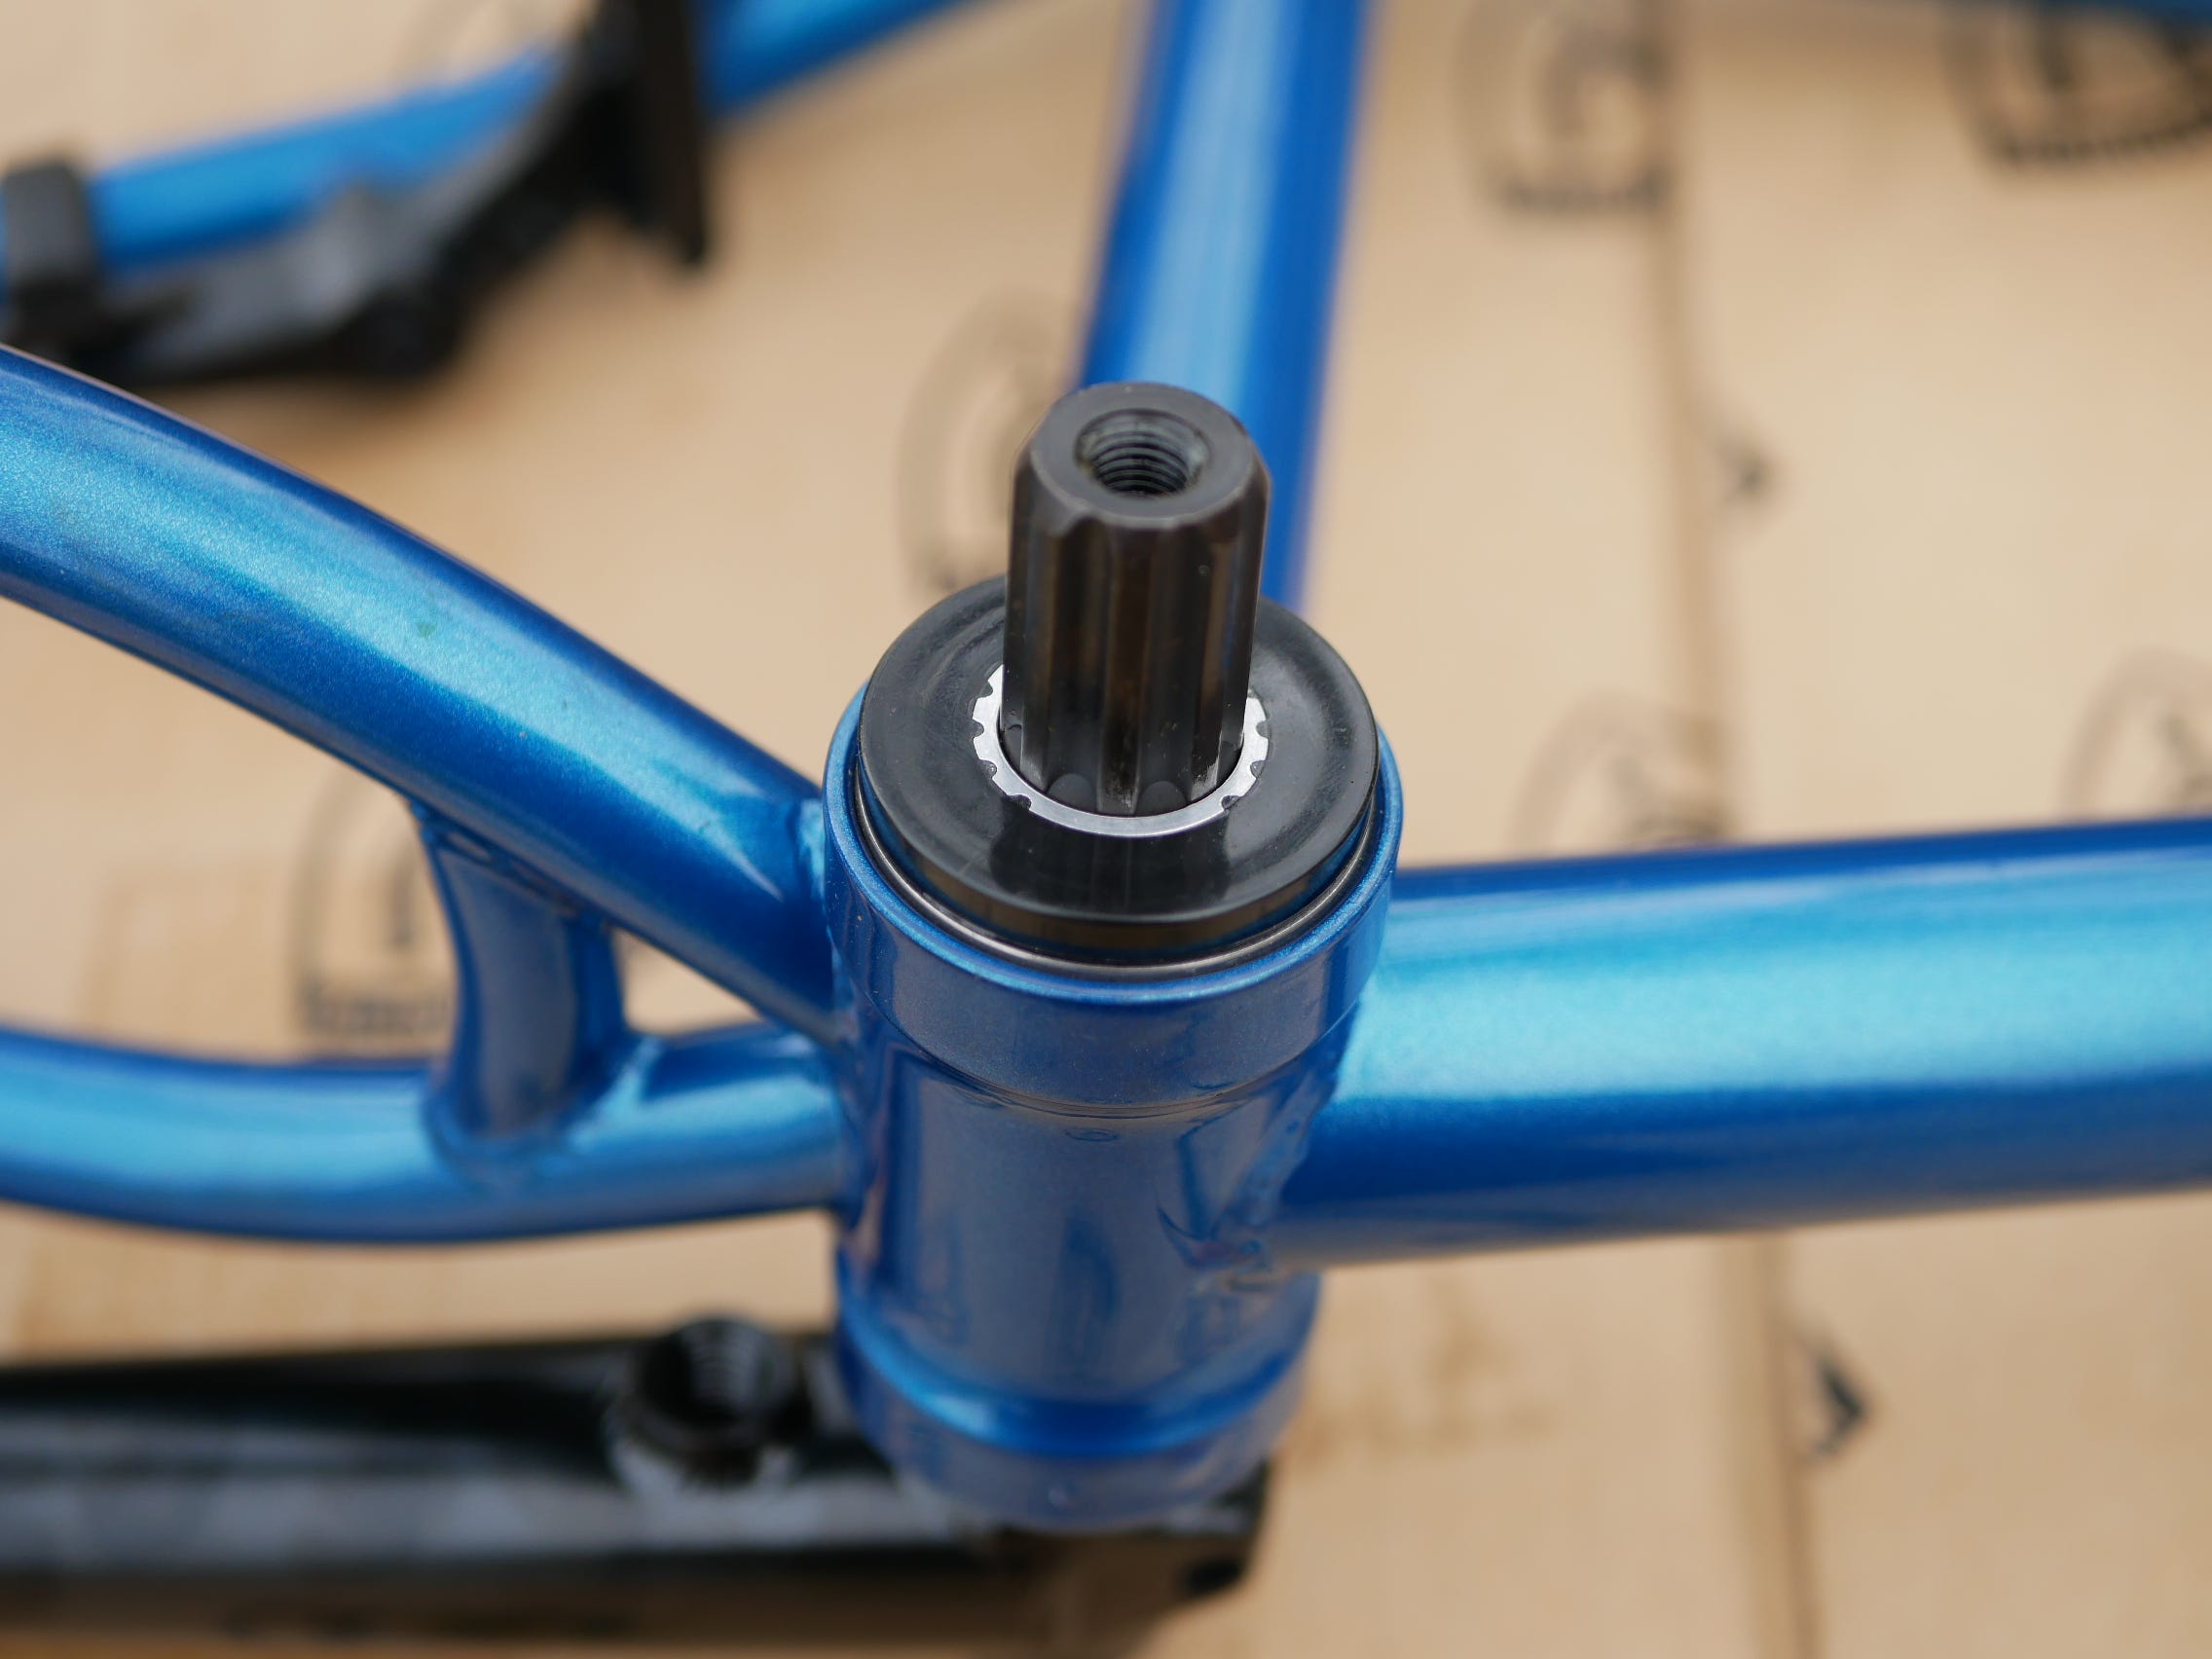
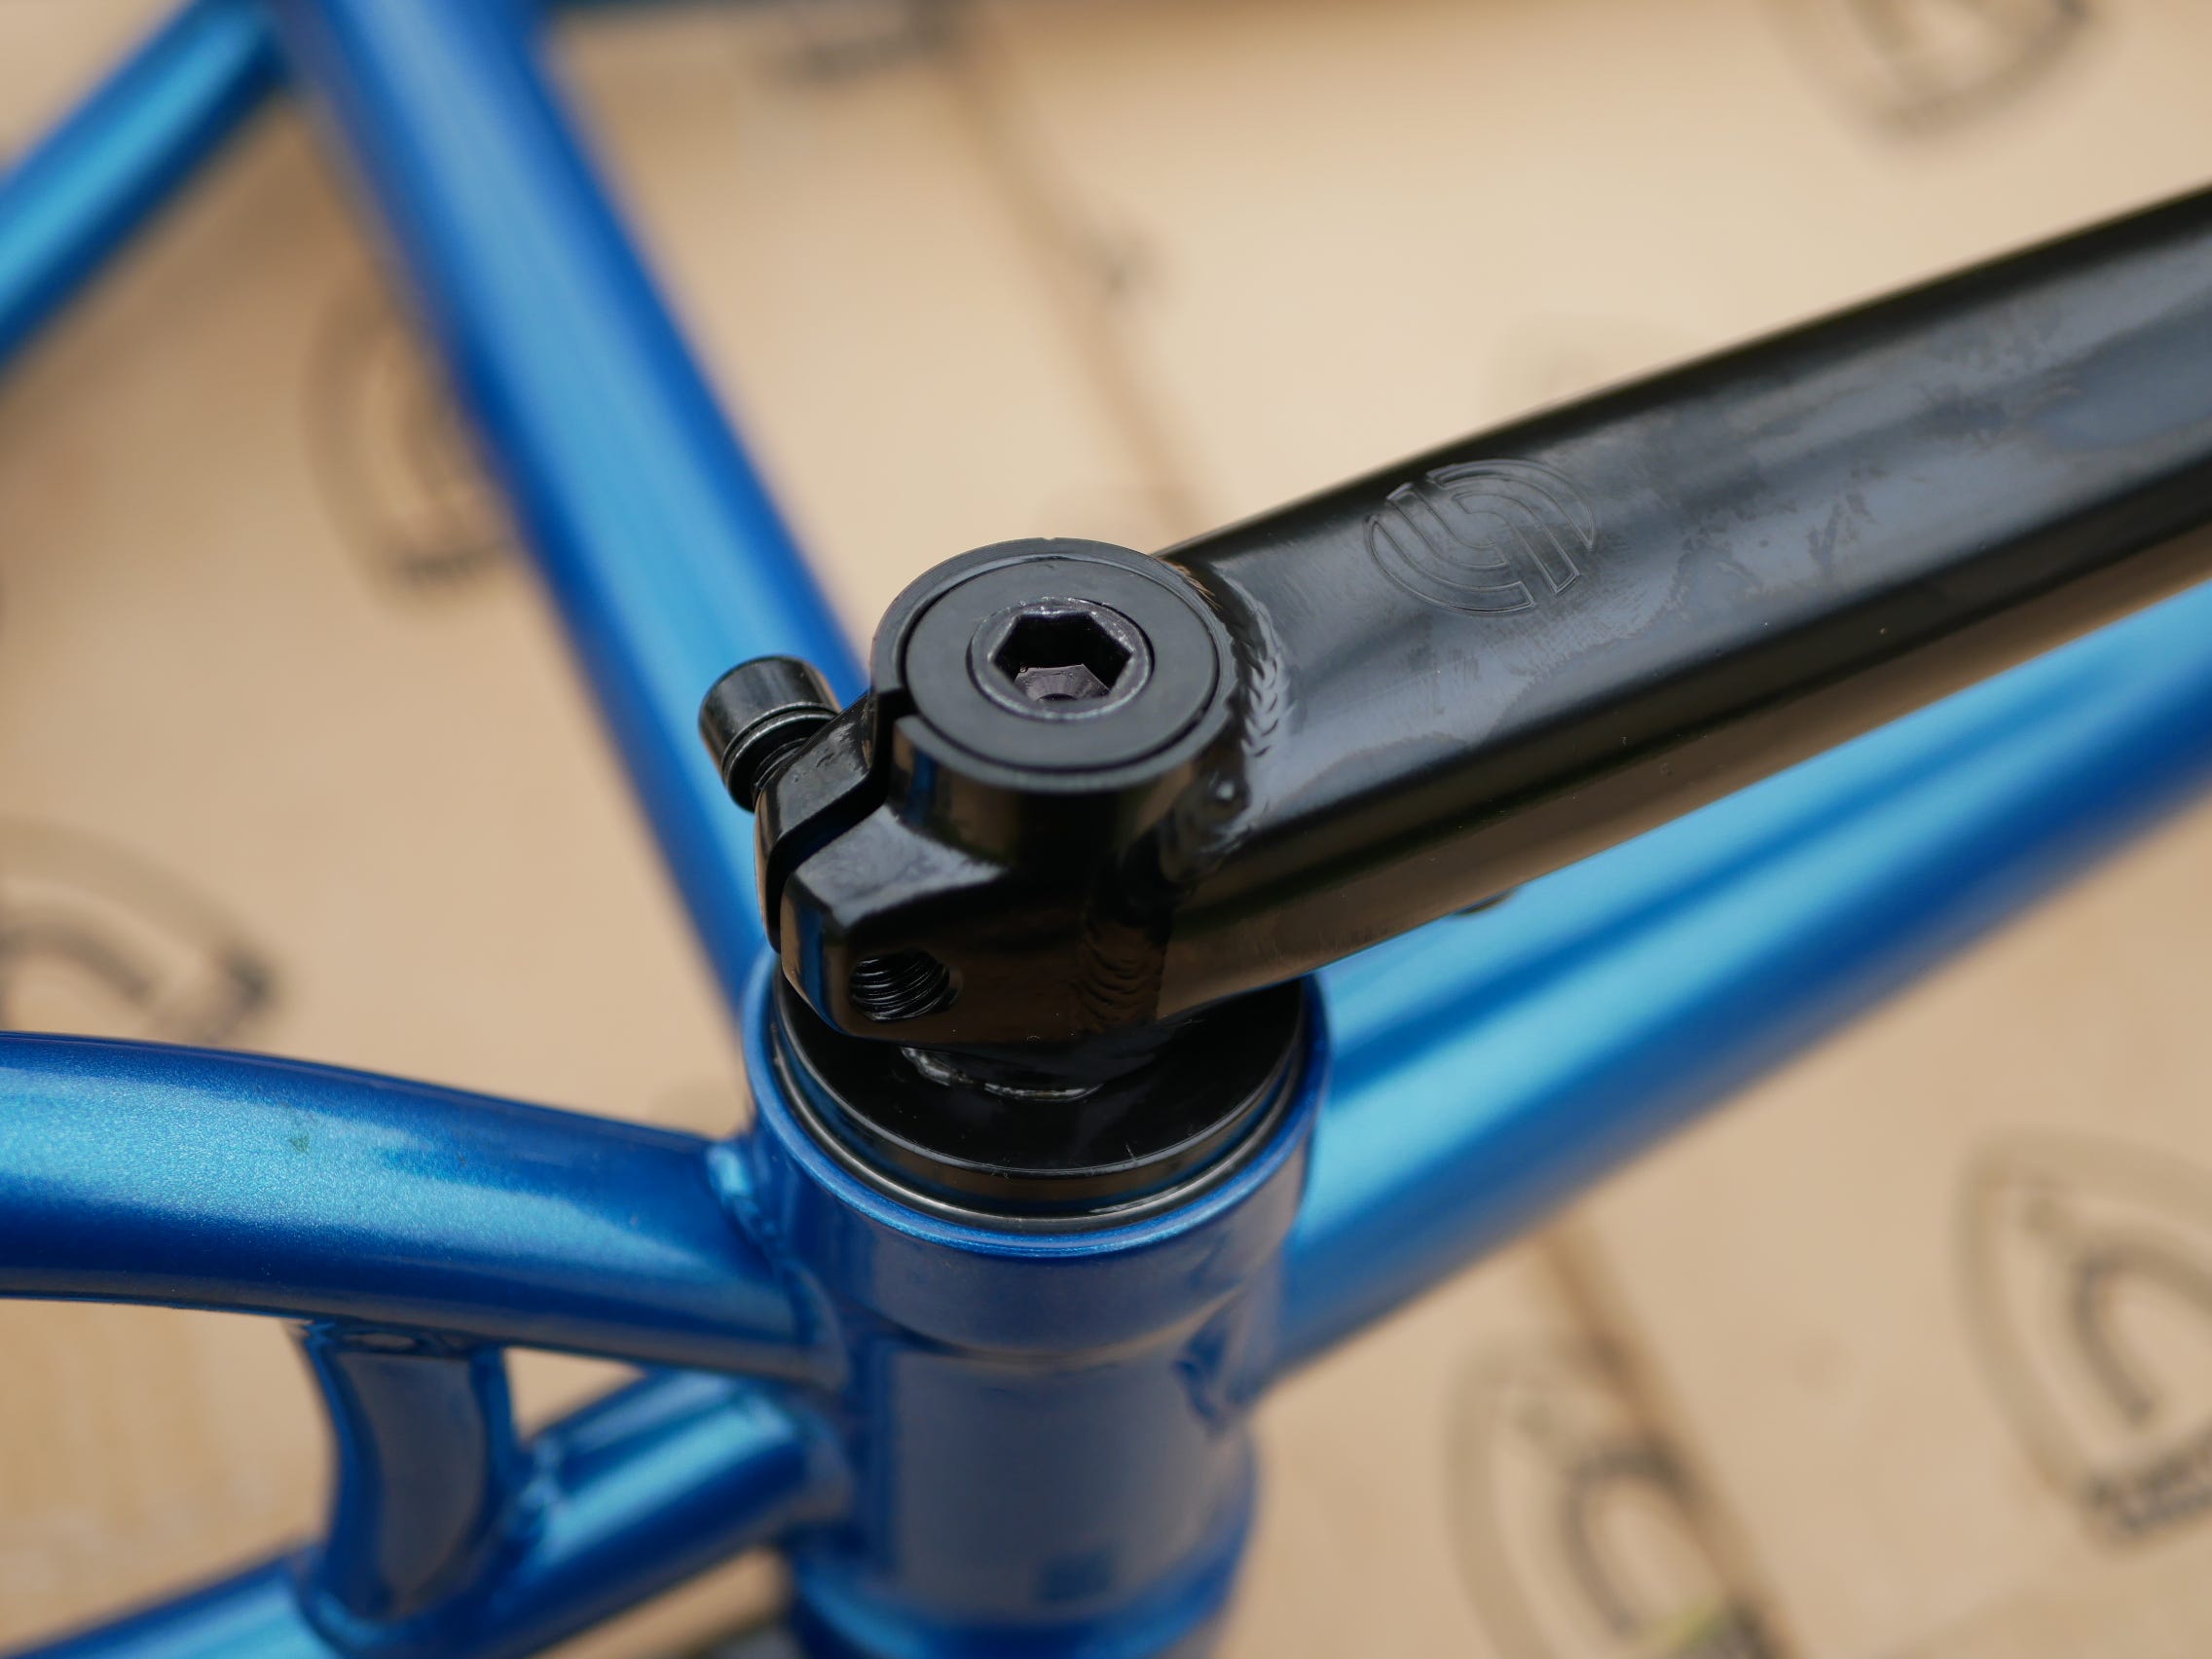
And then the actual Crankshaft.

Followed with the Crankshaft Brackets.
Followed with the Crank-arm.

Bolted up.
Now for the other side Spacer.
Then Crank-arm.
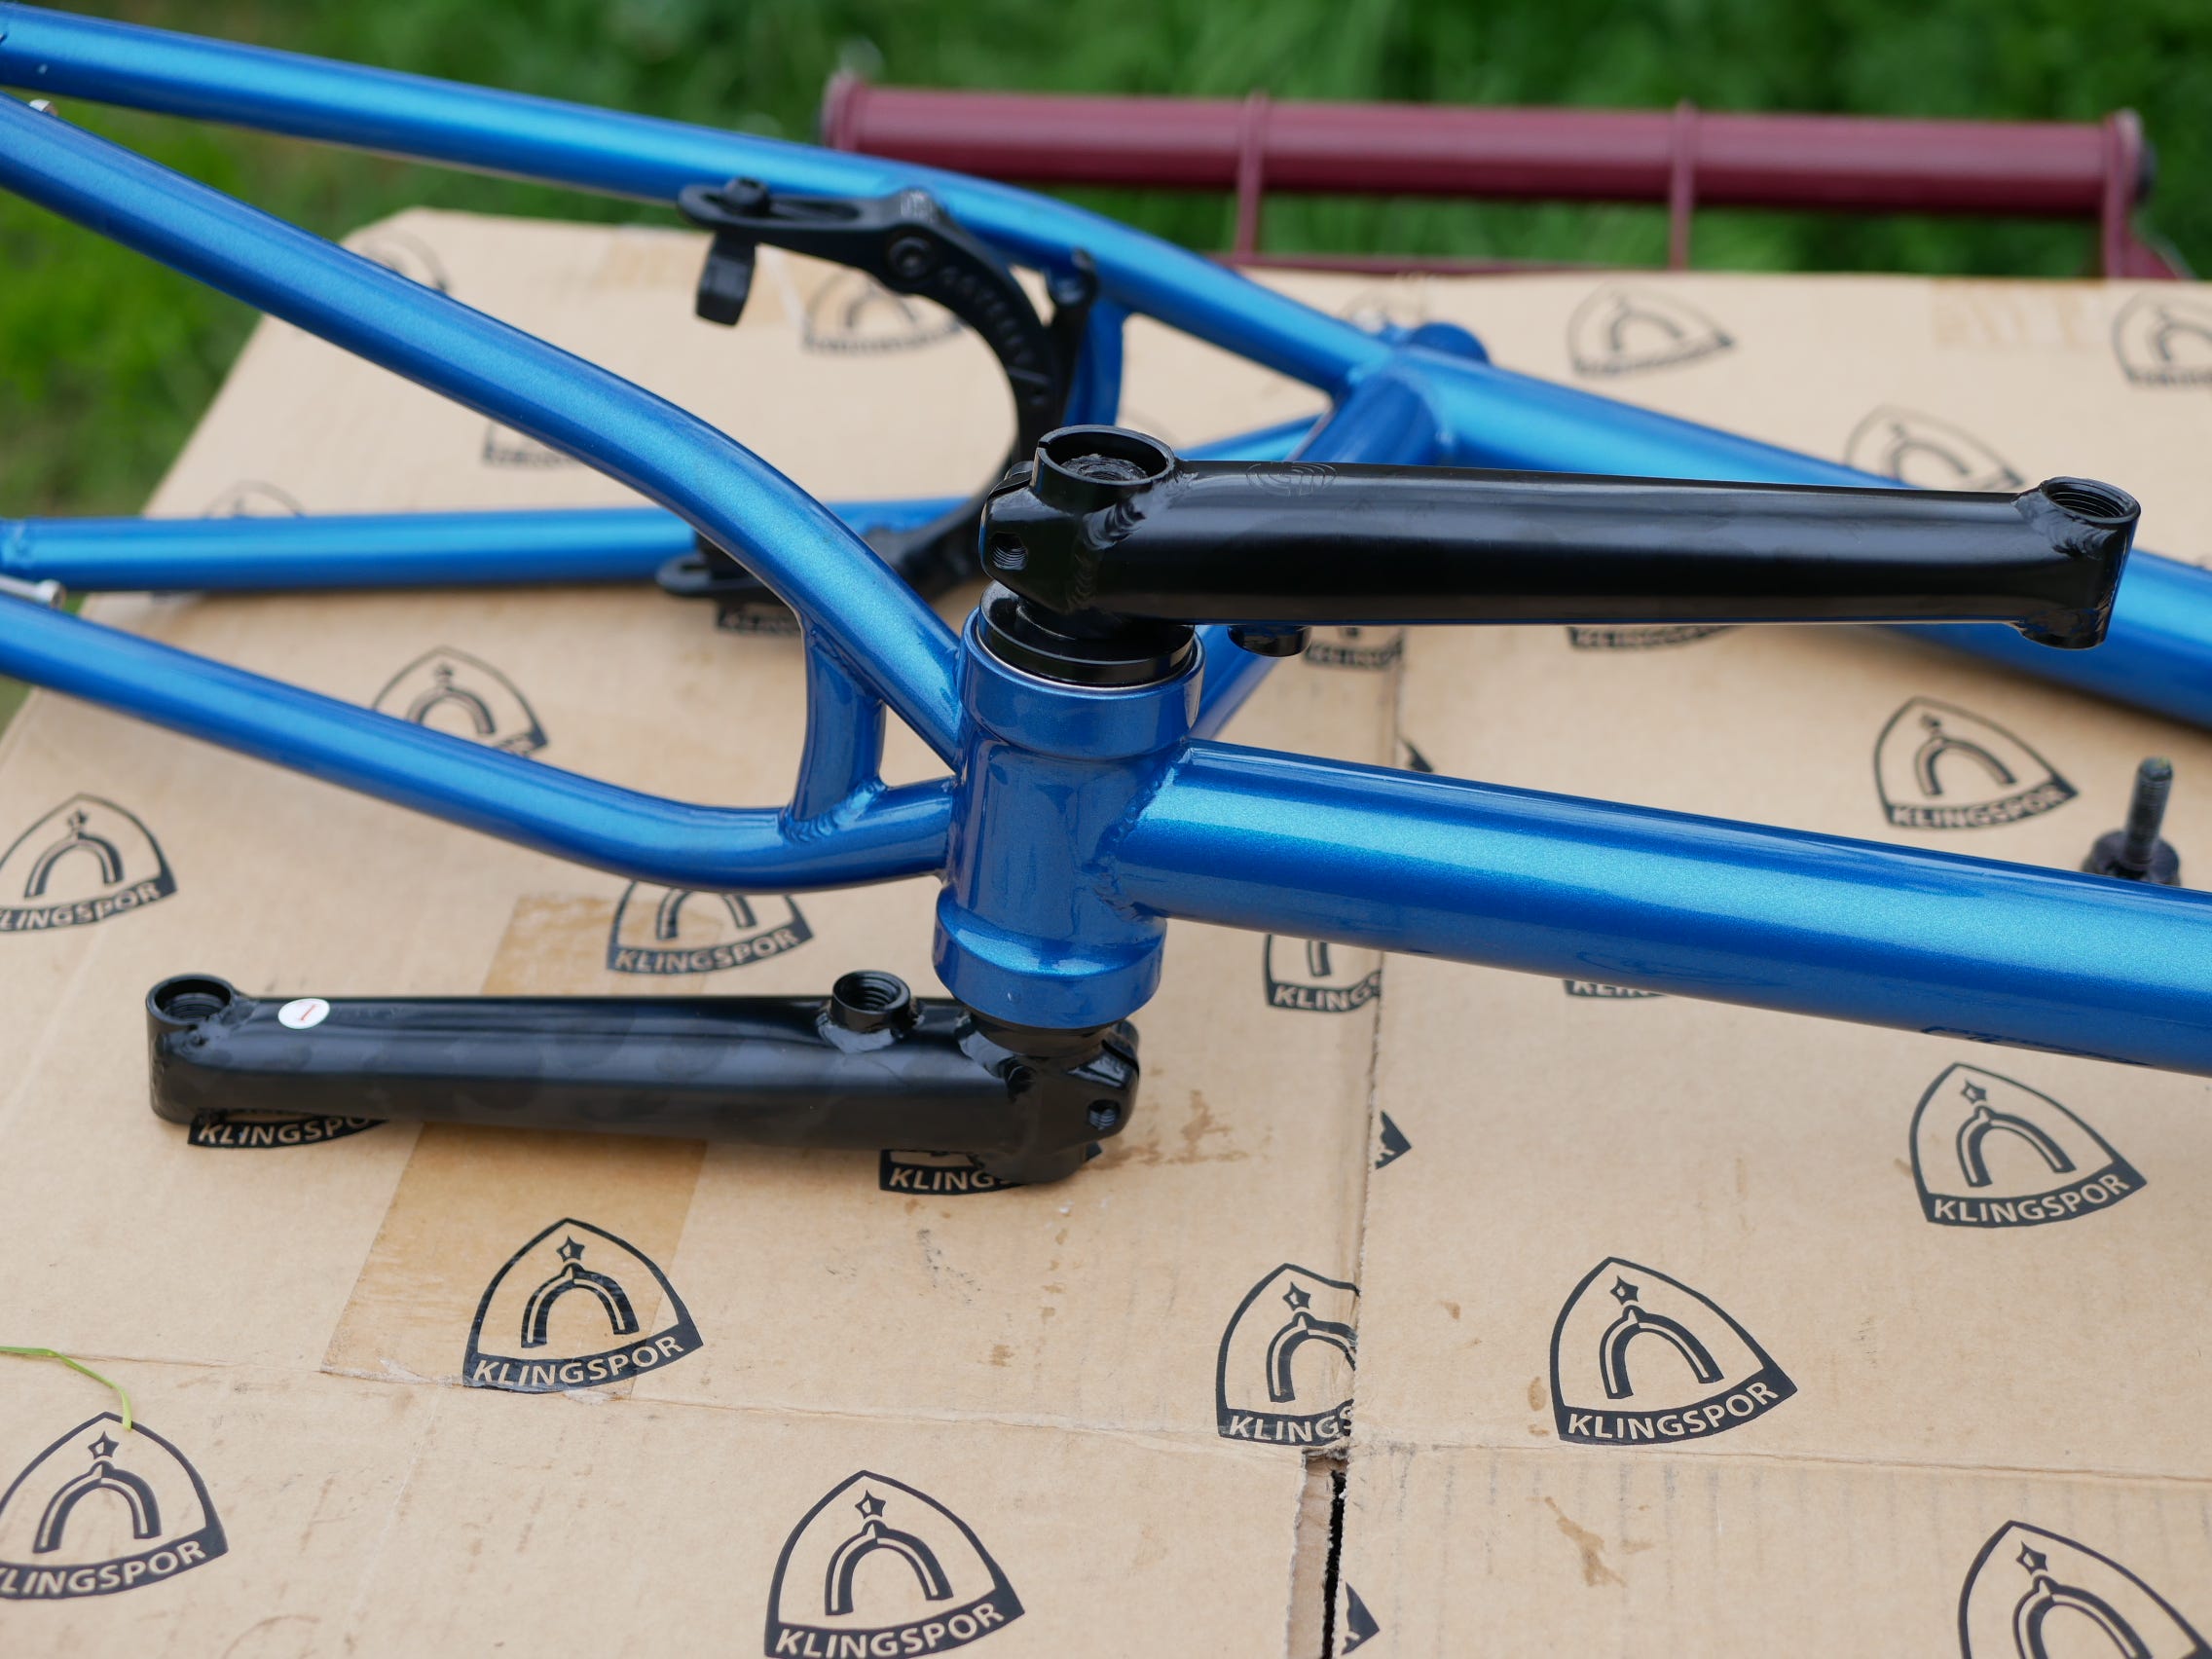
Bolted together.
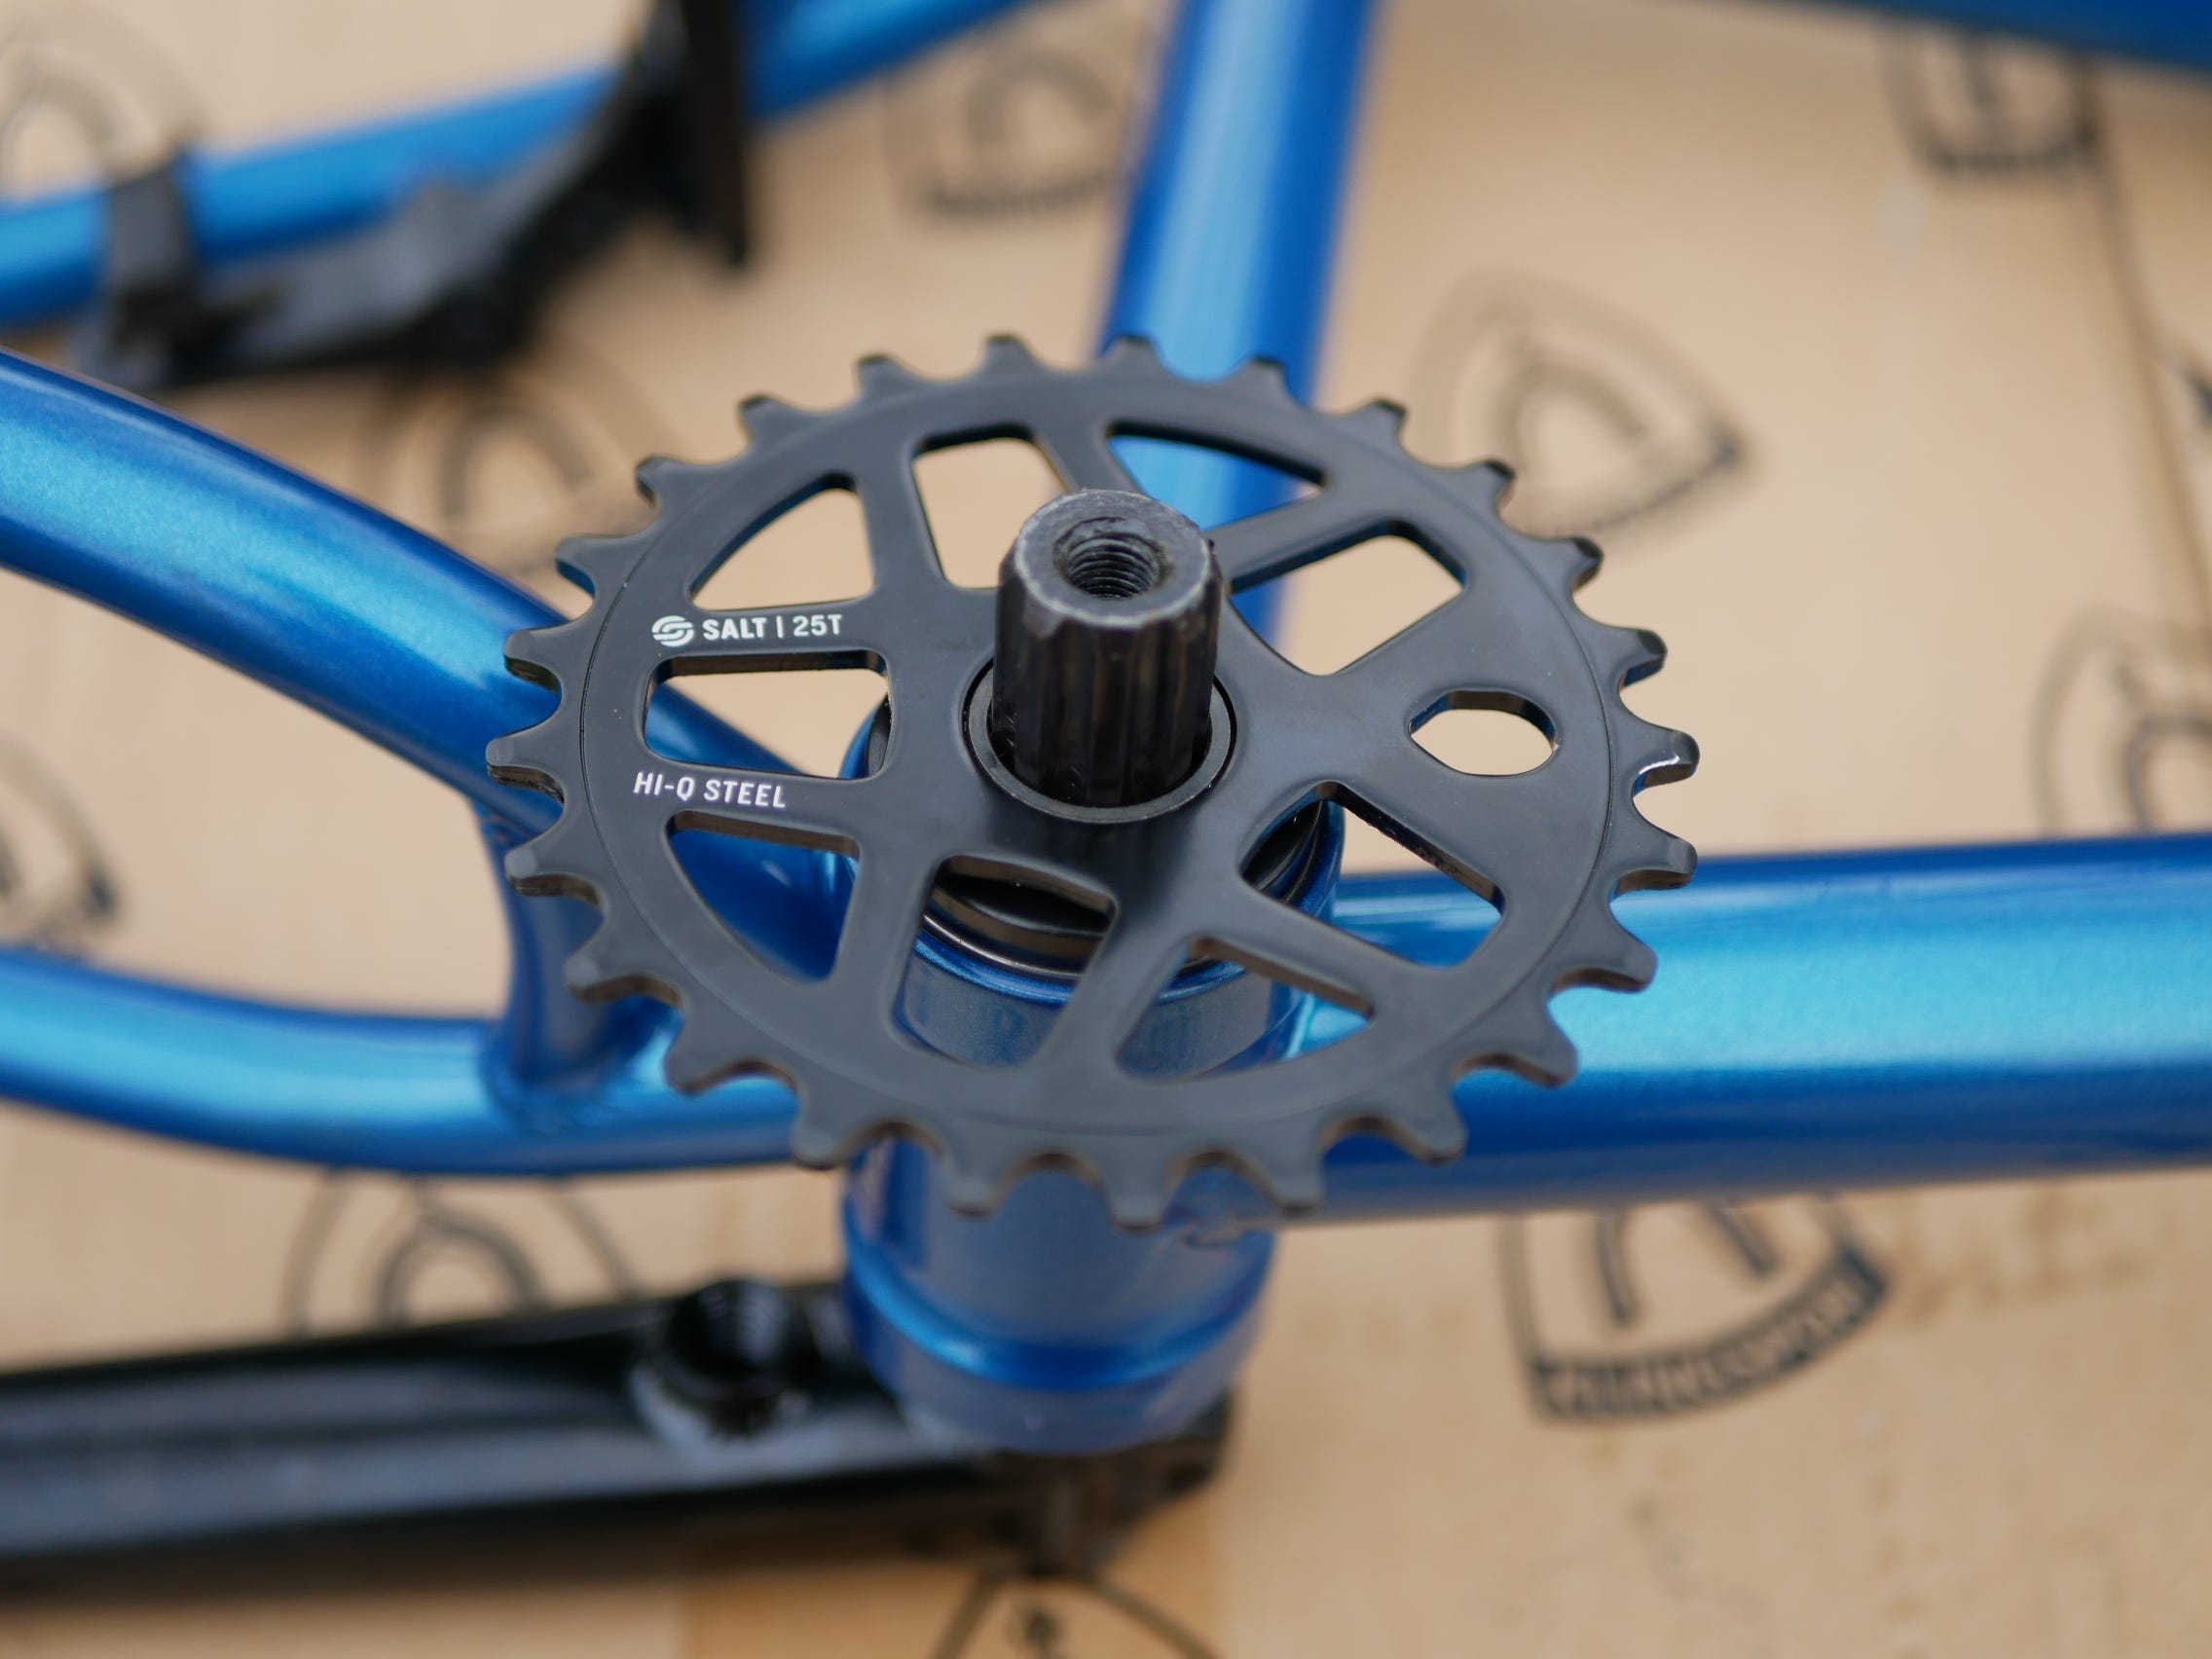
Only soon to realize that there is no Front Sprocket. Whoops.
“The Spacer must be placed behind the Front Sprocket (wider side of spacer on bearing face) for it to work.”

So off with the Right hand side Crank-arm to have the Spacer and Front Sprocket fitted up.
With the Final Results of the BMX as displayed below….
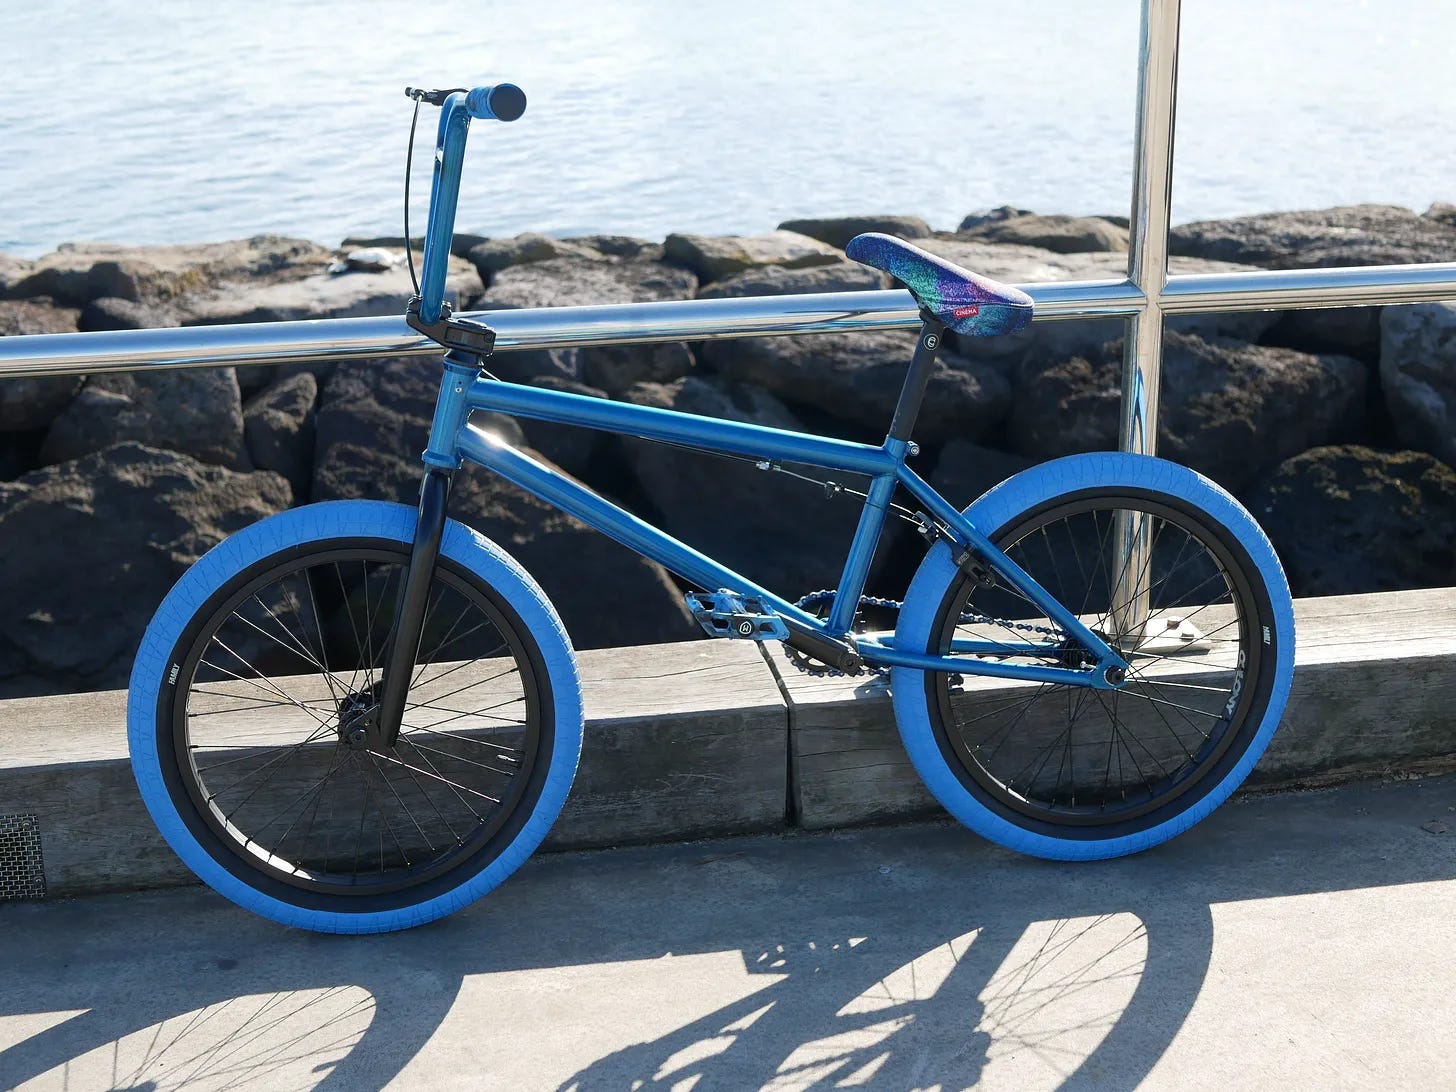
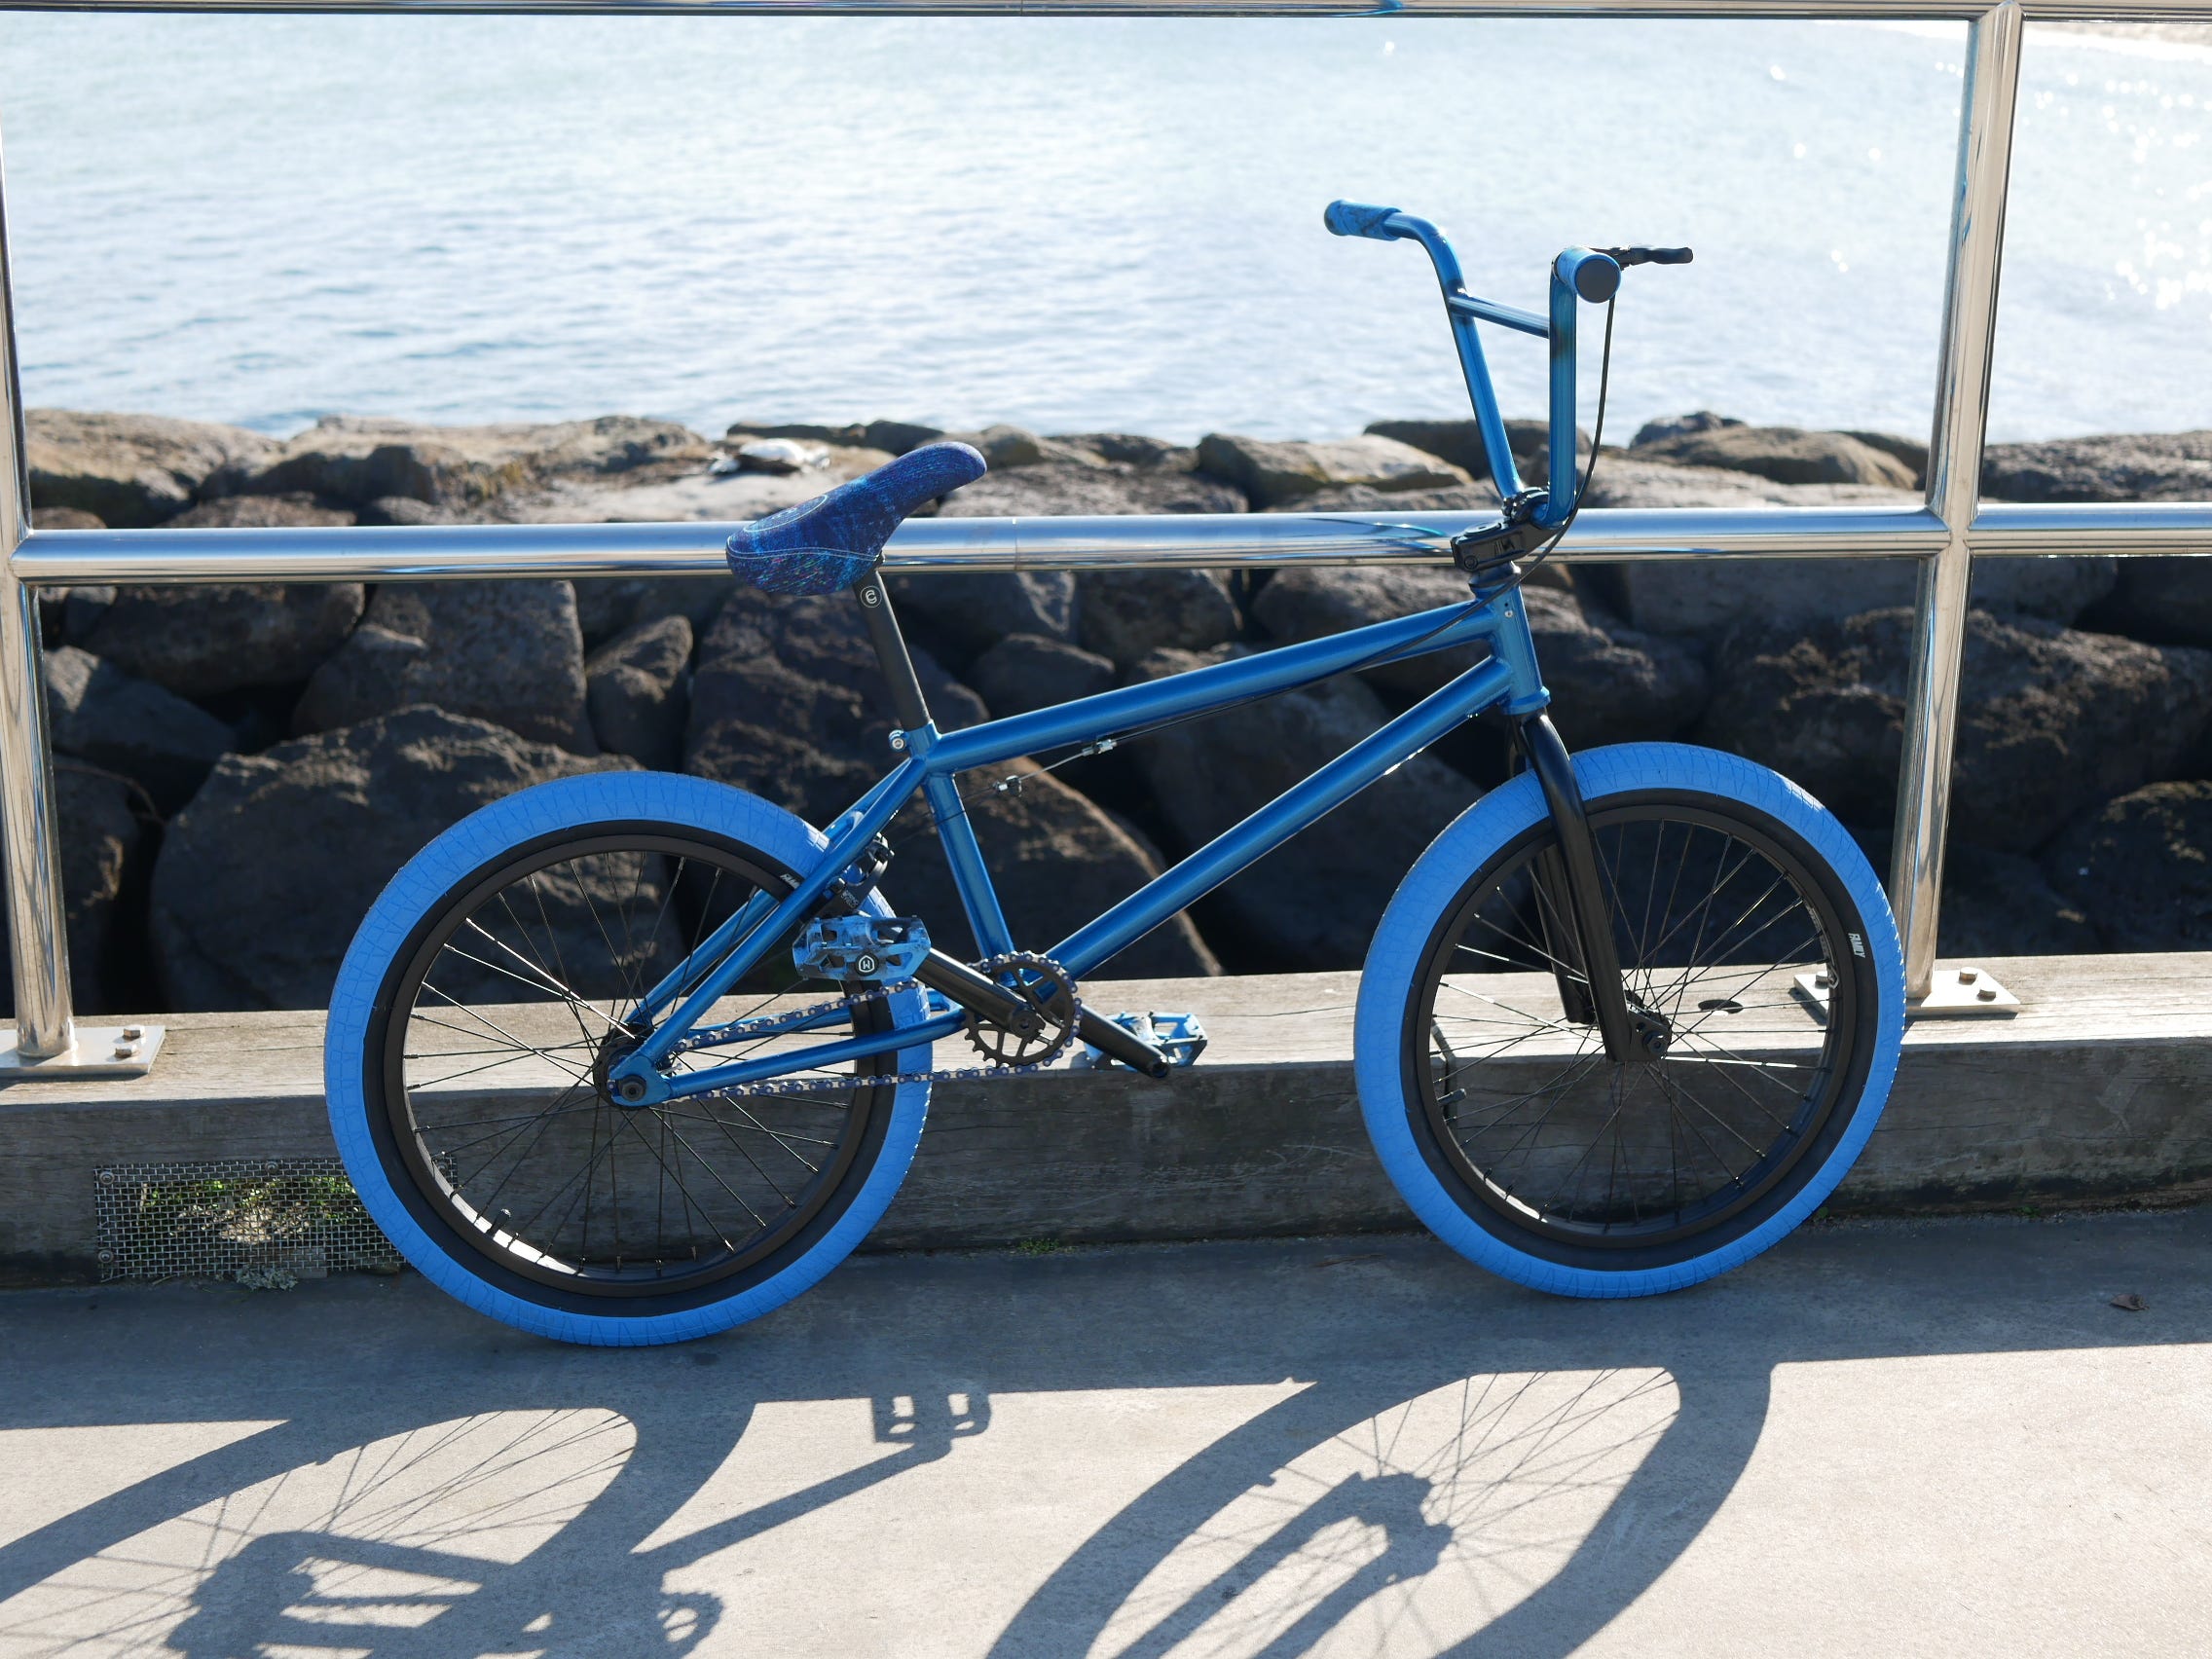
But there were a few slight Updates since the last photo’s shown above….
Including!!
Here they are fitted to the New BMX Displayed below…..
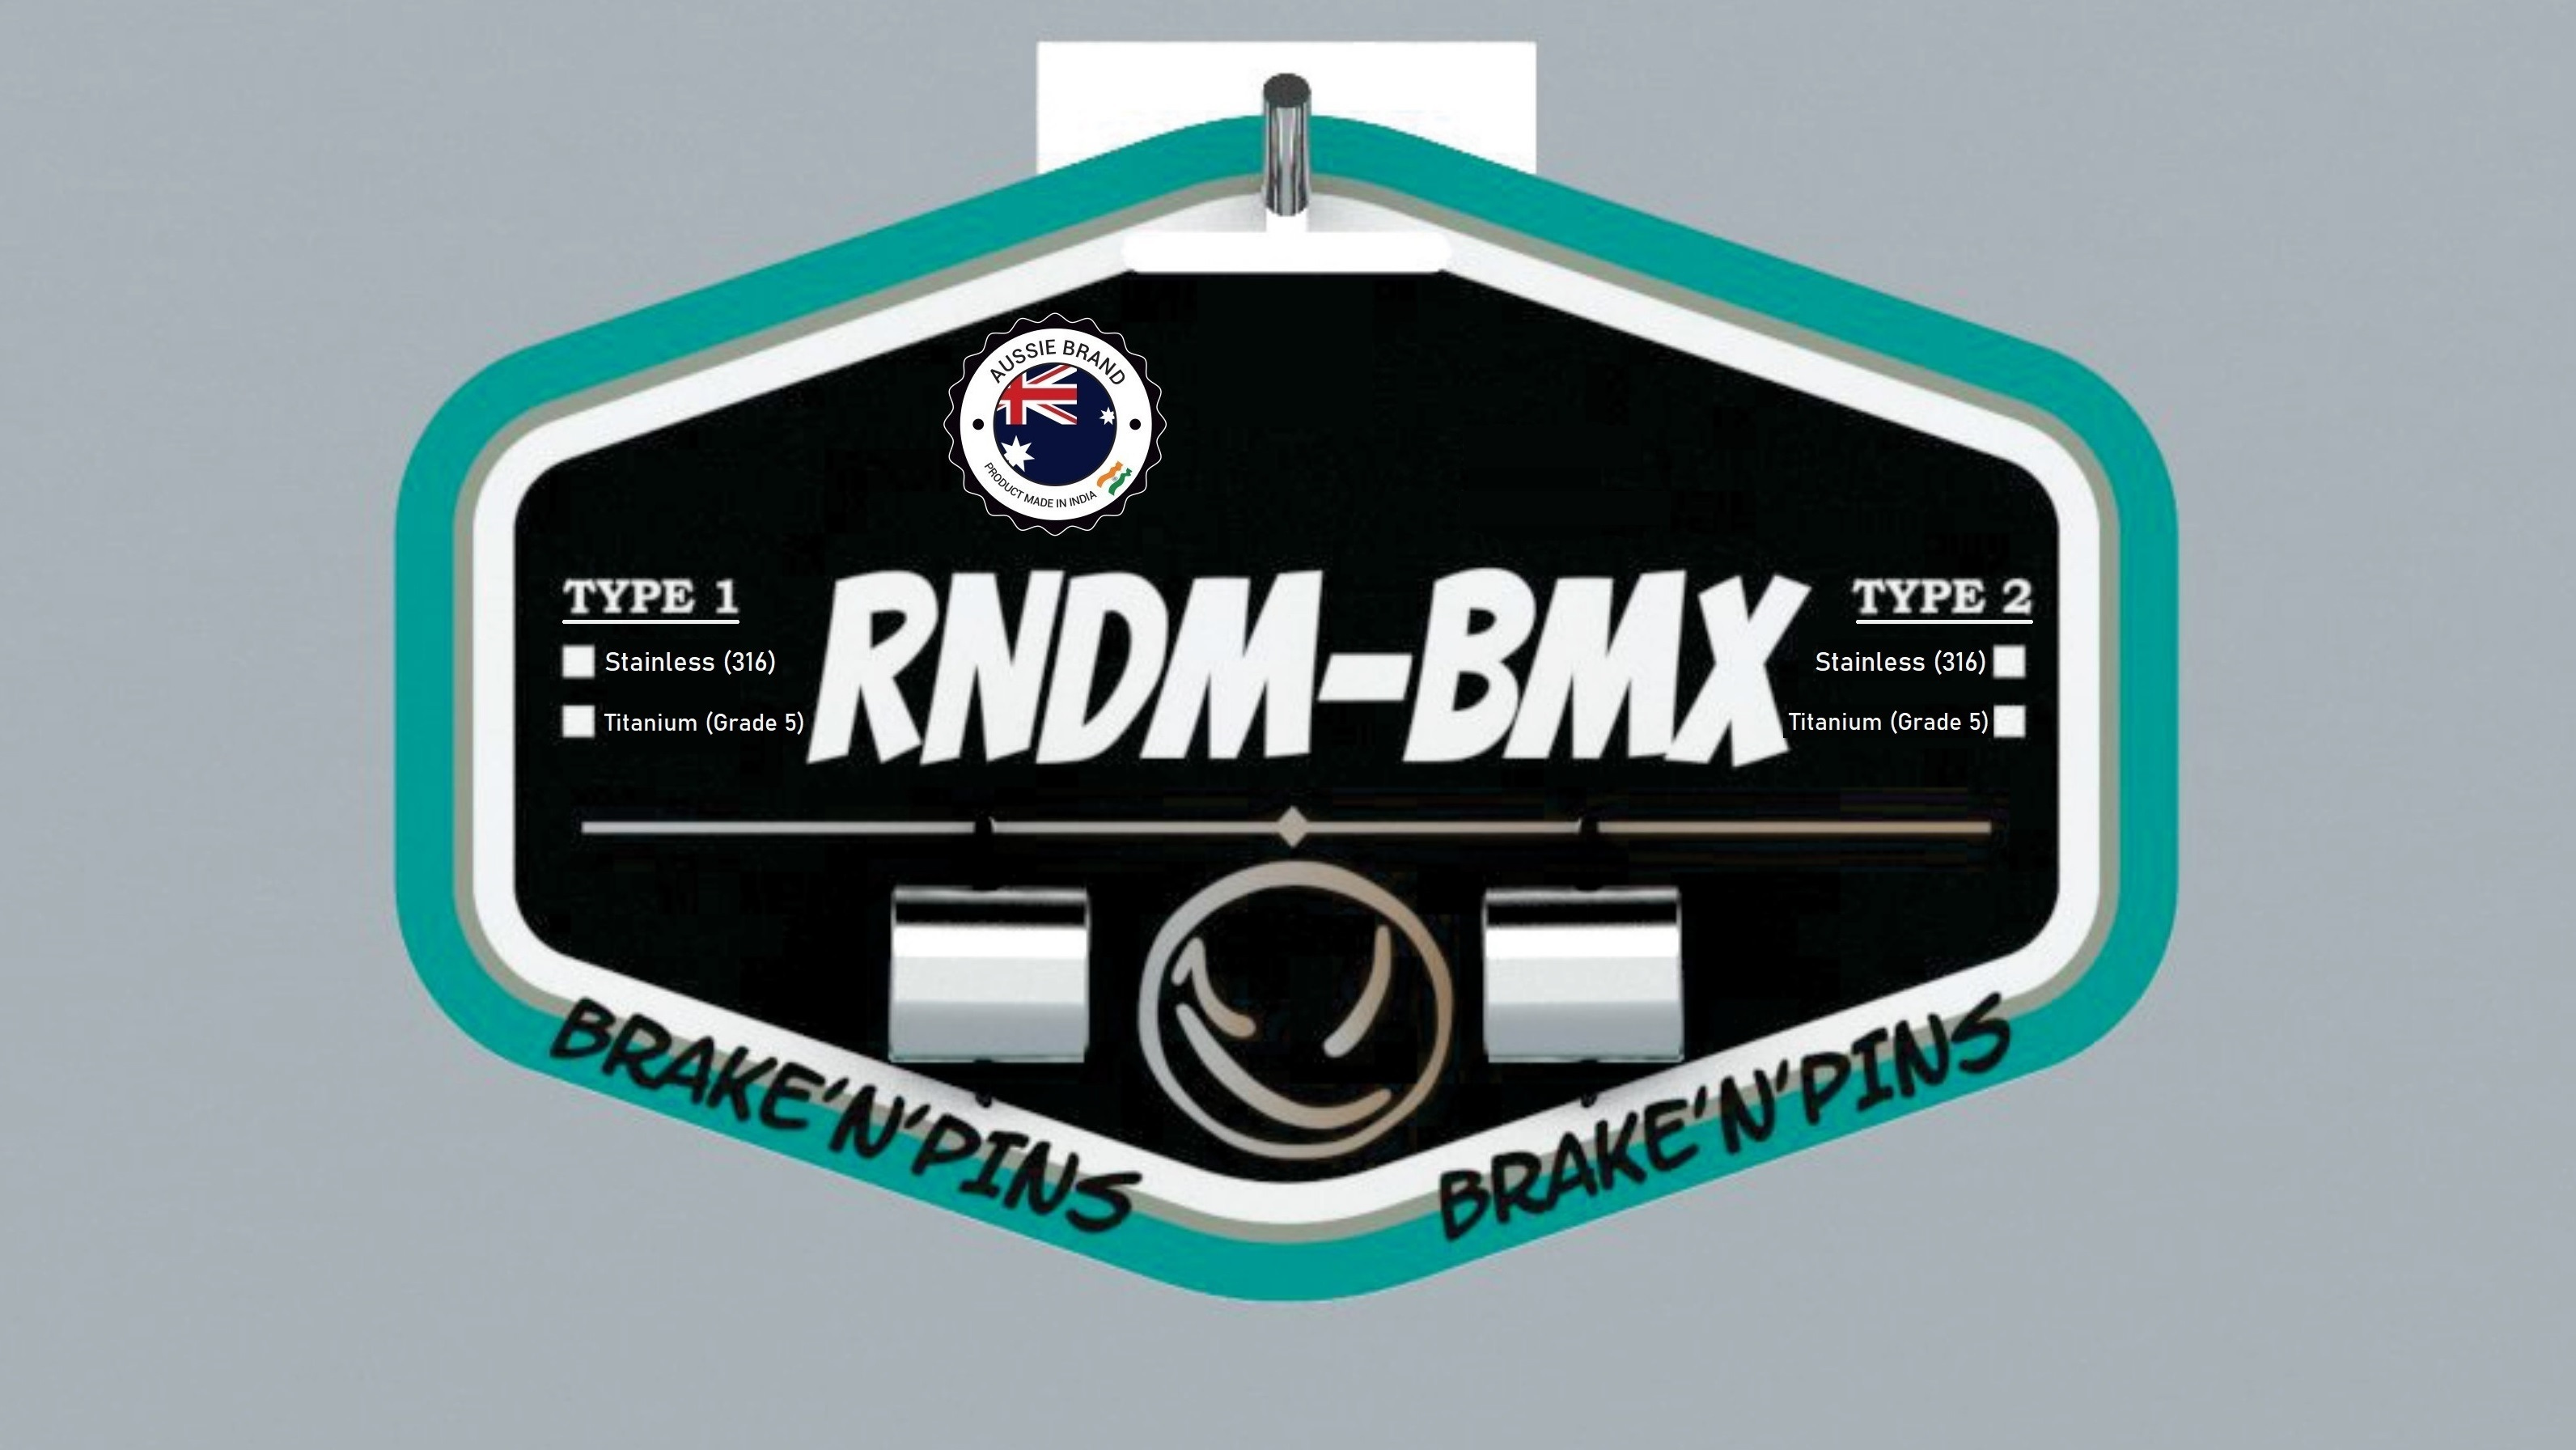
And what better way to place a Cherry on top than to fit our very own Brand Sticker.